What does your parents being away all weekend mean? It means a kitchen all to yourself! It means partyyy! And party means brownies.

Brownies solve everything! They even make your headaches and cold go away. I swear they do.
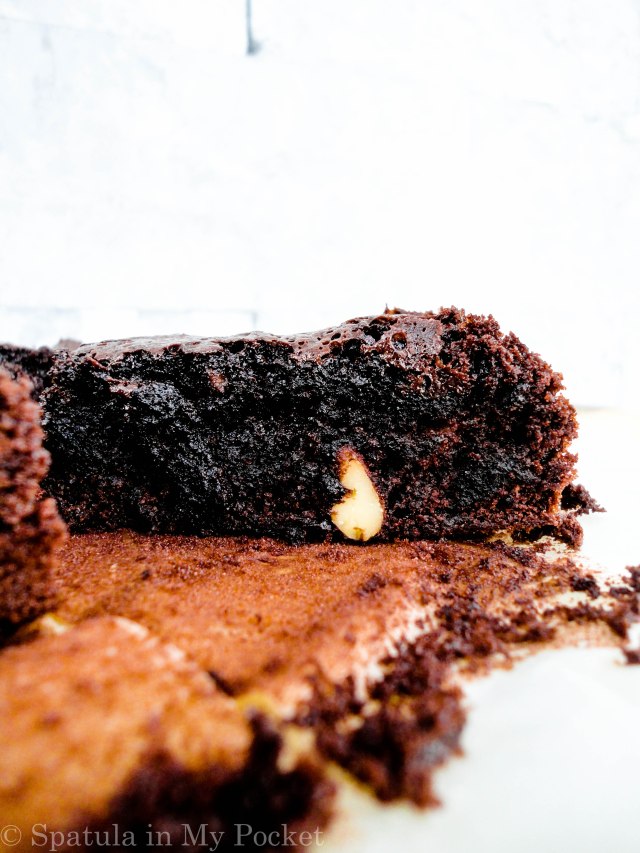
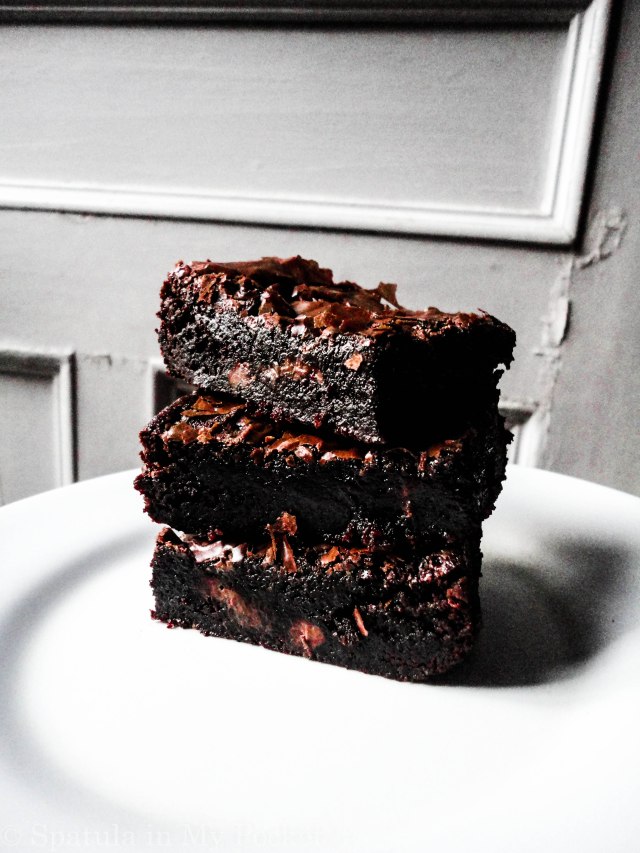
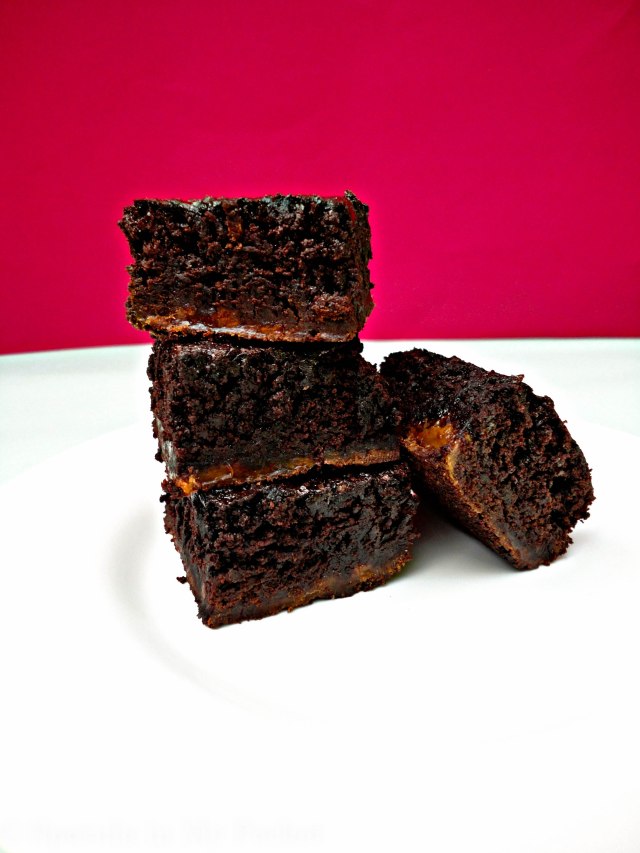
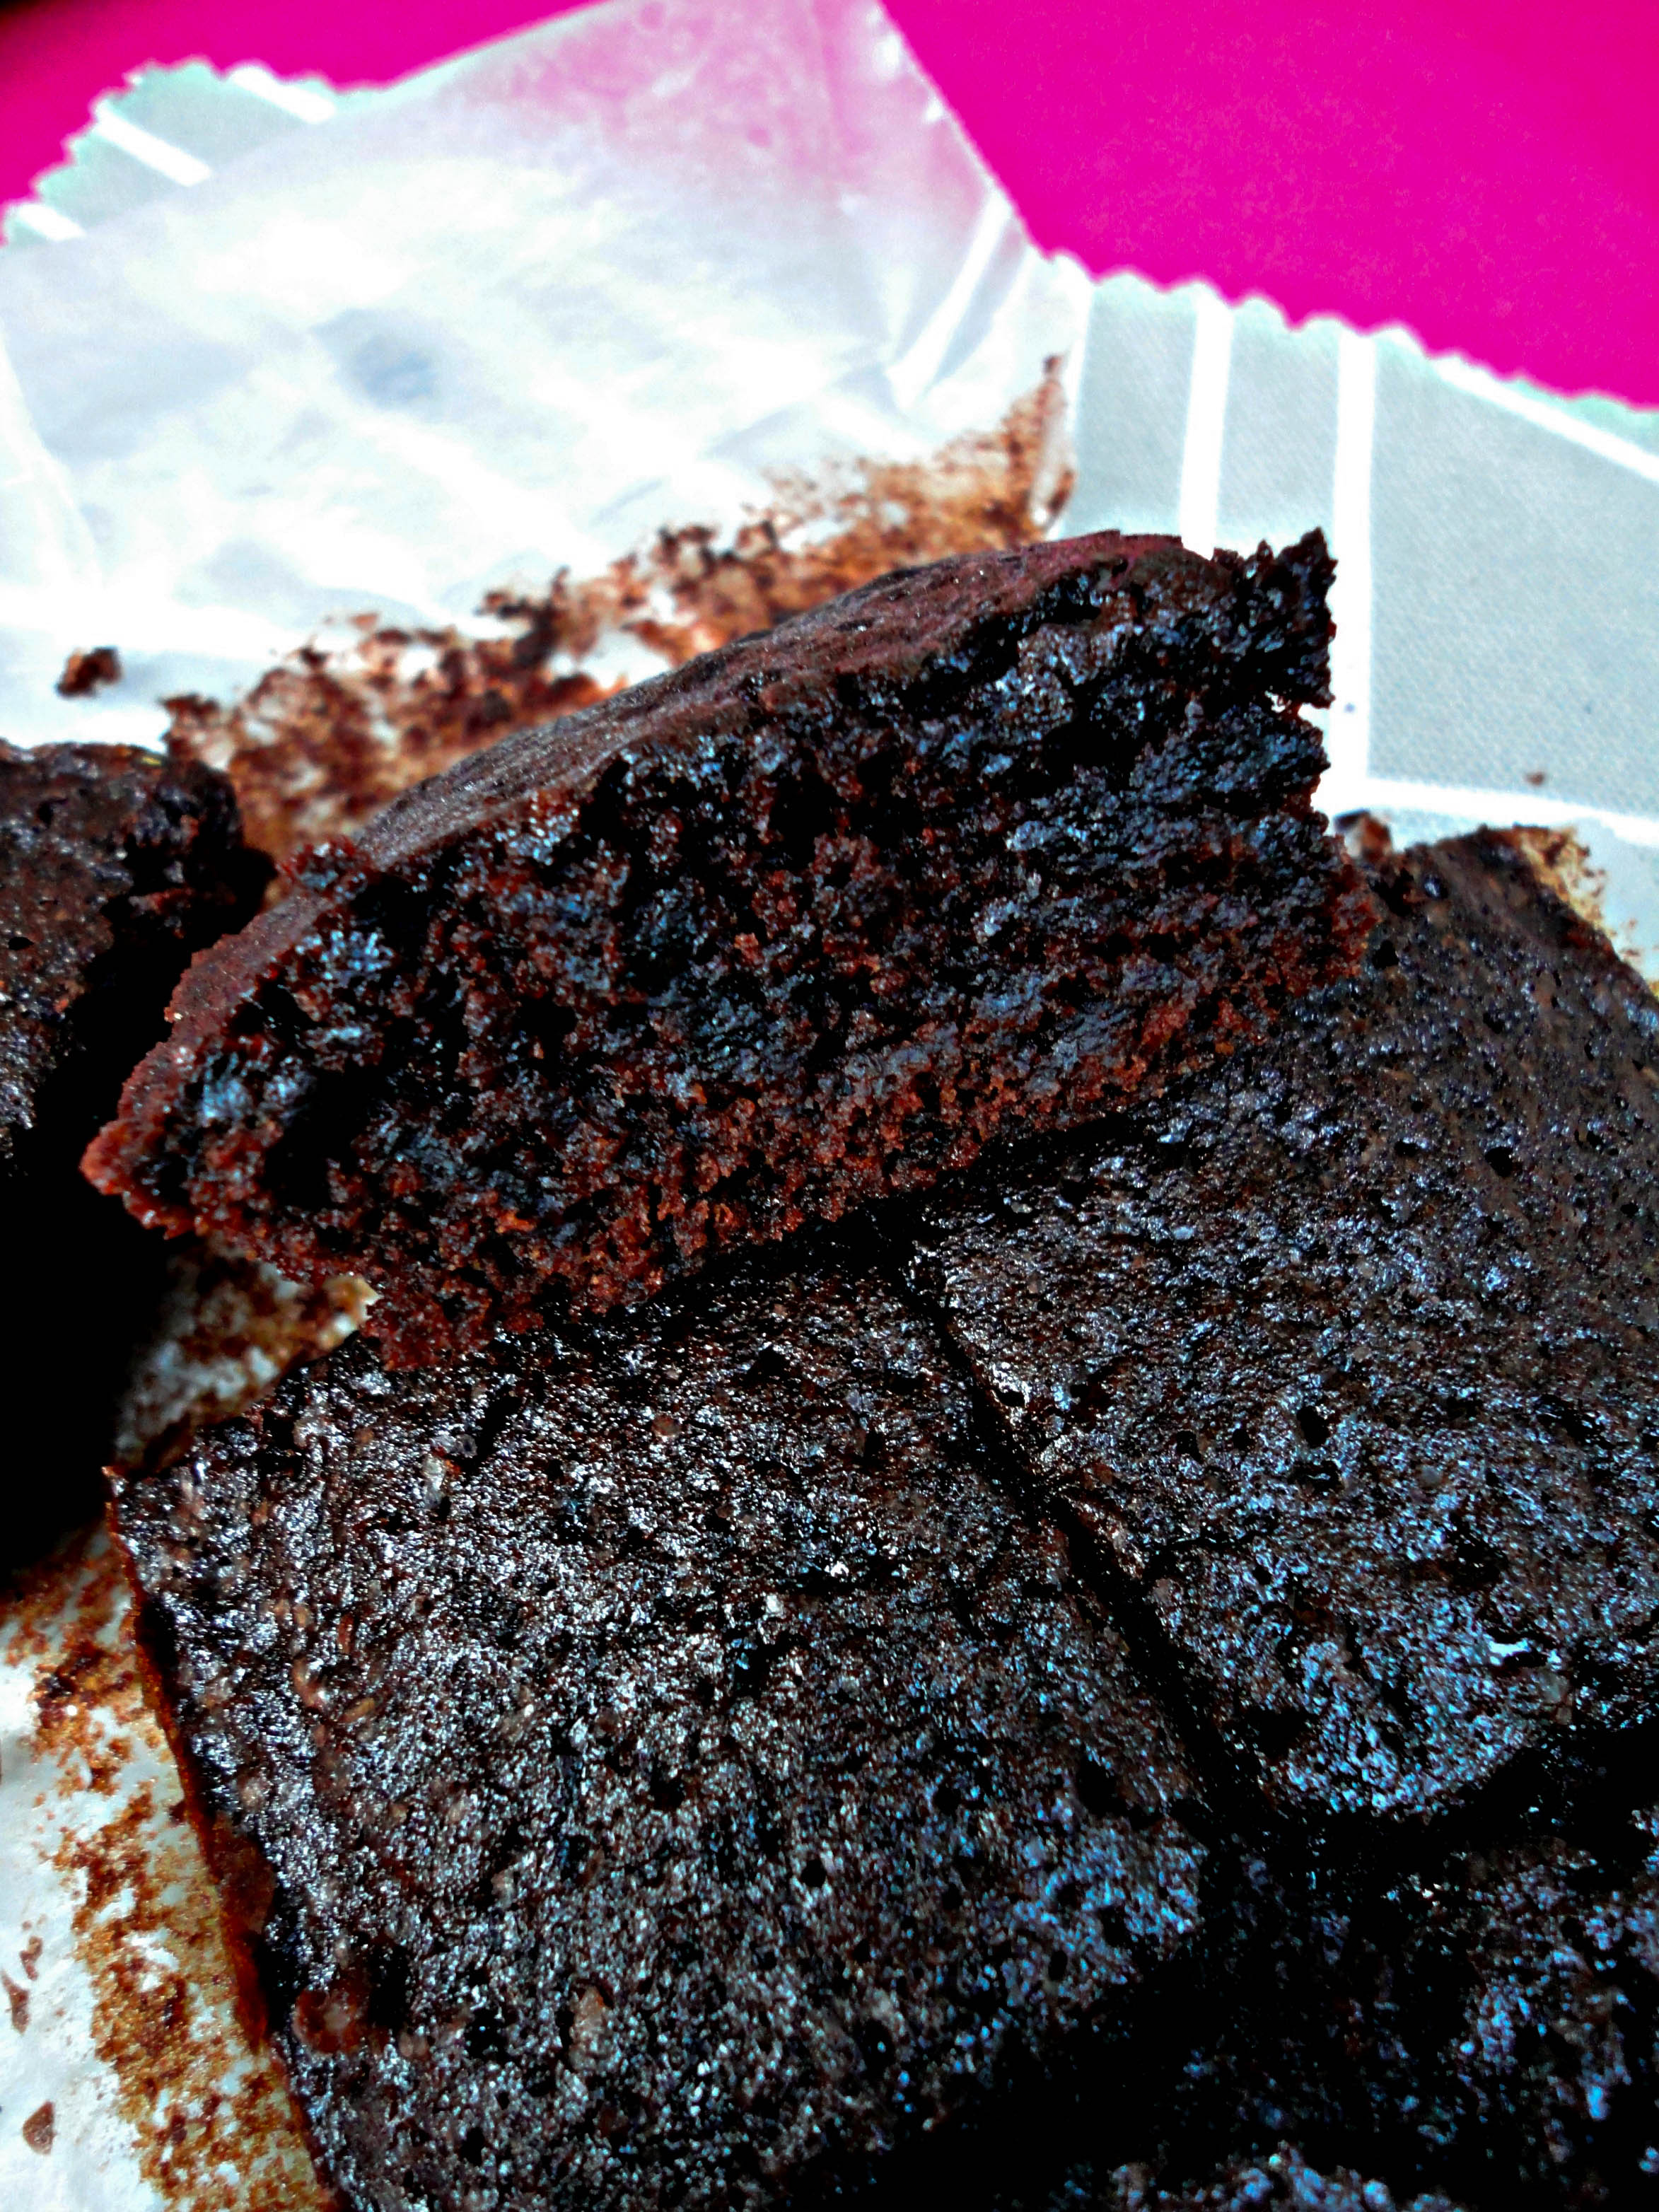
There I was lying sick in bed, craving warm gooey brownies but did not have the energy nor the people to make a whole batch of brownies for. With just me and my sister and brother home, it seemed like the perfect time to try this handy dandy recipe for a small batch of brownies I had bookmarked ages ago.


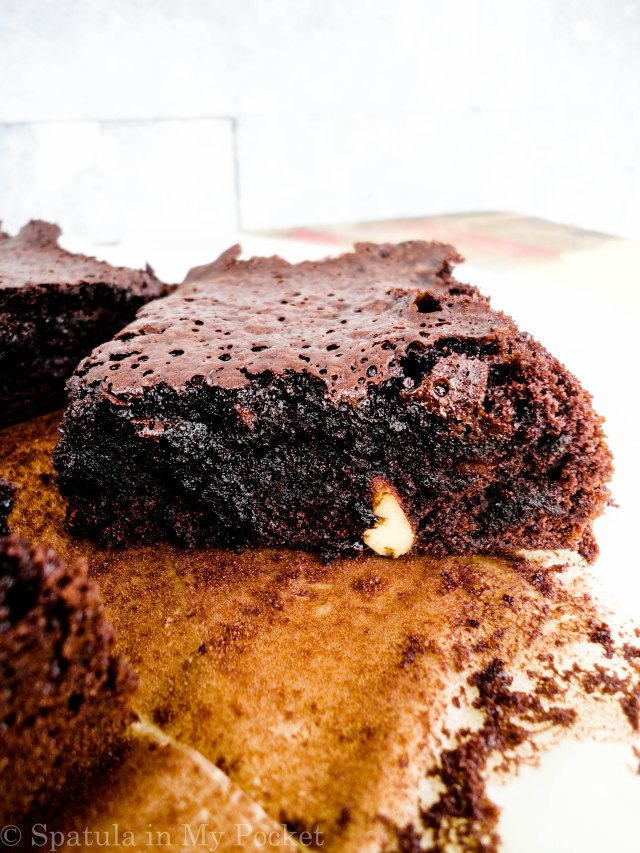
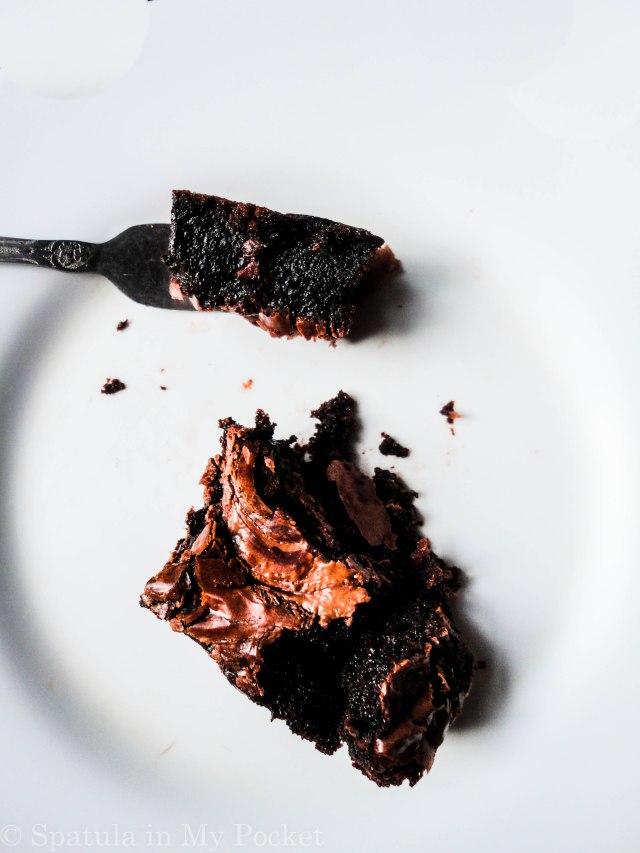
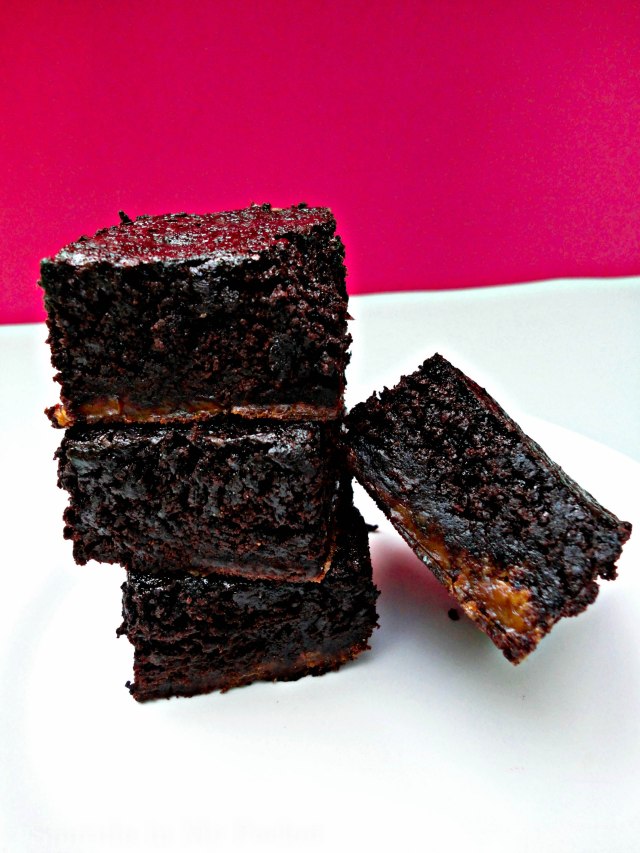
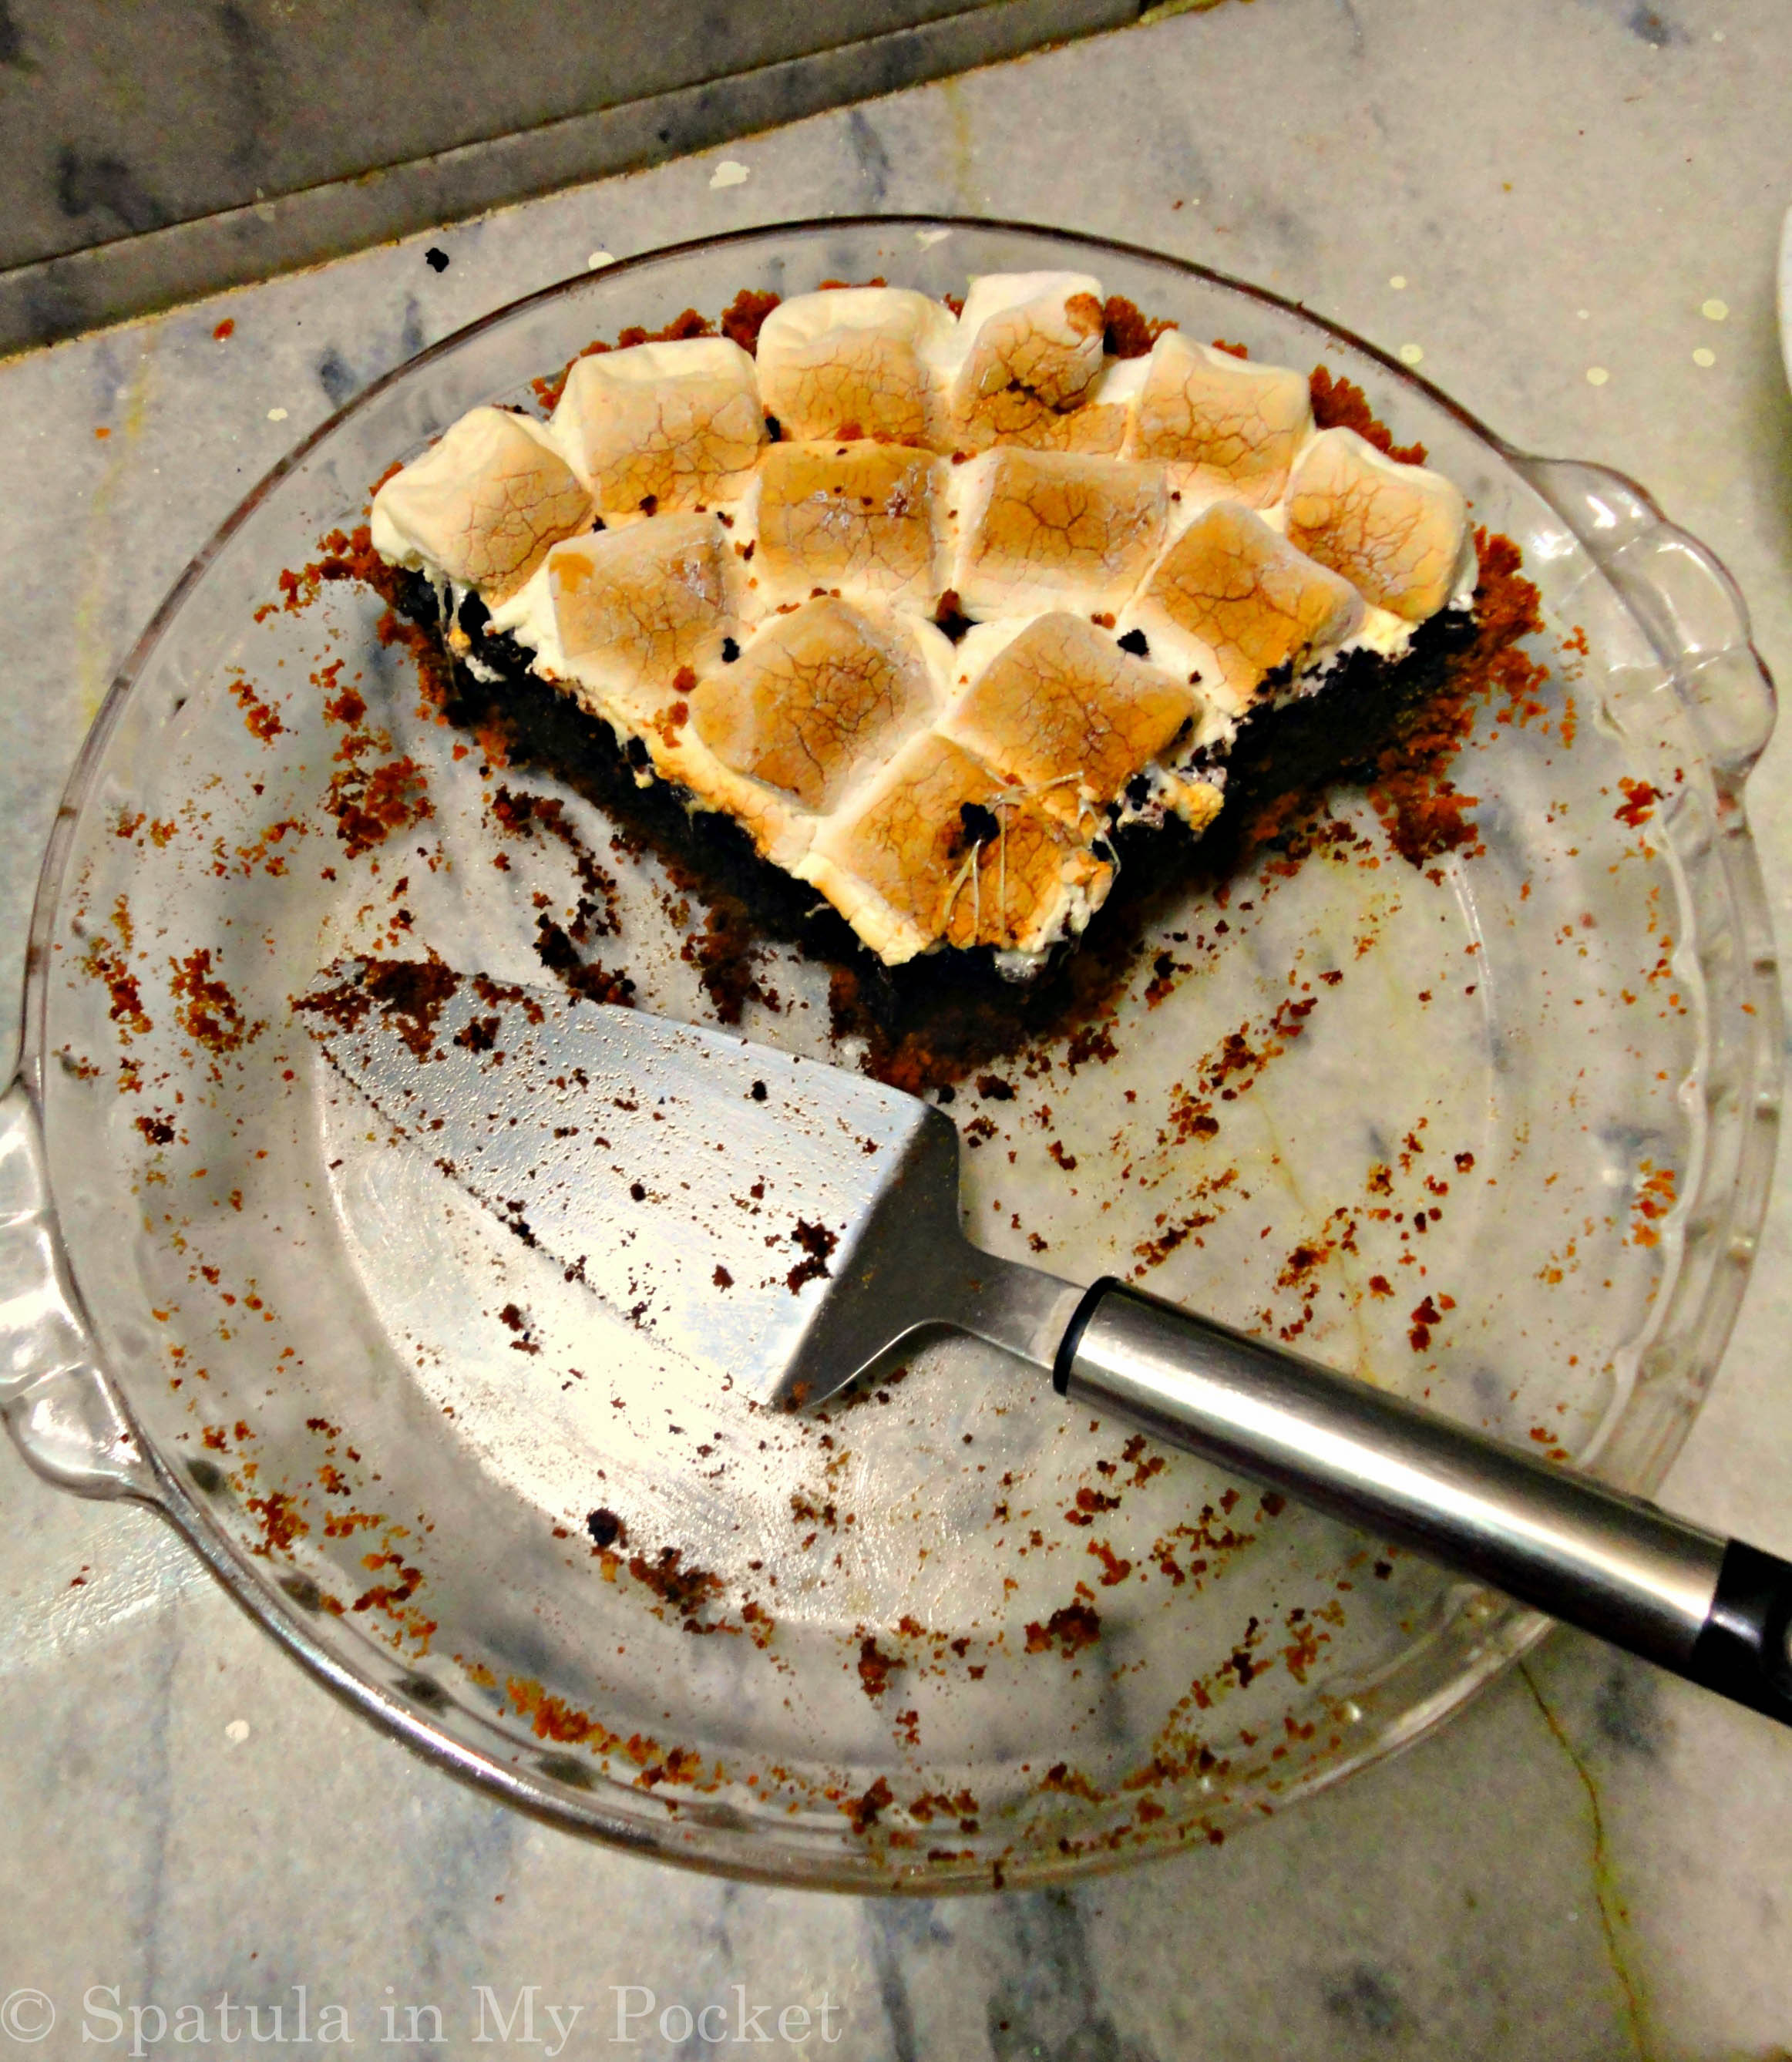
The left side is obviously intended for me.

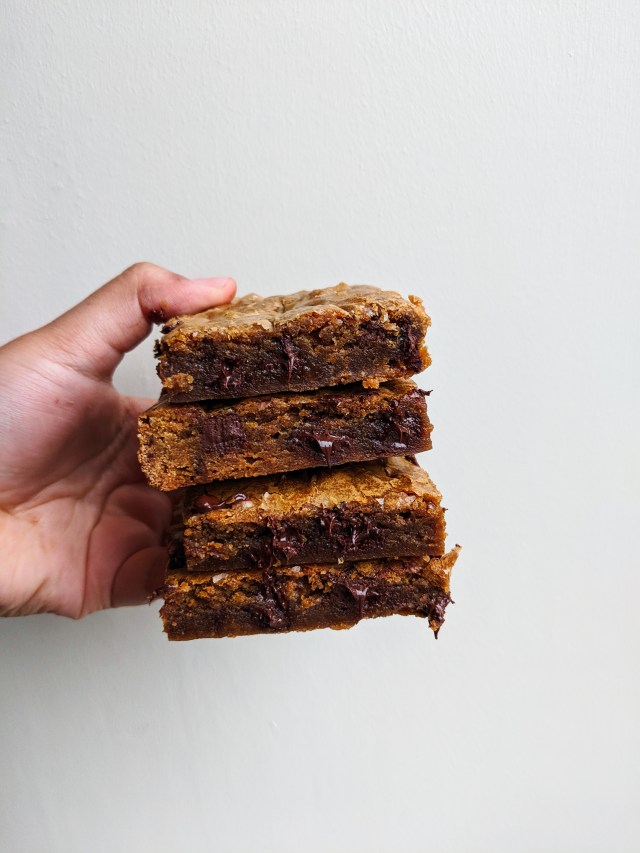
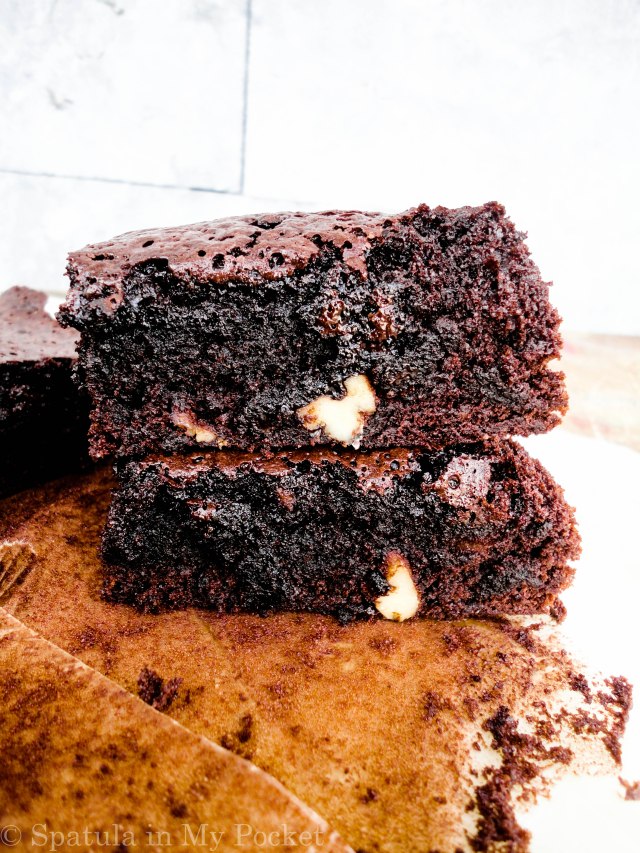
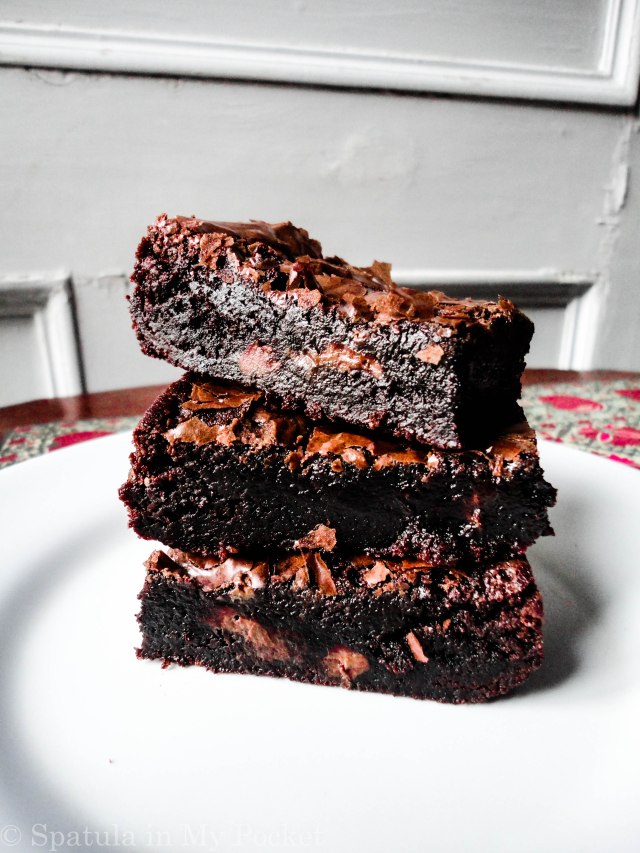
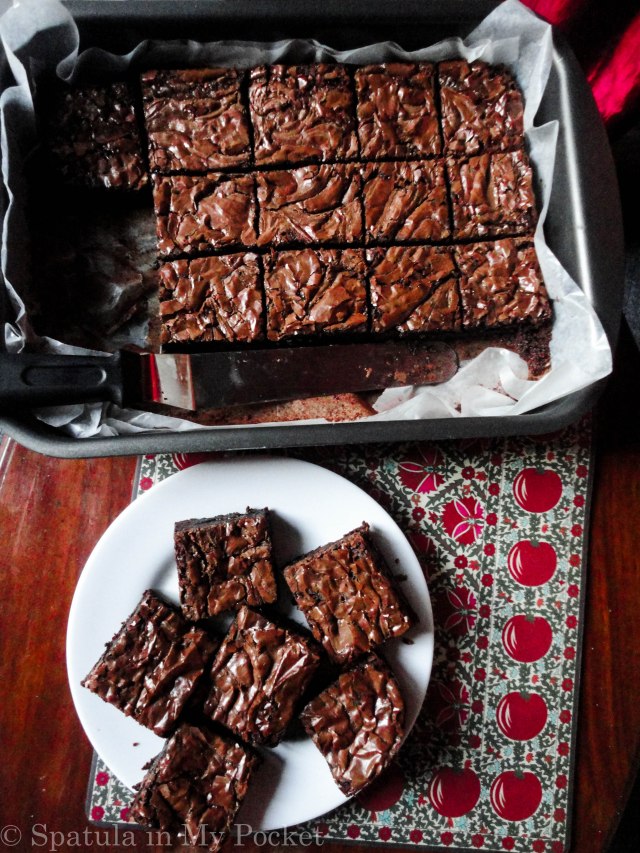
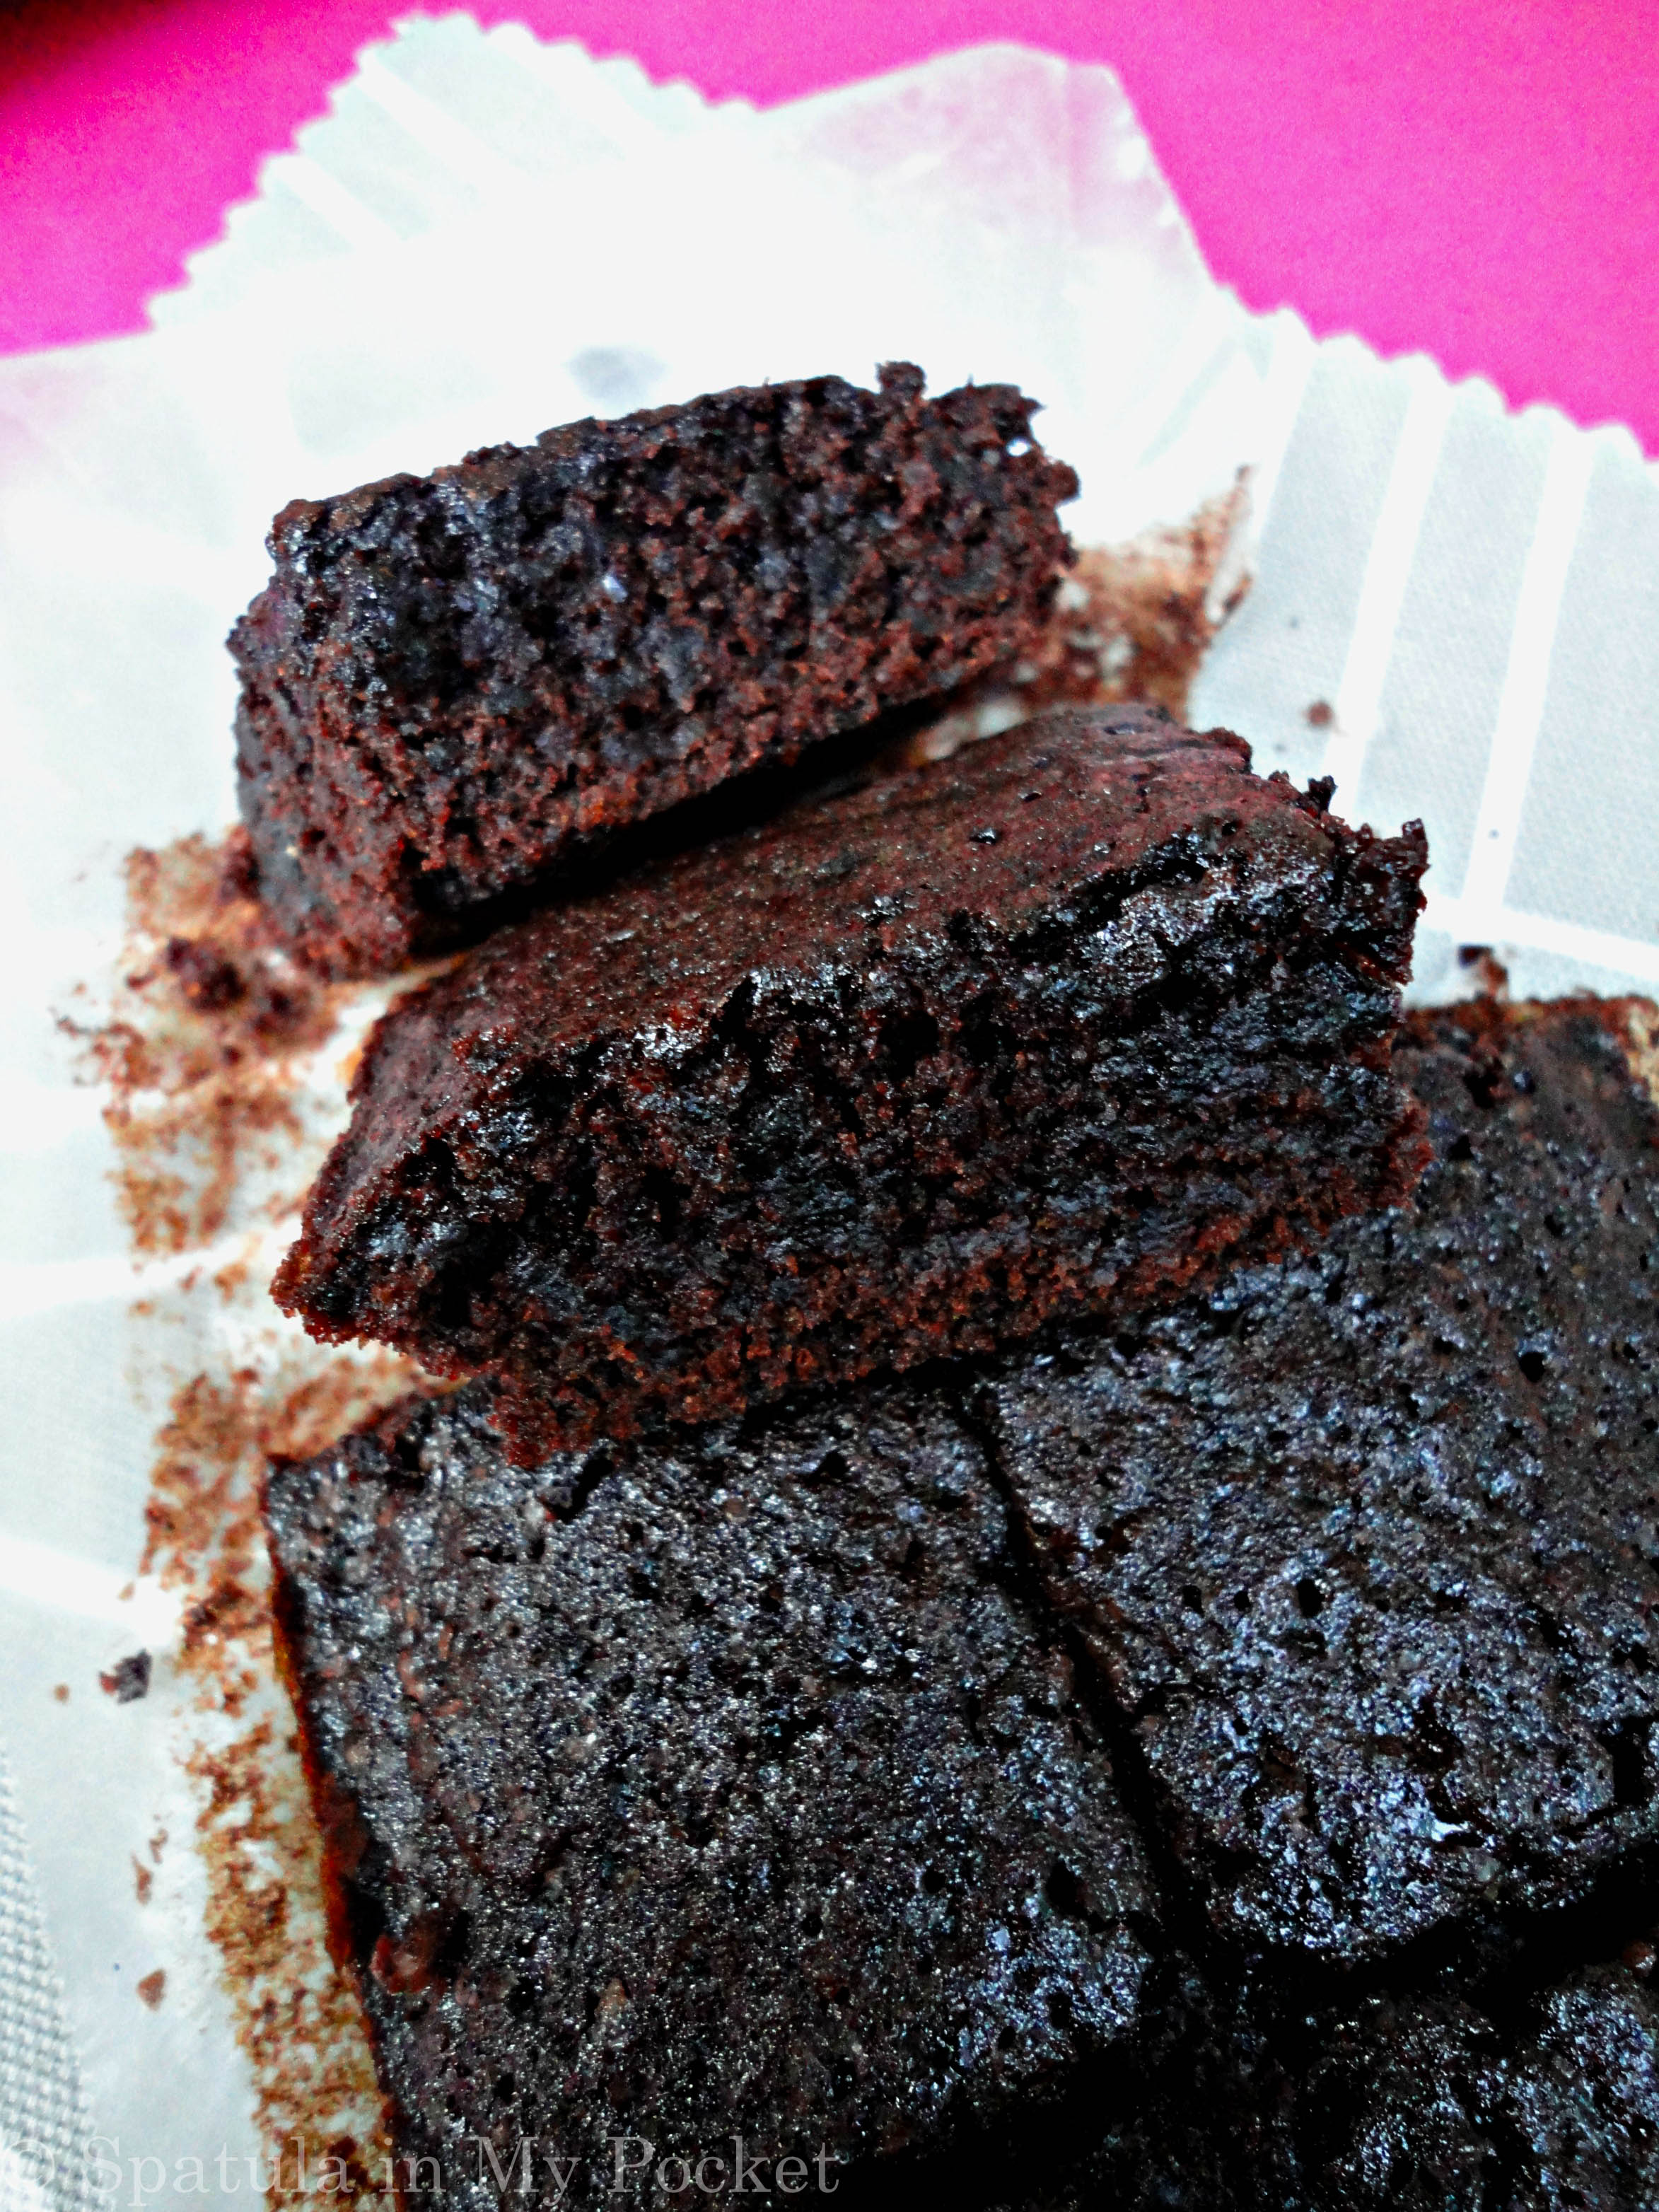
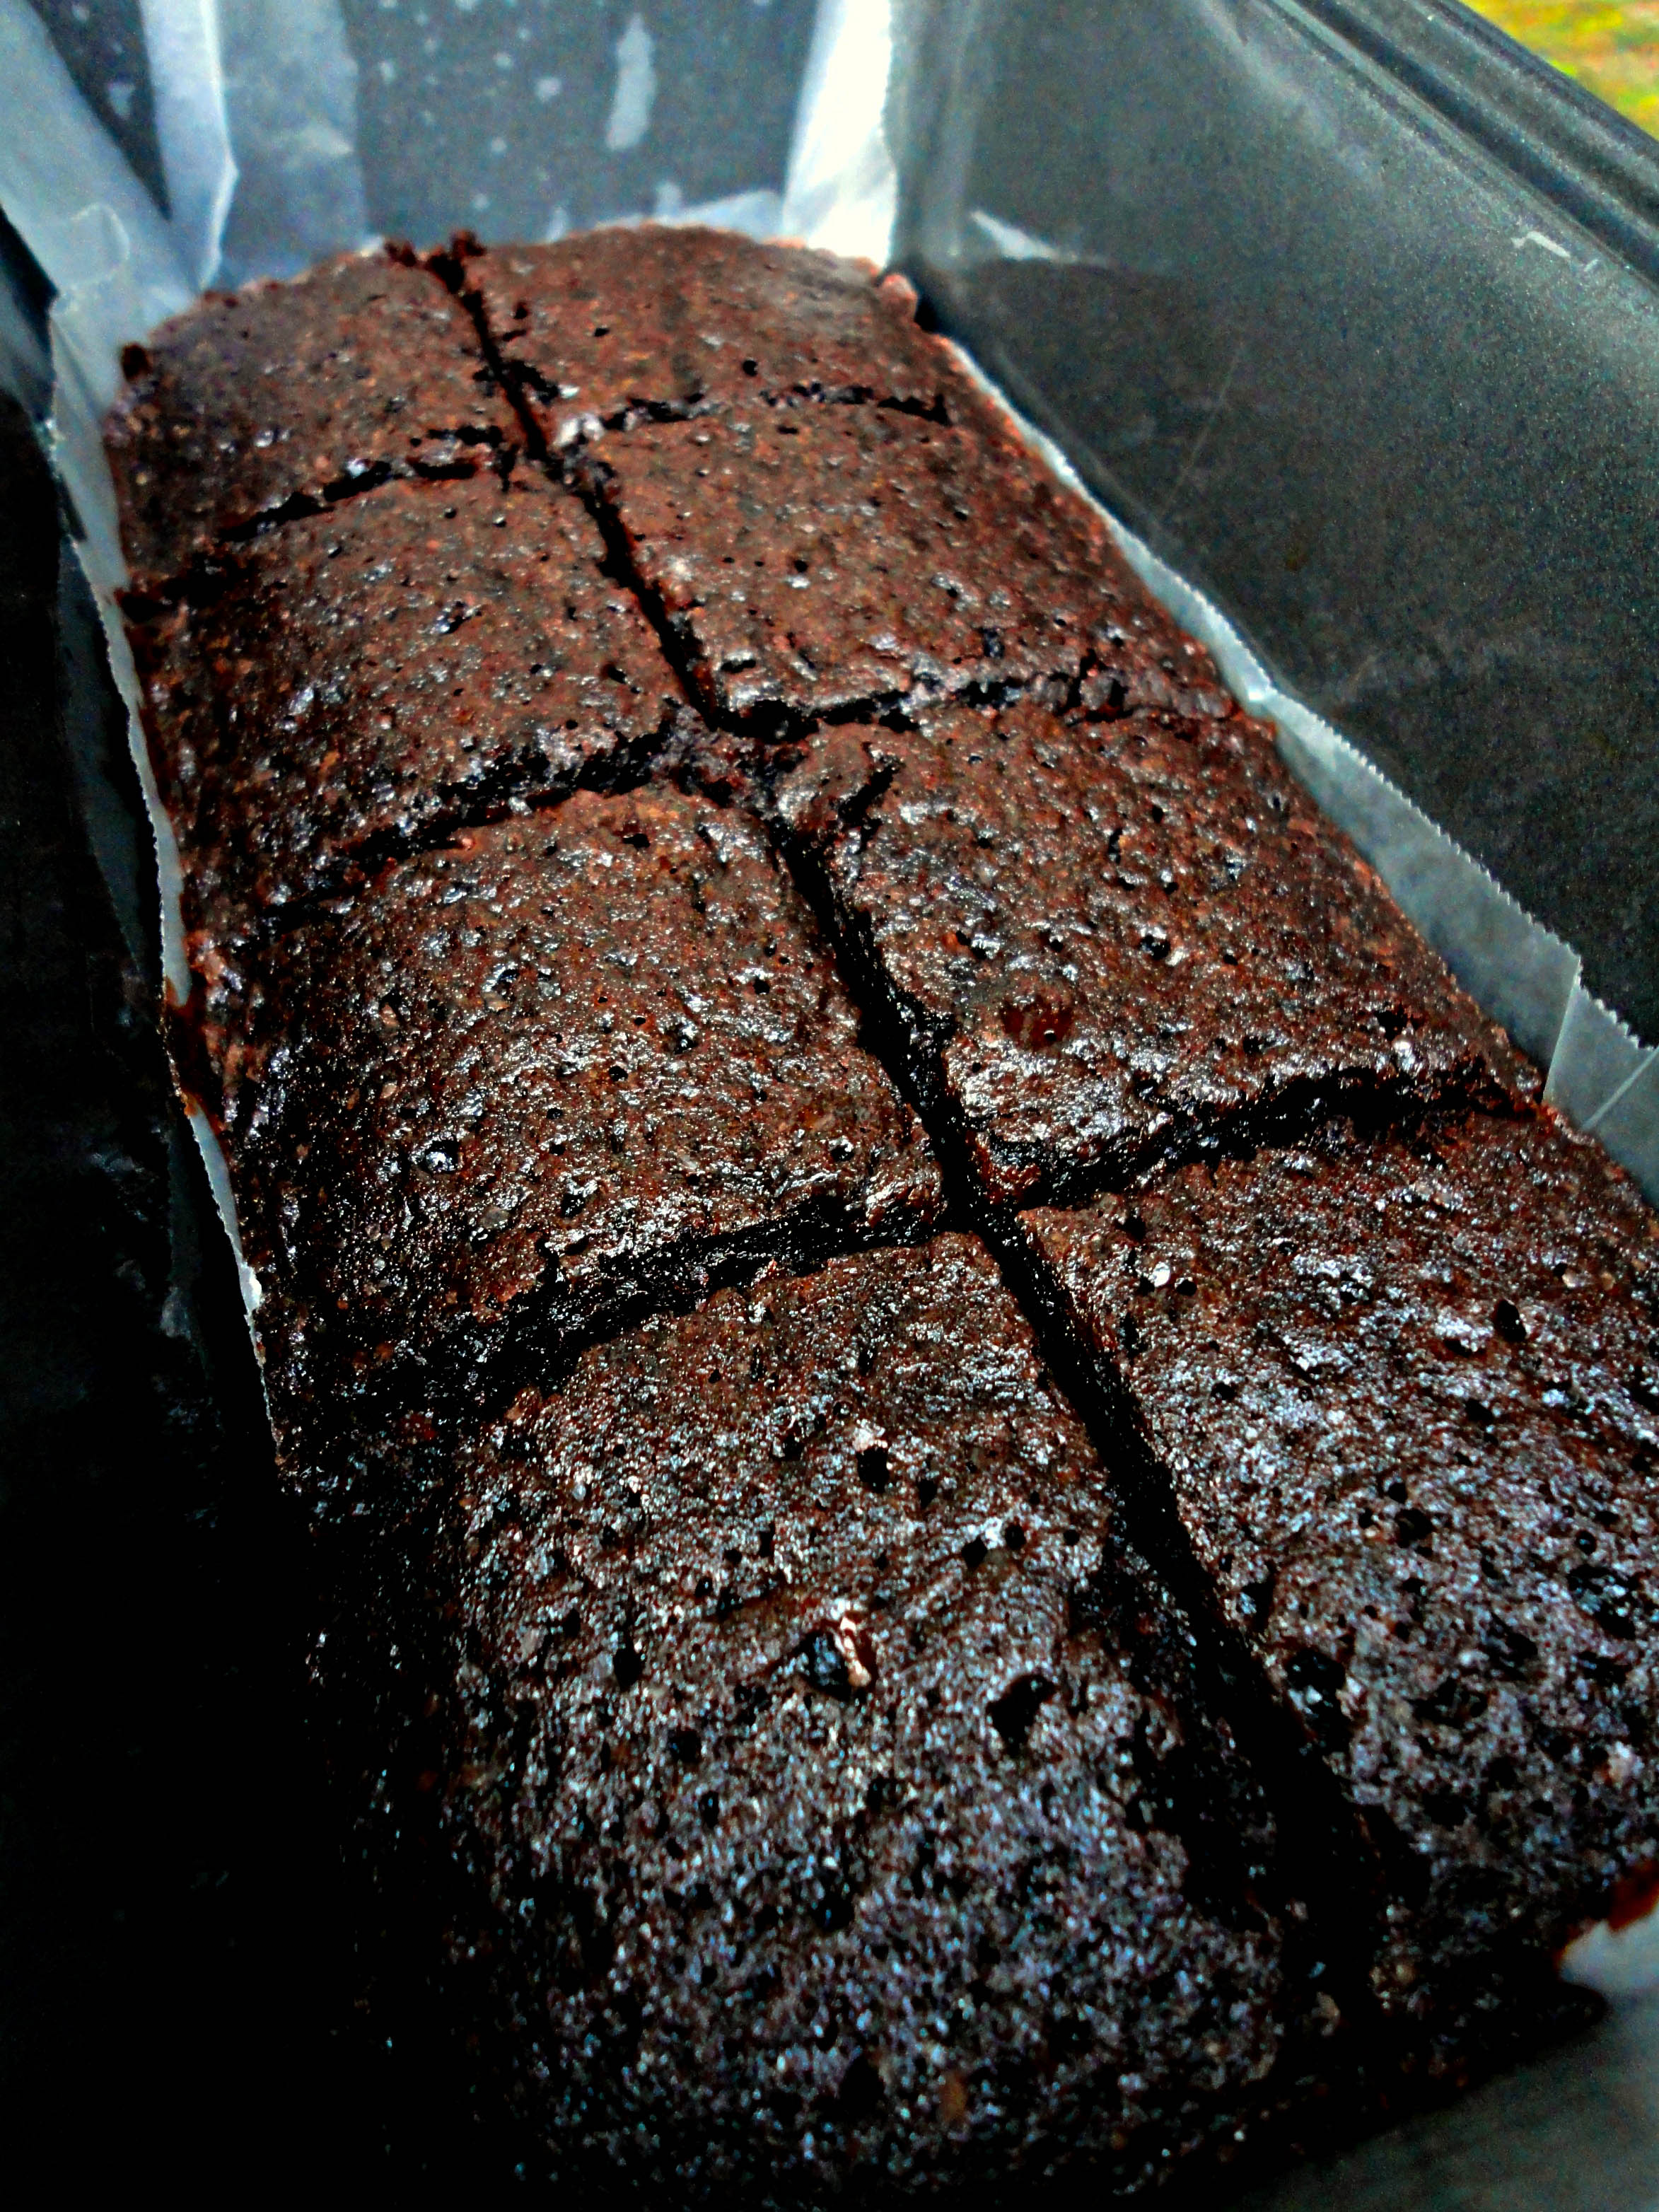
The original recipe yields 3 to 4 brownies. I cut them into 8 tiny squares just so I could savor one bit at a time. These brownies are just as fudgy and dense as the normal kind. And they are so easy to make too. Just one bowl, and only a handful of ingredients, all of which you probably already have on hand.
And the best part? The recipe calls for only half a stick of butter! Awesome for if, like me, you are always running out of butter.


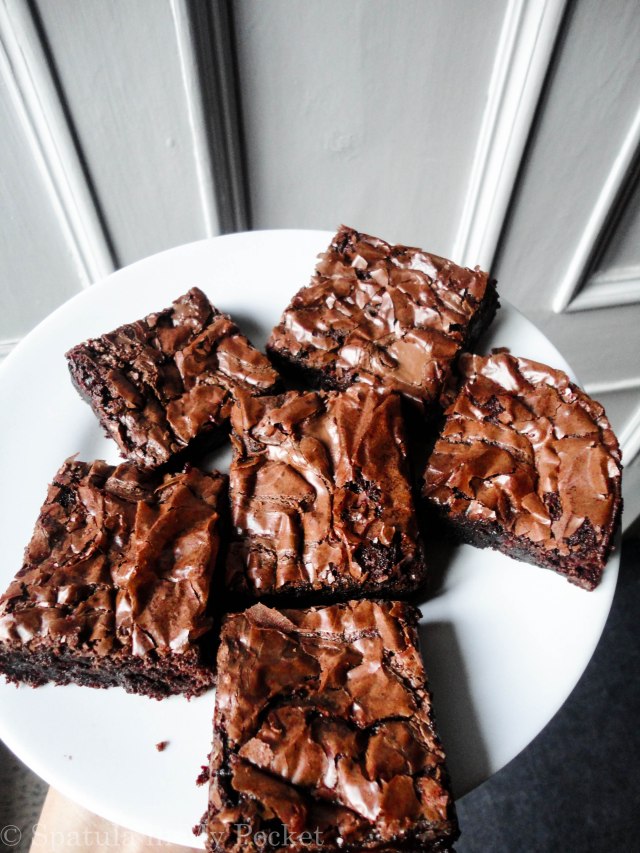
Small Batch Brownies
Prep Time: 5 minutes Yields: 4 large or 8 small squares
Cook Time: 20 to 25 minutes
Ingredients:
1/4 cup (57g) butter
½ cup granulated sugar
1 large egg
½ teaspoon vanilla extract
¼ cup all-purpose flour, sifted
3 Tablespoon cocoa powder, sifted
¼ teaspoon instant coffee powder
Directions:
Preheat oven to 160 degrees C.
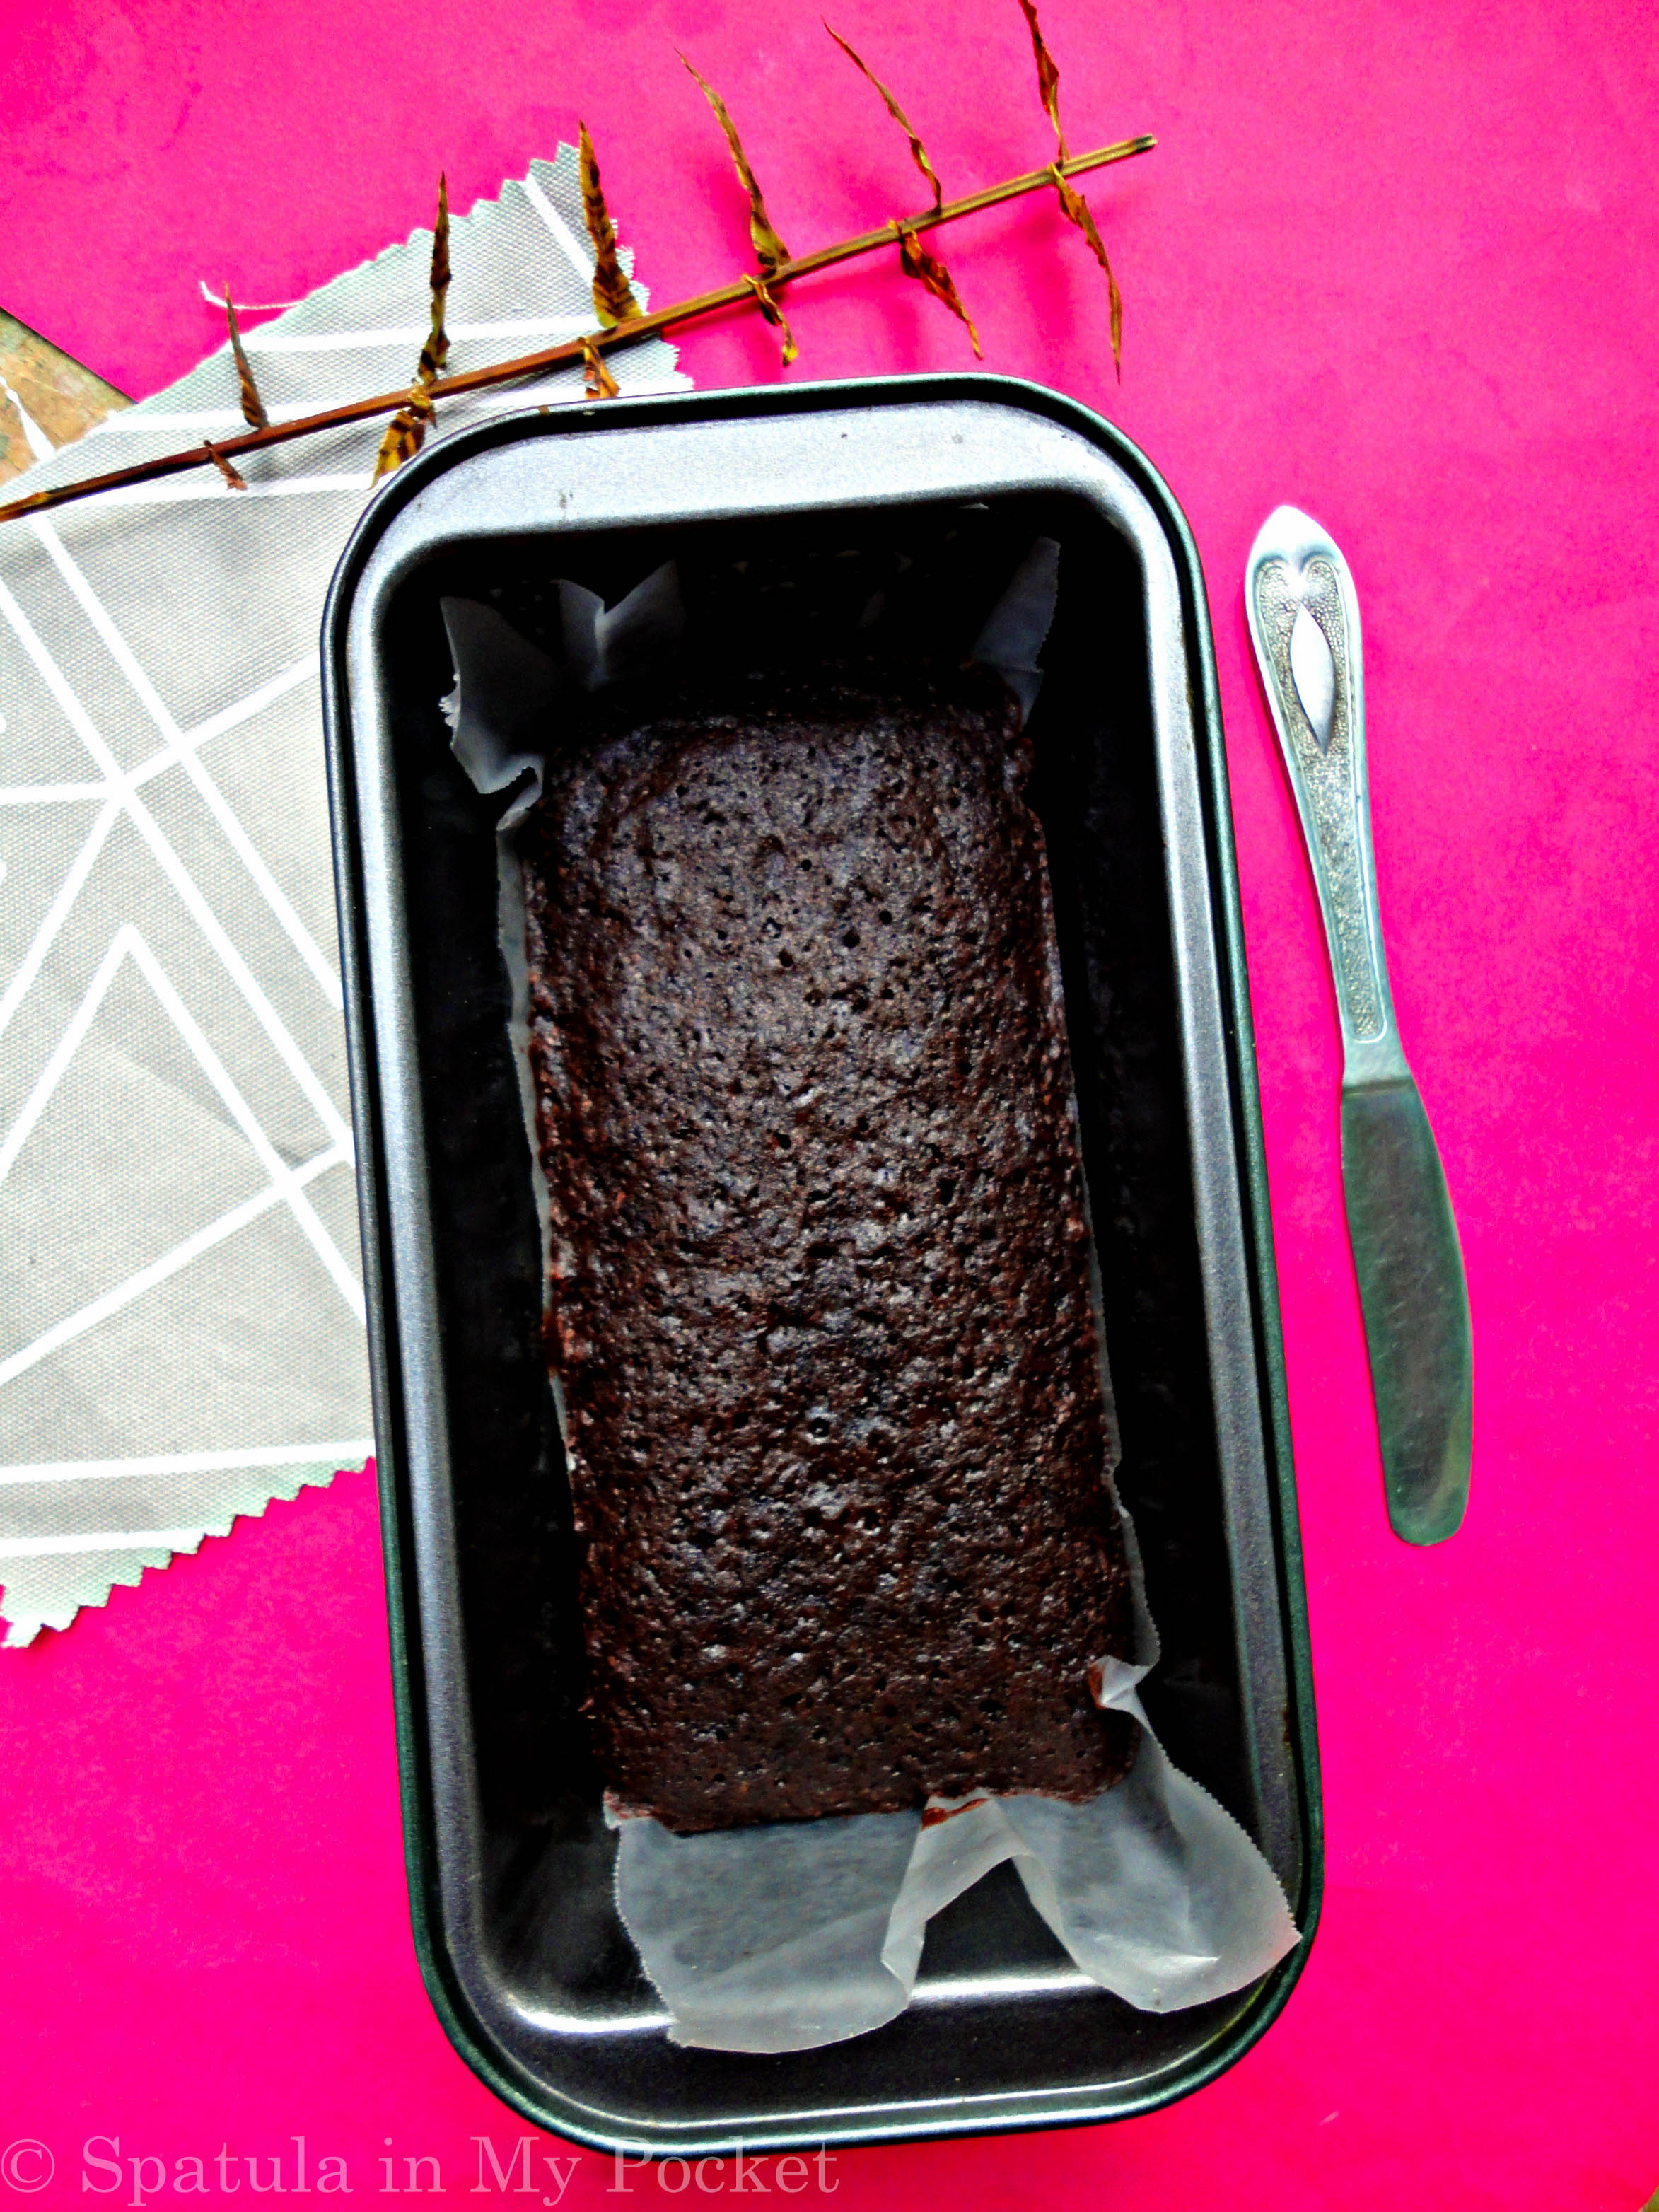
Butter an 8×4 inch loaf pan*. Line with parchment paper. Set aside.
Heat butter in the microwave, for around 25-30 seconds, or until melted. Mix in sugar and cocoa powder. Cool slightly. Then mix in the egg. Add in the vanilla, coffee powder, and the flour; mix until just combined.
Pour into prepared loaf pan. Spread into an even layer. Bake for about 20-25 minutes or until a toothpick inserted into the center comes out clean.
*using a pan any bigger than a loaf pan will yield in thinner brownies.
|