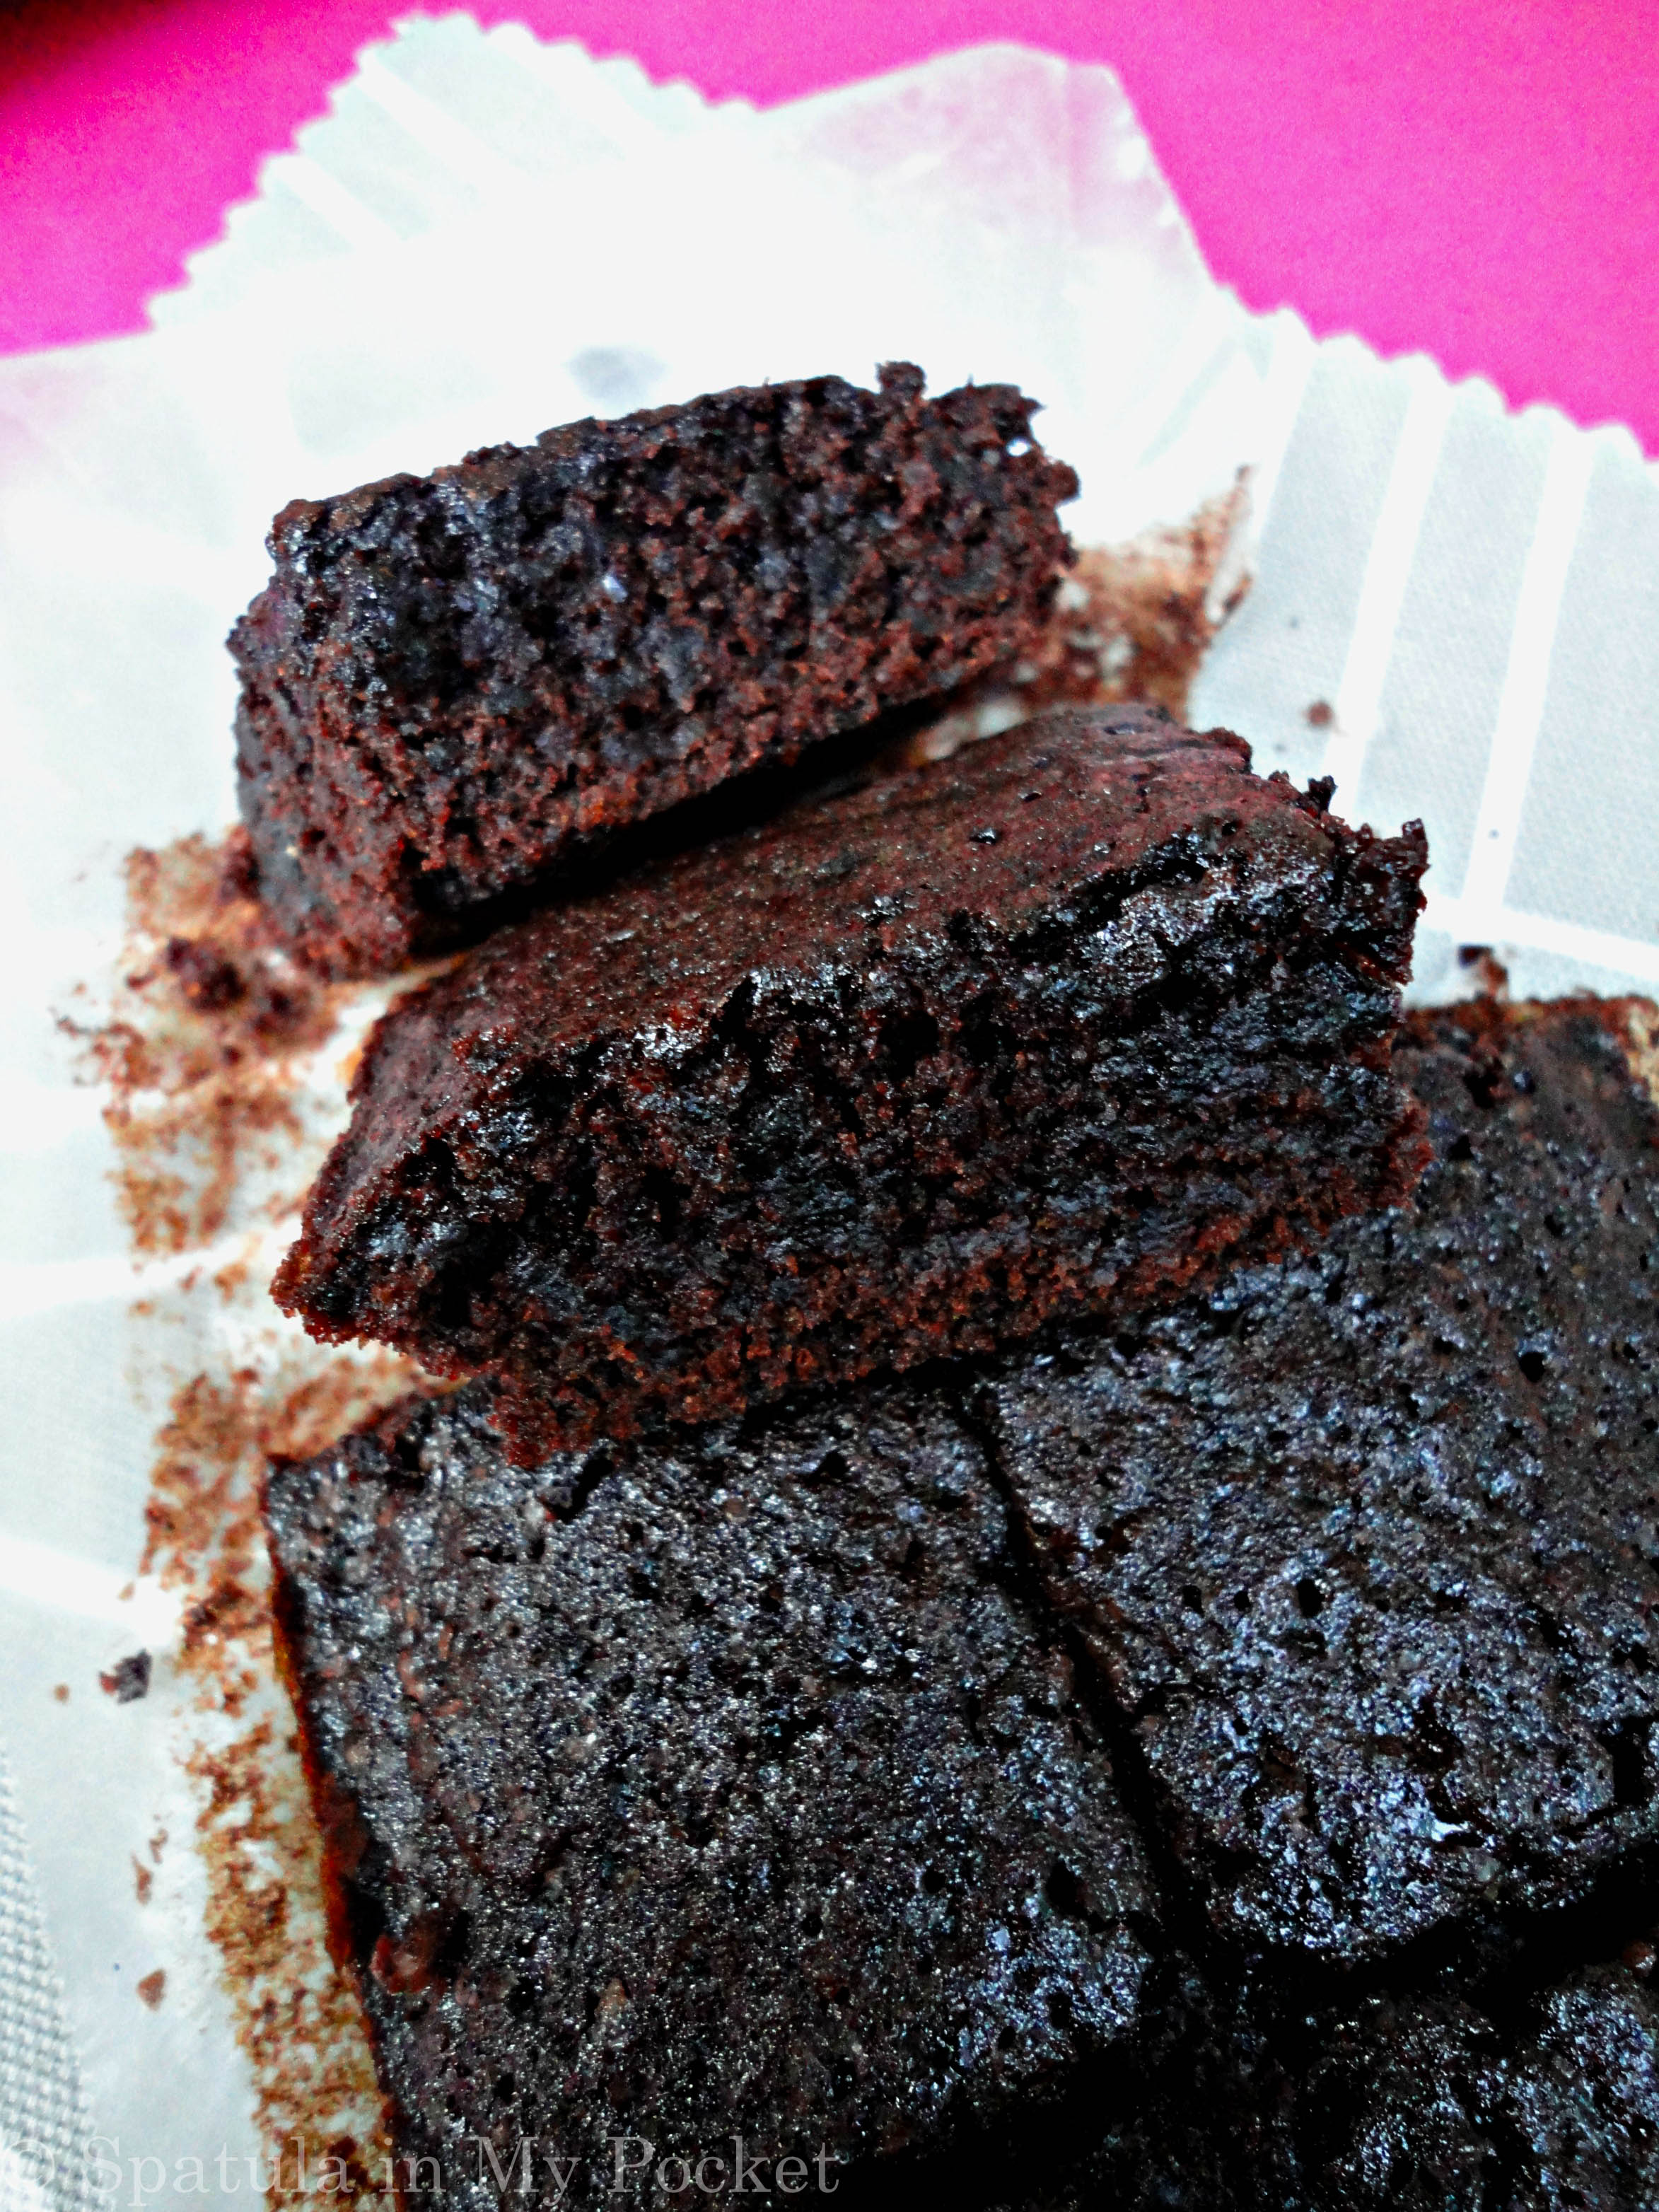
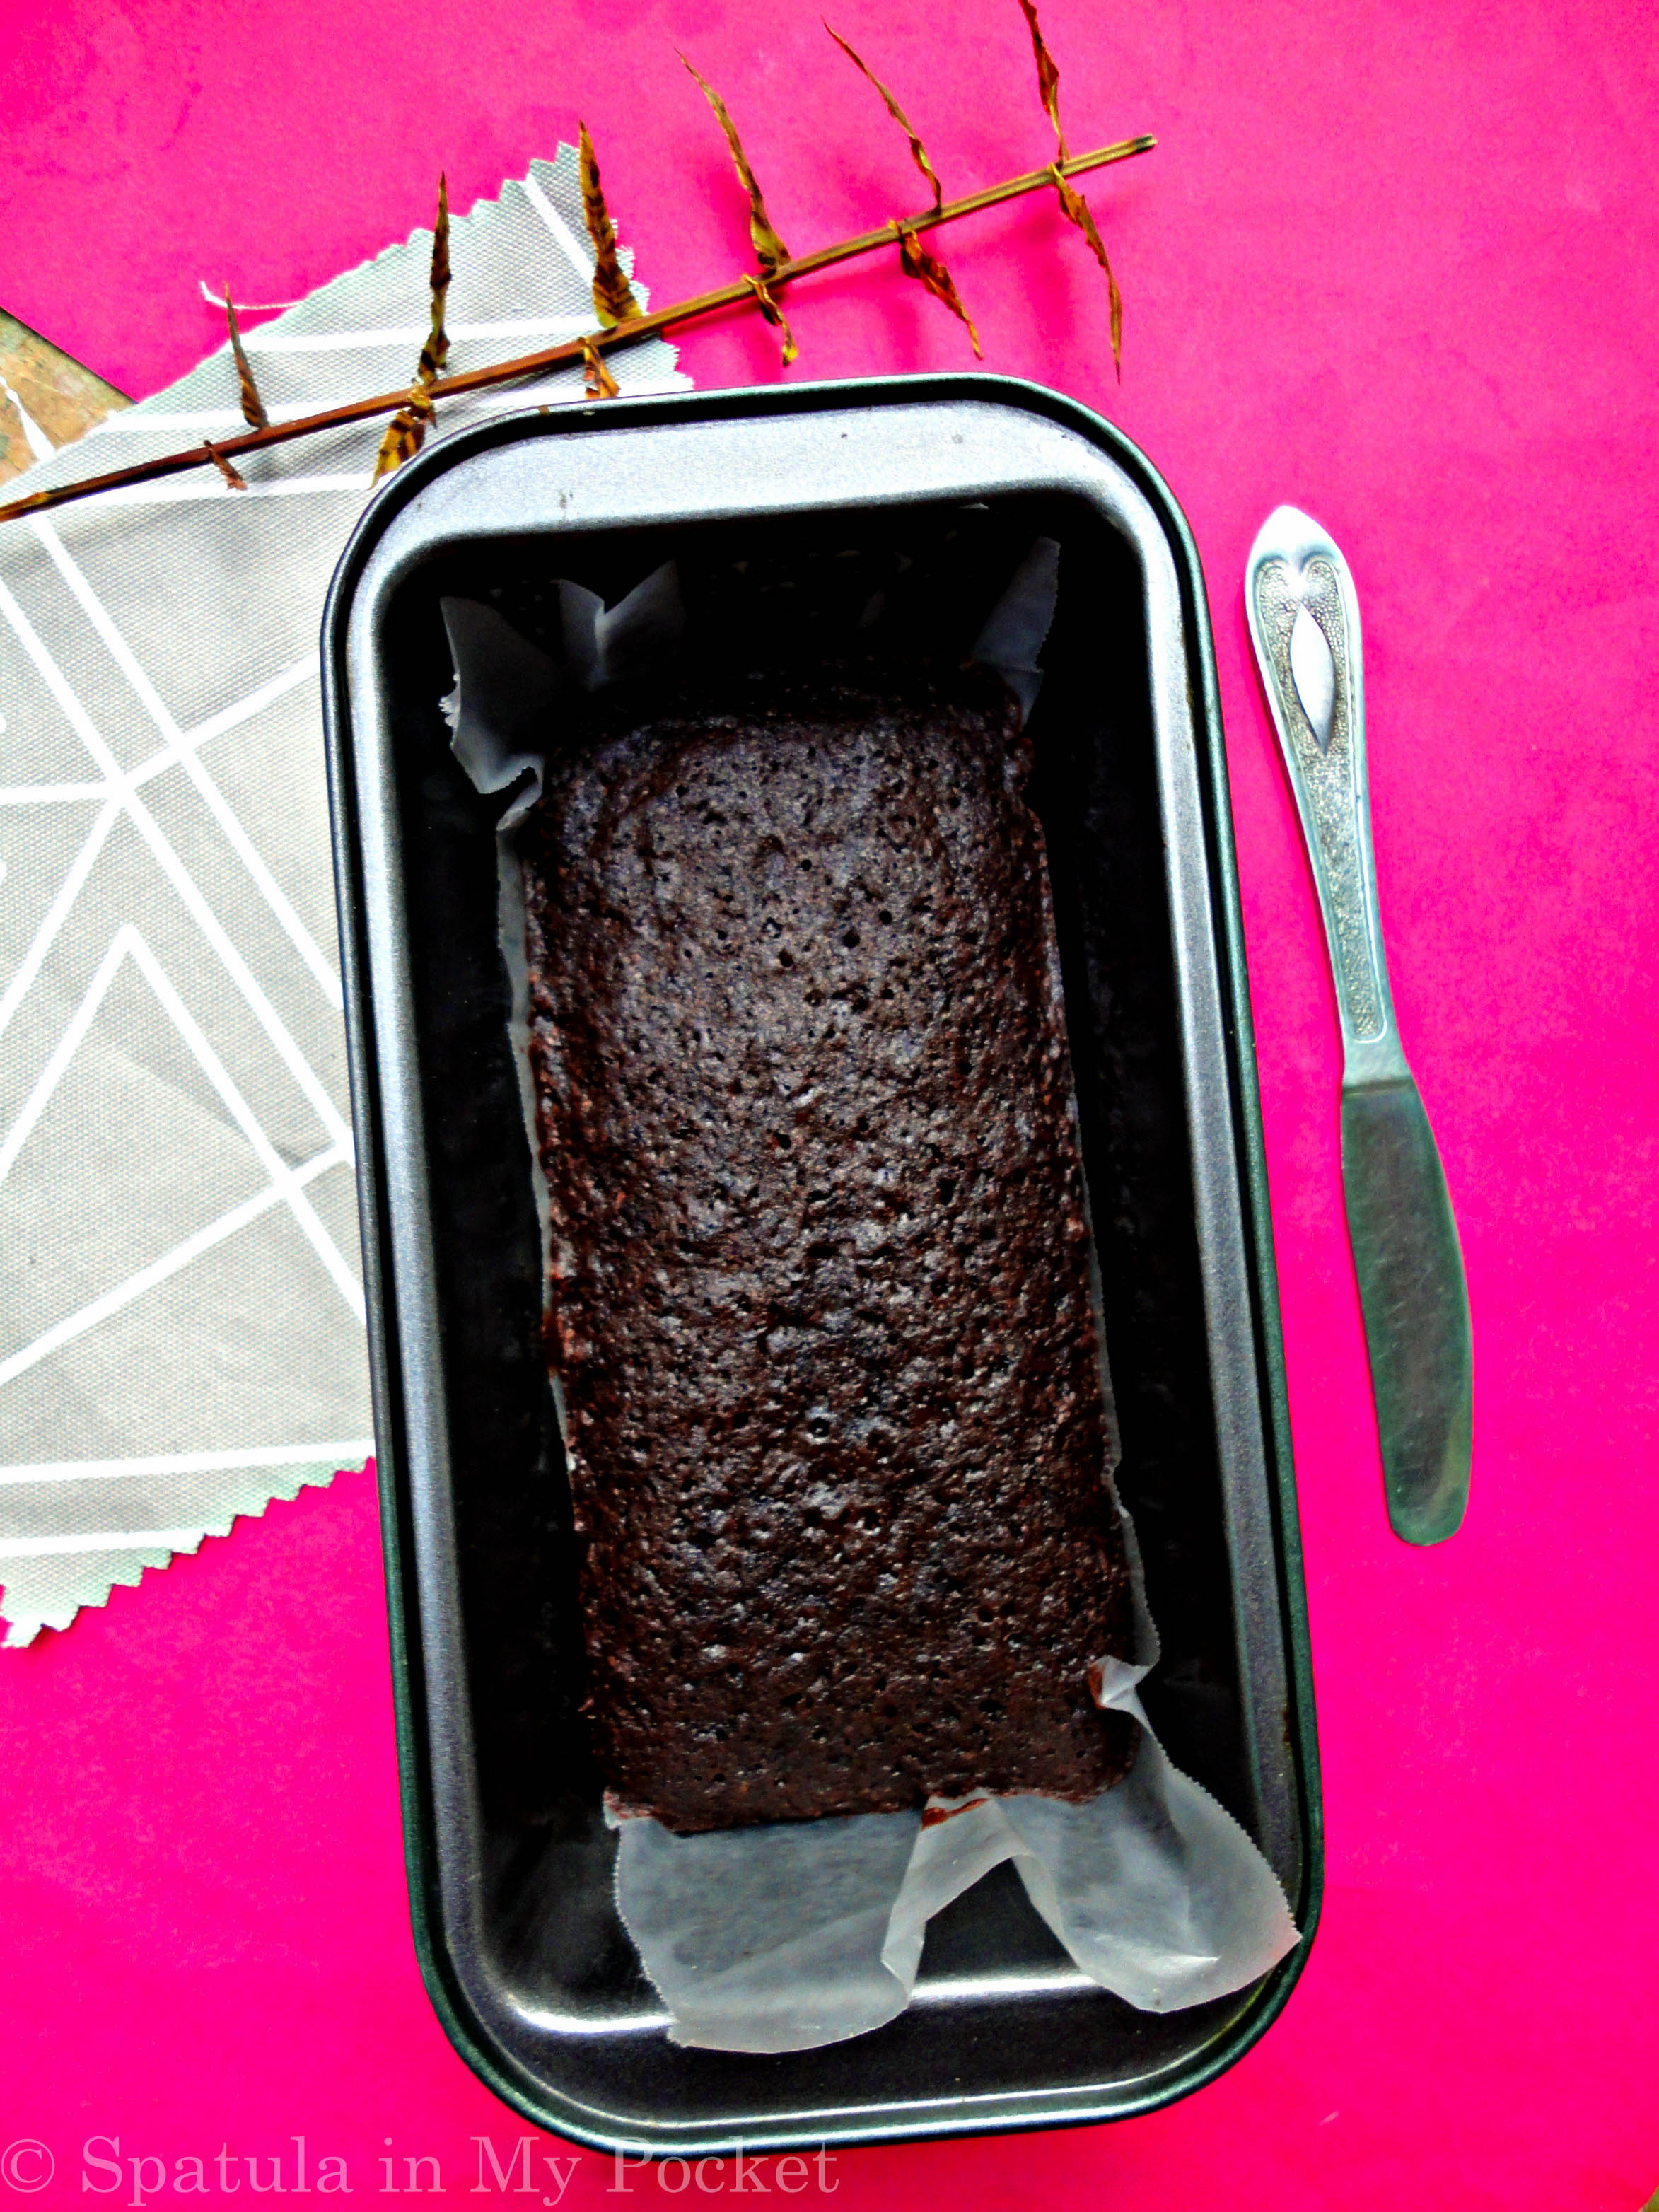
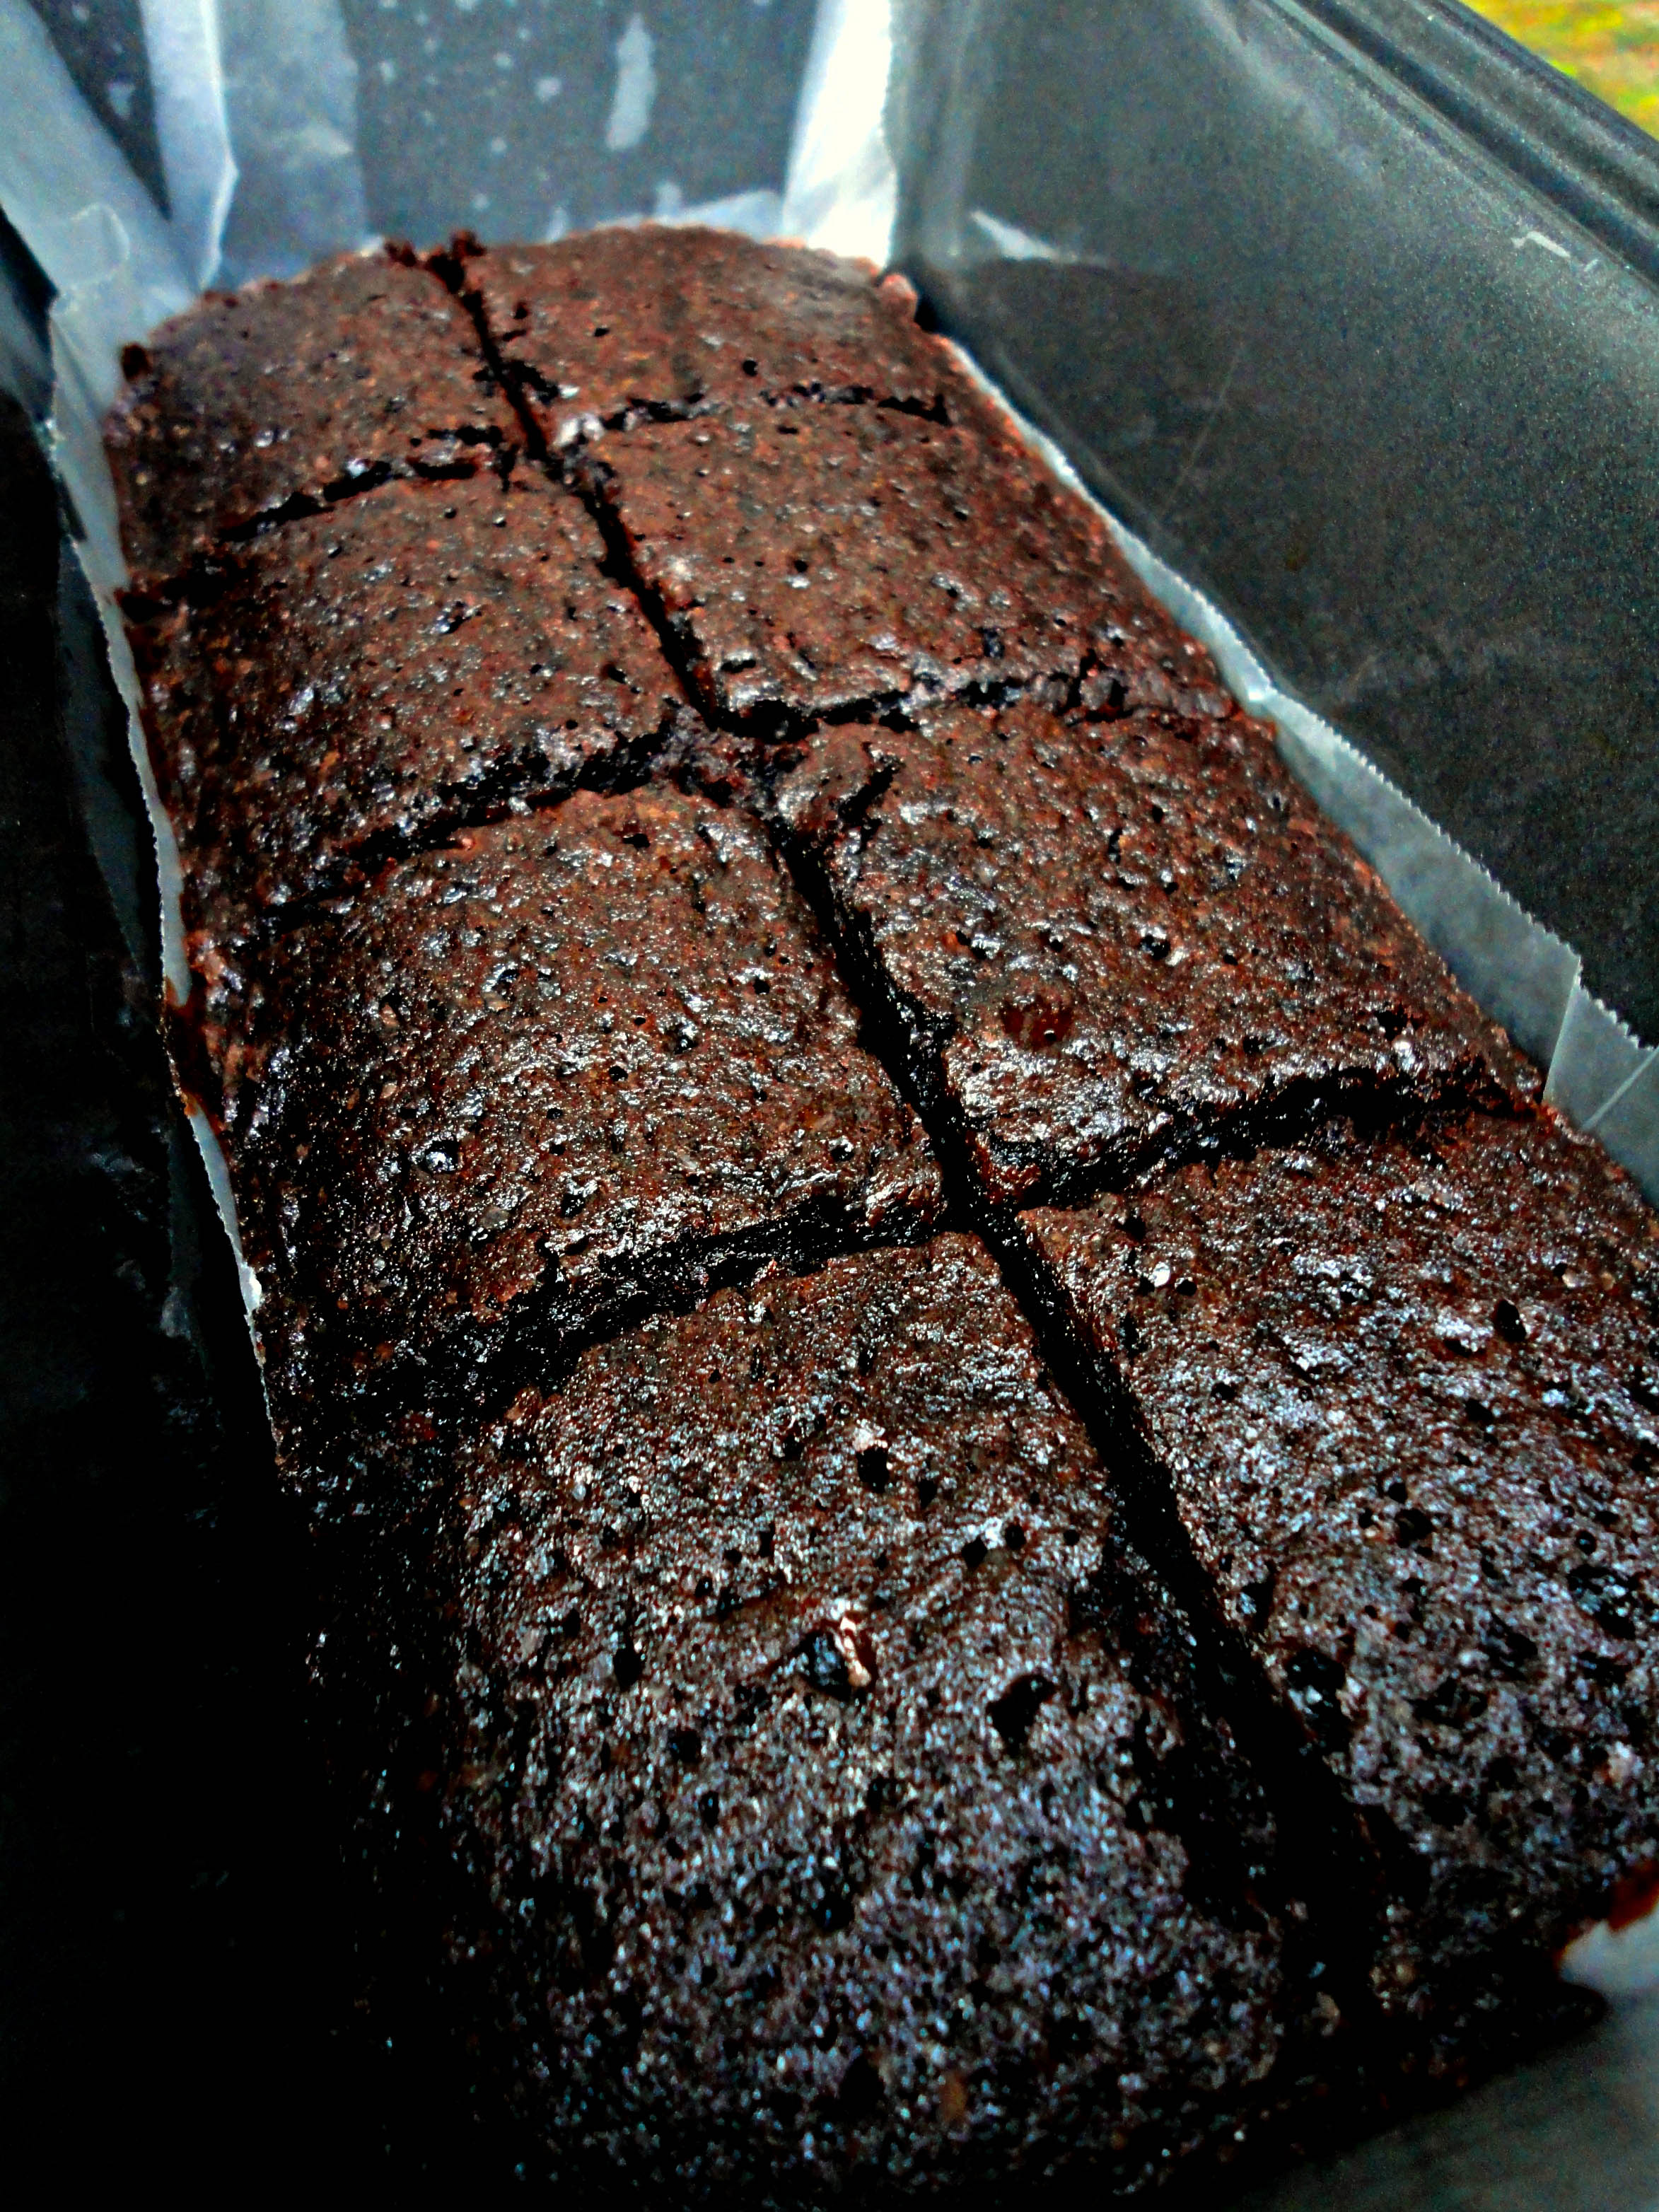
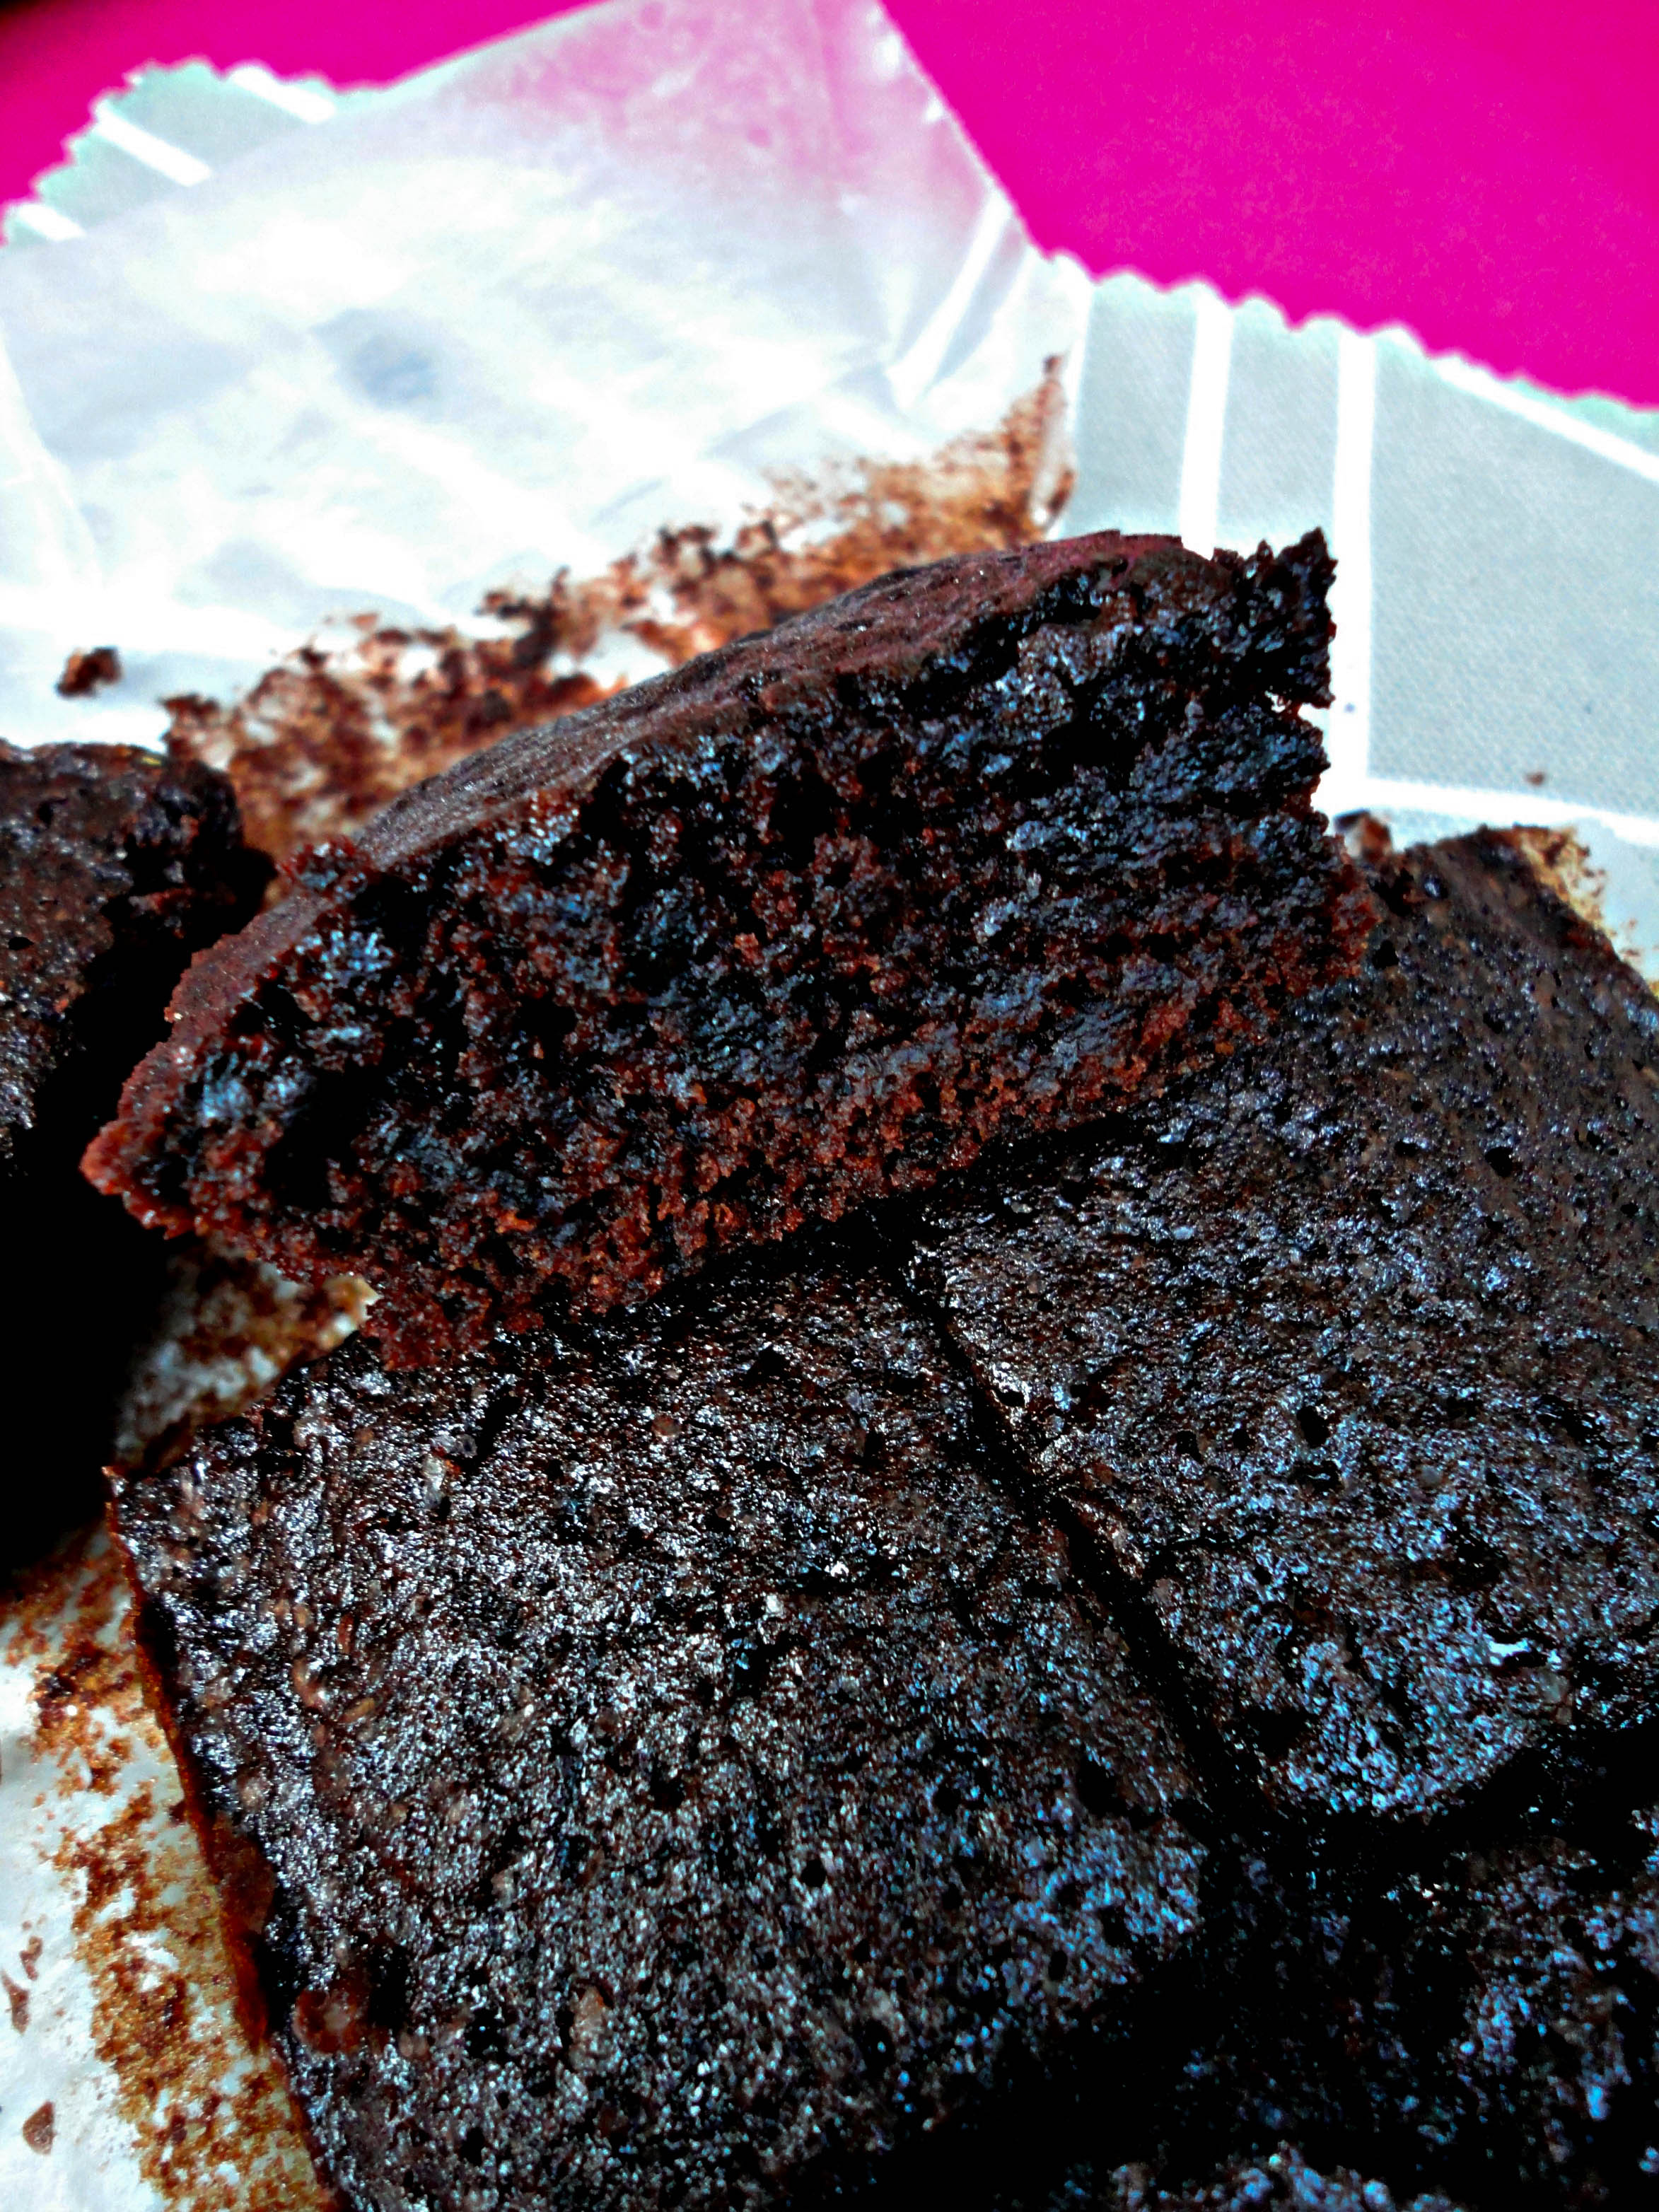
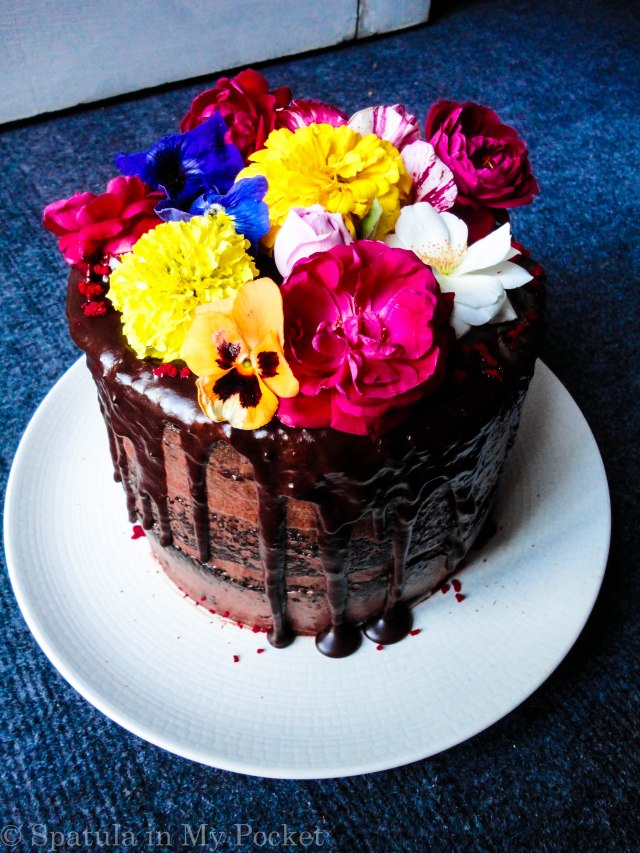
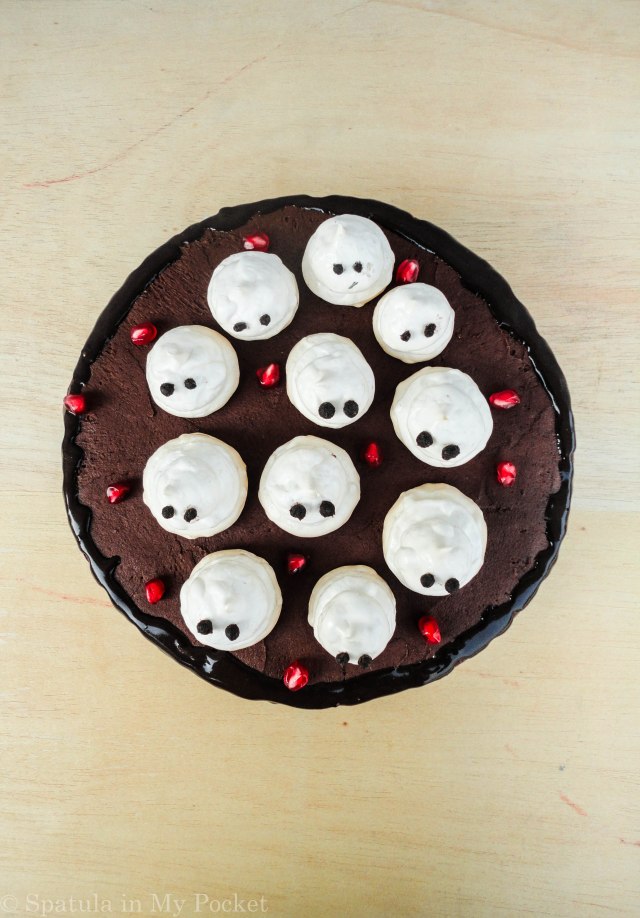
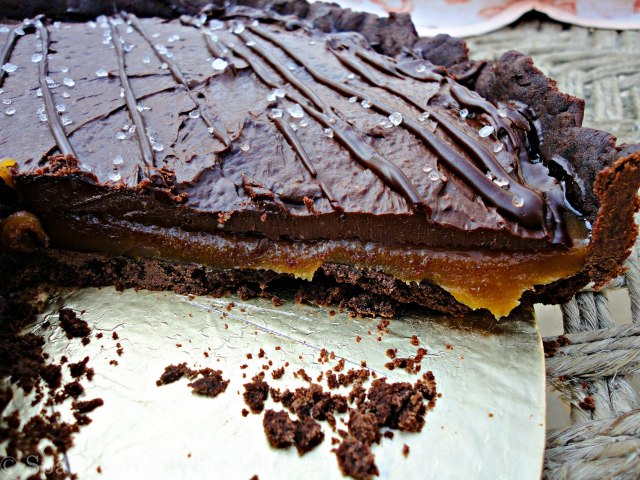
Death by Chocolate Cake
Ingredients:
Chocolate Cake
· 1 and 3/4 cup all-purpose flour
· 1 and 3/4 cup granulated sugar
· 3/4 cup cocoa powder
· 1 tsp baking powder
· 2 tsp baking soda
· 1/2 tsp salt
· 1 cup buttermilk, at room temperature1
· 1/2 cup vegetable oil
· 2 large eggs, at room temperature
· 1 tsp vanilla extract
· 1 cup freshly made strong hot coffee2
Chocolate Fudge Frosting
-
250g butter
-
3-4 cups icing sugar
-
3/4 cup cocoa powder
-
3 Tbsp. heavy cream
-
3-5 Tbsp. whole milk
-
1 tsp vanilla extract
Ganache for the drip
· 1/2 cup cream
· 1/2 cup semi-sweet chocolate chips
Fresh flowers for the top
Directions:
1. Preheat oven to 180C degrees. Grease & flour three 6 inch round cake pans3, and line them with parchment paper.
2. For the cake: In a bowl, whisk together hot coffee and cocoa till a thick mix forms. Set aside to cool.
3. Sift together the flour, baking powder, baking soda, and salt in a medium sized bowl. Set aside.
4. In a large bowl, using a handheld mixer, whisk the eggs and sugar till a bit pale in color. Mix in the buttermilk, oil, and vanilla until combined. Slowly add the dry ingredients to the wet ingredients with the mixer on low. Add the coffee cocoa mixture. Mix until combined.
5. Divide the batter into prepared baking pans and bake for 20-25 minutes or until a toothpick inserted in the center comes out clean. Cool completely before frosting.
6. For the frosting: In a large bowl, sift together the icing sugar and cocoa powder.
7. In another bowl, using a handheld or stand mixer fitted with a paddle attachment, beat the butter on high speed until smooth and pale in color. With the speed on low, add in half of the sugar and the cocoa powder. Beat till combined. Then add in the rest of the sugar/cocoa mix. Turn mixer to medium speed and add the vanilla, cream and milk tablespoon by tablespoon. Turn the mixer to high speed and beat for 1 minute. Add more icing sugar if too lose or add more milk if too thick.
8. For the ganache: In a small saucepan over medium heat, bring the heavy cream to a simmer (or microwave till hot). Remove from heat and add chocolate. Let sit for about 5 minutes, then whisk until smooth. Allow ganache to cool and thicken for about 30 minutes.
9. Assemble the cake: Place 1 layer, flat side up, on a plate. With a palette knife or offset spatula, spread the top with frosting. Place the second layer on top, spread with frosting. Place the third layer on top, plain side up, and spread the frosting evenly on the top and sides of the cake. Scrape off the excess frosting for the ‘naked cake’ look I went for. Place cake in the fridge till cool to the touch. Then, pour over the top the chocolate ganache, let it drip round the edges. Top with fresh flowers, and enjoy!
Notes
1. DIY Buttermilk: 1 cup whole milk (at room temperature) + 1 Tbsp. white vinegar or lemon juice
2. I use 1 cup boiling water + 1 tsp instant coffee
3. You can use two 8-inch or two 9-inch cake pans instead too
|


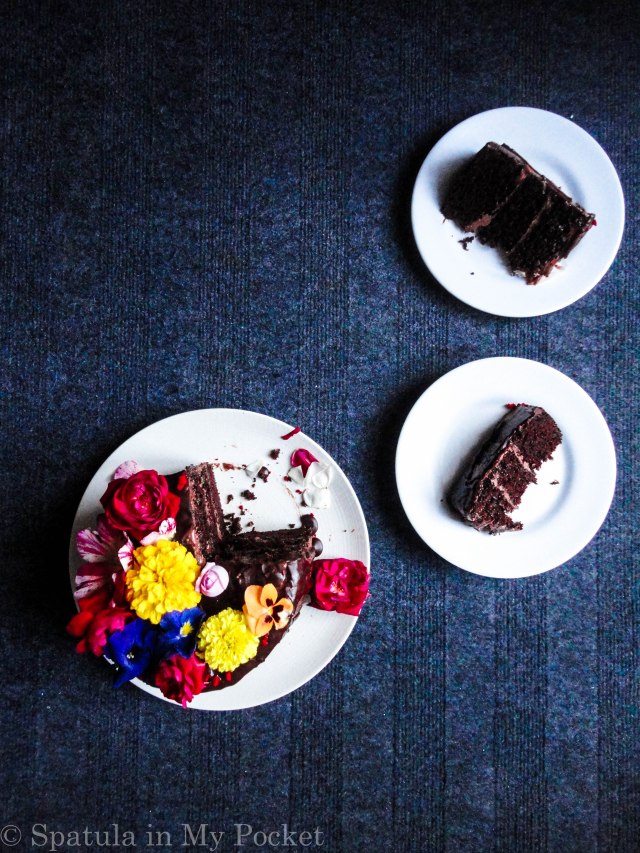


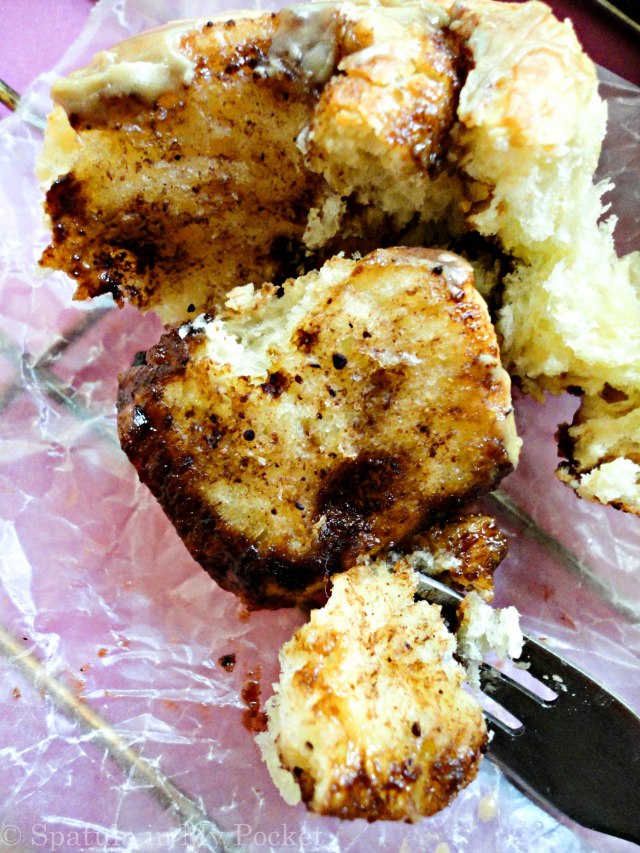
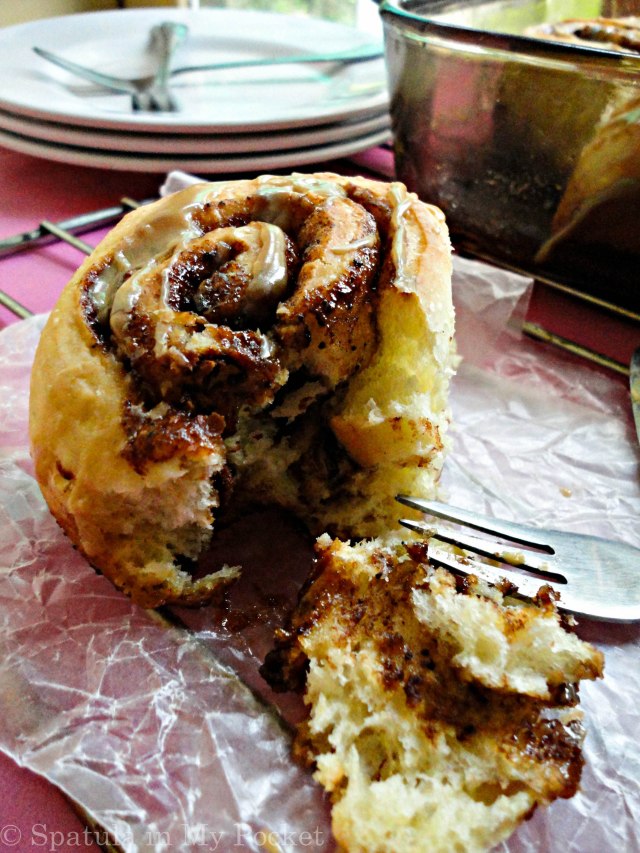
 That first bite though.