Foolproof Pizza Dough

Homemade pizza dough; so simple, so delicious, with guaranteed perfect results every time!

*Step-by-step photos at the BOTTOM.

*Please excuse the bad quality of the pictures, light went out and I had to make do with that one tiny bulb in the kitchen.

 Homemade pizza dough made so simple, with guaranteed perfect results every time!

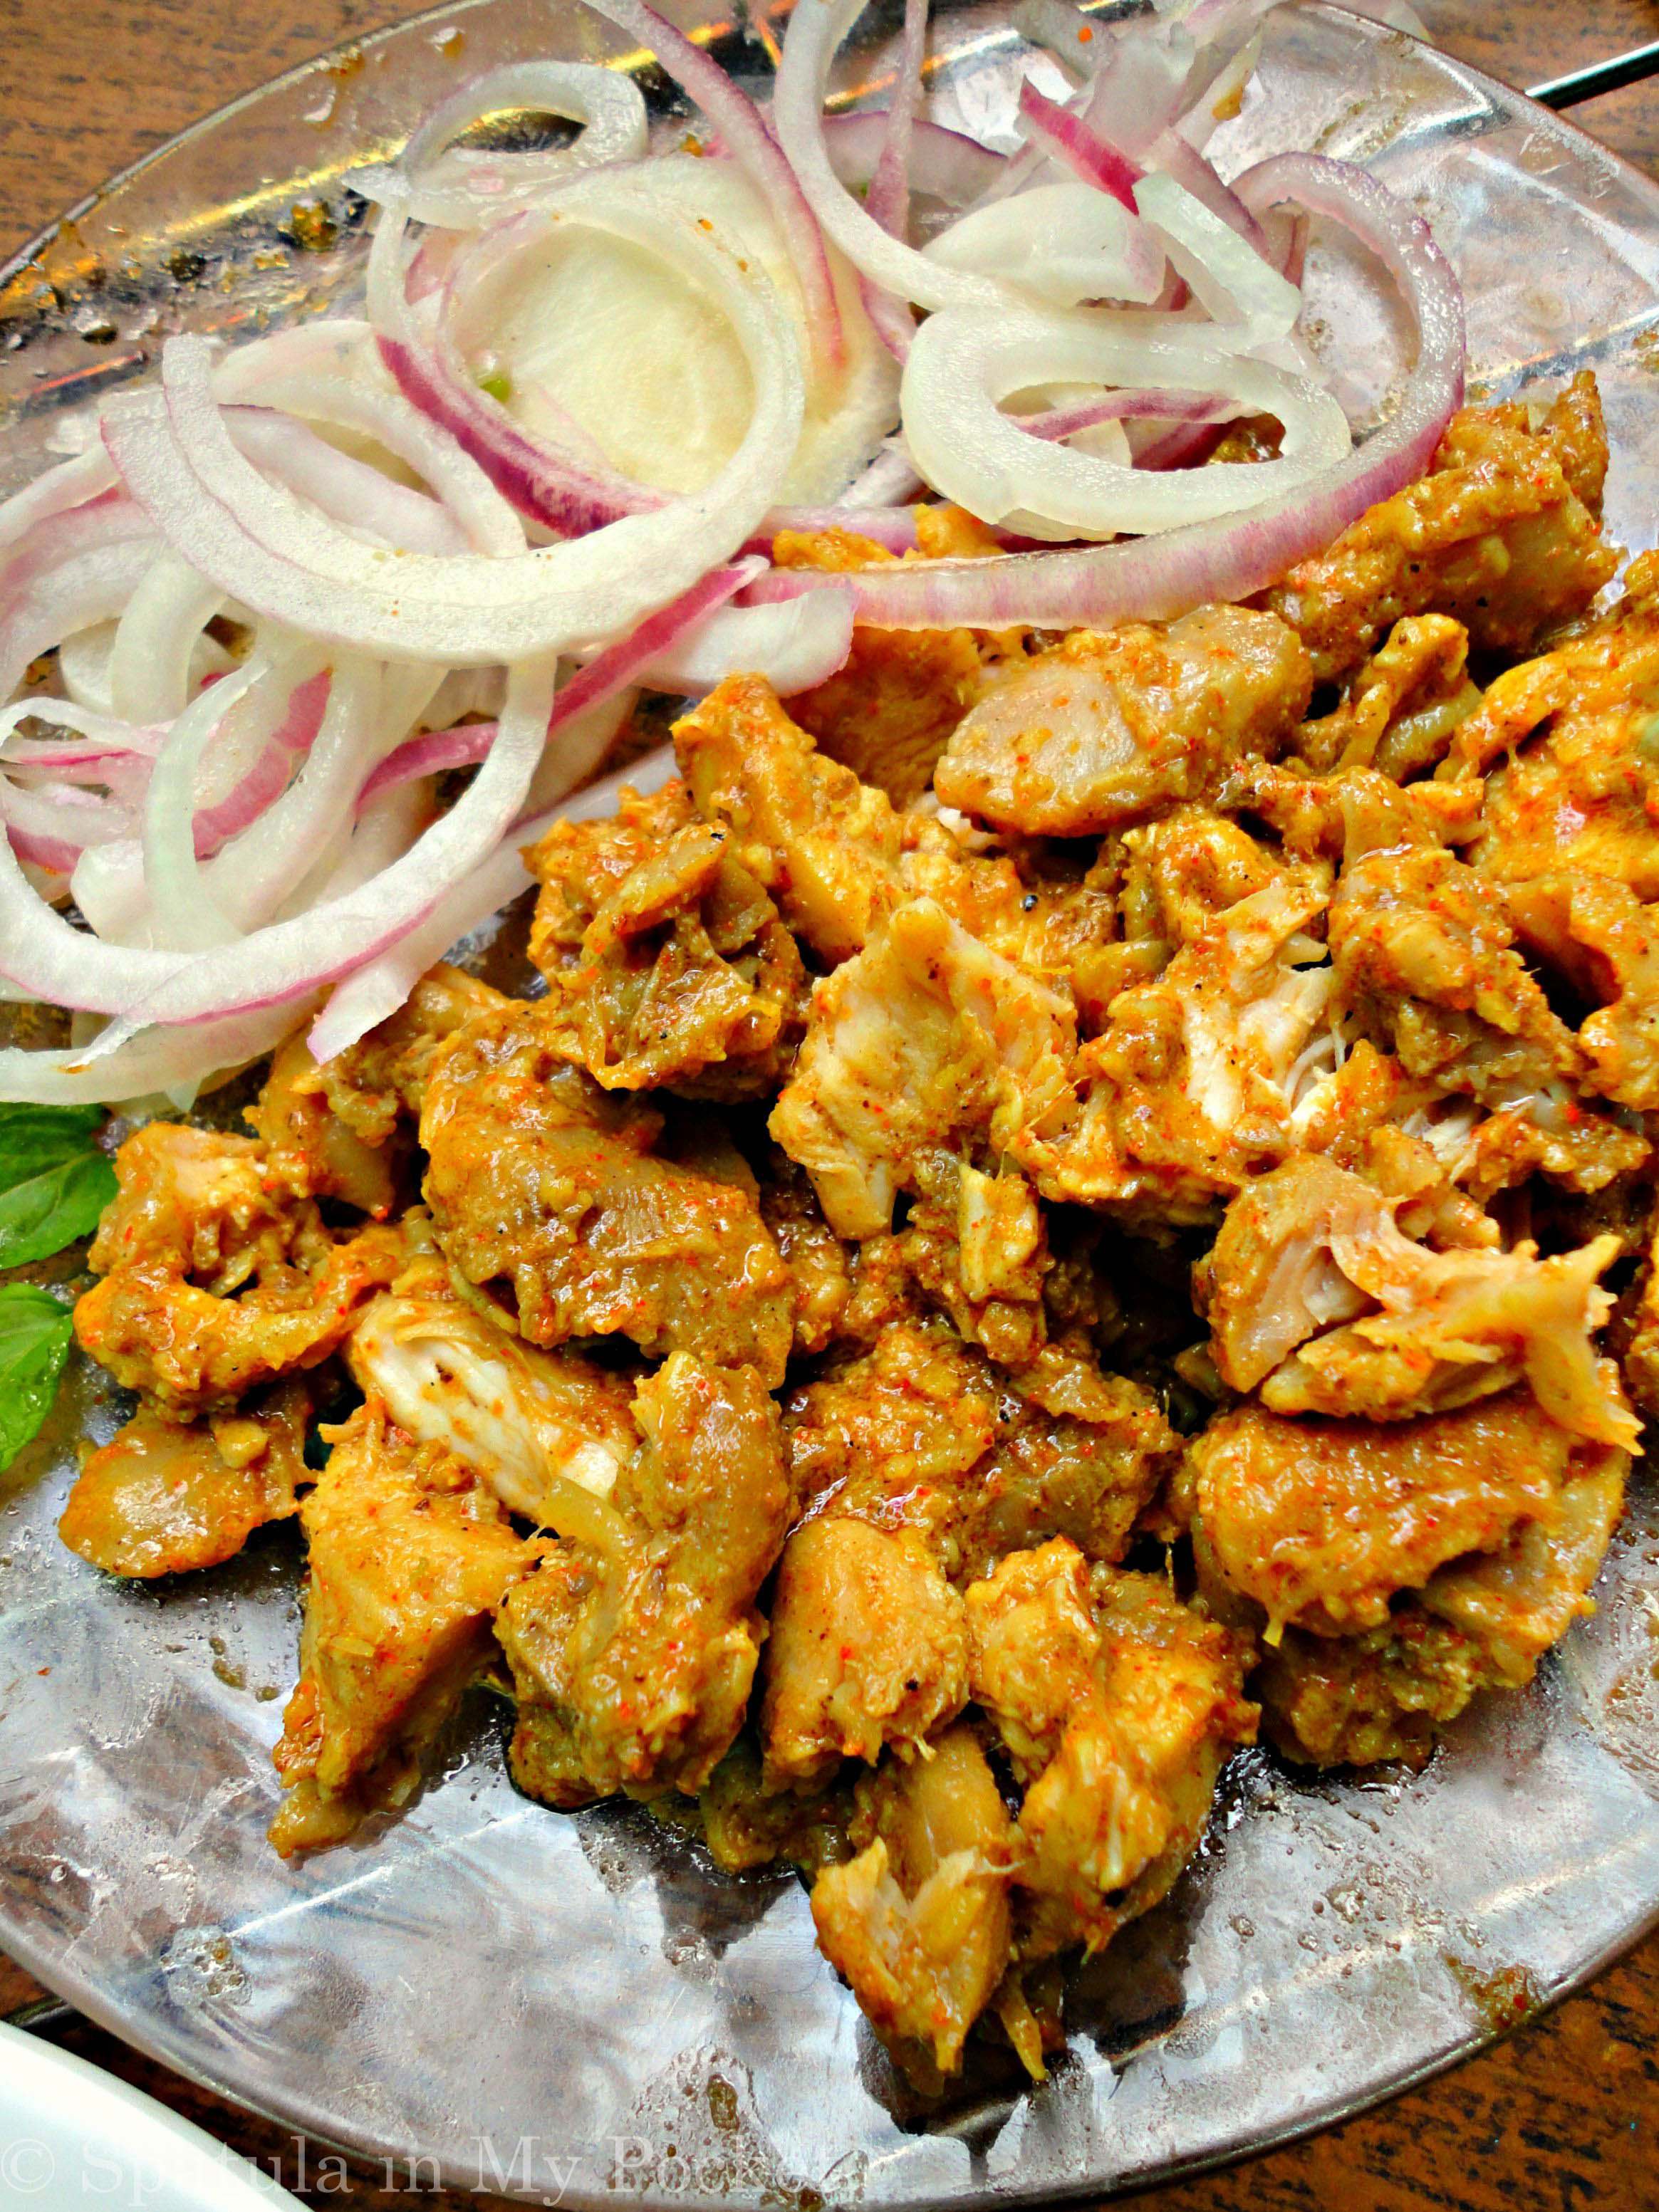
Here you go, as promised, my foolproof pizza dough which isn’t just for pizza. You can make anything out of it!

  • Chicken bread

  • Dinner rolls

  • Buns

  • Mini pizza pies

  • Chicken pinwheels

  • Pizza pockets

  • Sesame swirl sticks

  • Chicken buffalo turnovers

  • Cinnamon rolls

  • Italian Pirazo pie

These are only some of the things I’ve made using this dough (recipes on the blog soon), there are countless other options. It freezes well too. Before use let it thaw, and then use it in the same way as you would use freshly made dough.

I first came across this recipe around five years back on a TV show, Masala Mornings, and since then I’ve made it a bazillion times, and it has never once let me down. It’s simple, tastes amazing, and rises perfectly every single time.

It comes together in just minutes, is inexpensive, and it makes a ton; 2 large pizzas, or 2 large loaves of stuffed chicken bread, or 24 mini pizza pies!

I gave you a sneak peek on Instagram a few days back of what I made out of one batch of this amazing dough. See my next post for a recipe of one of these freshly baked goods.

You probably have all the ingredients on hand, try this for yourself now!
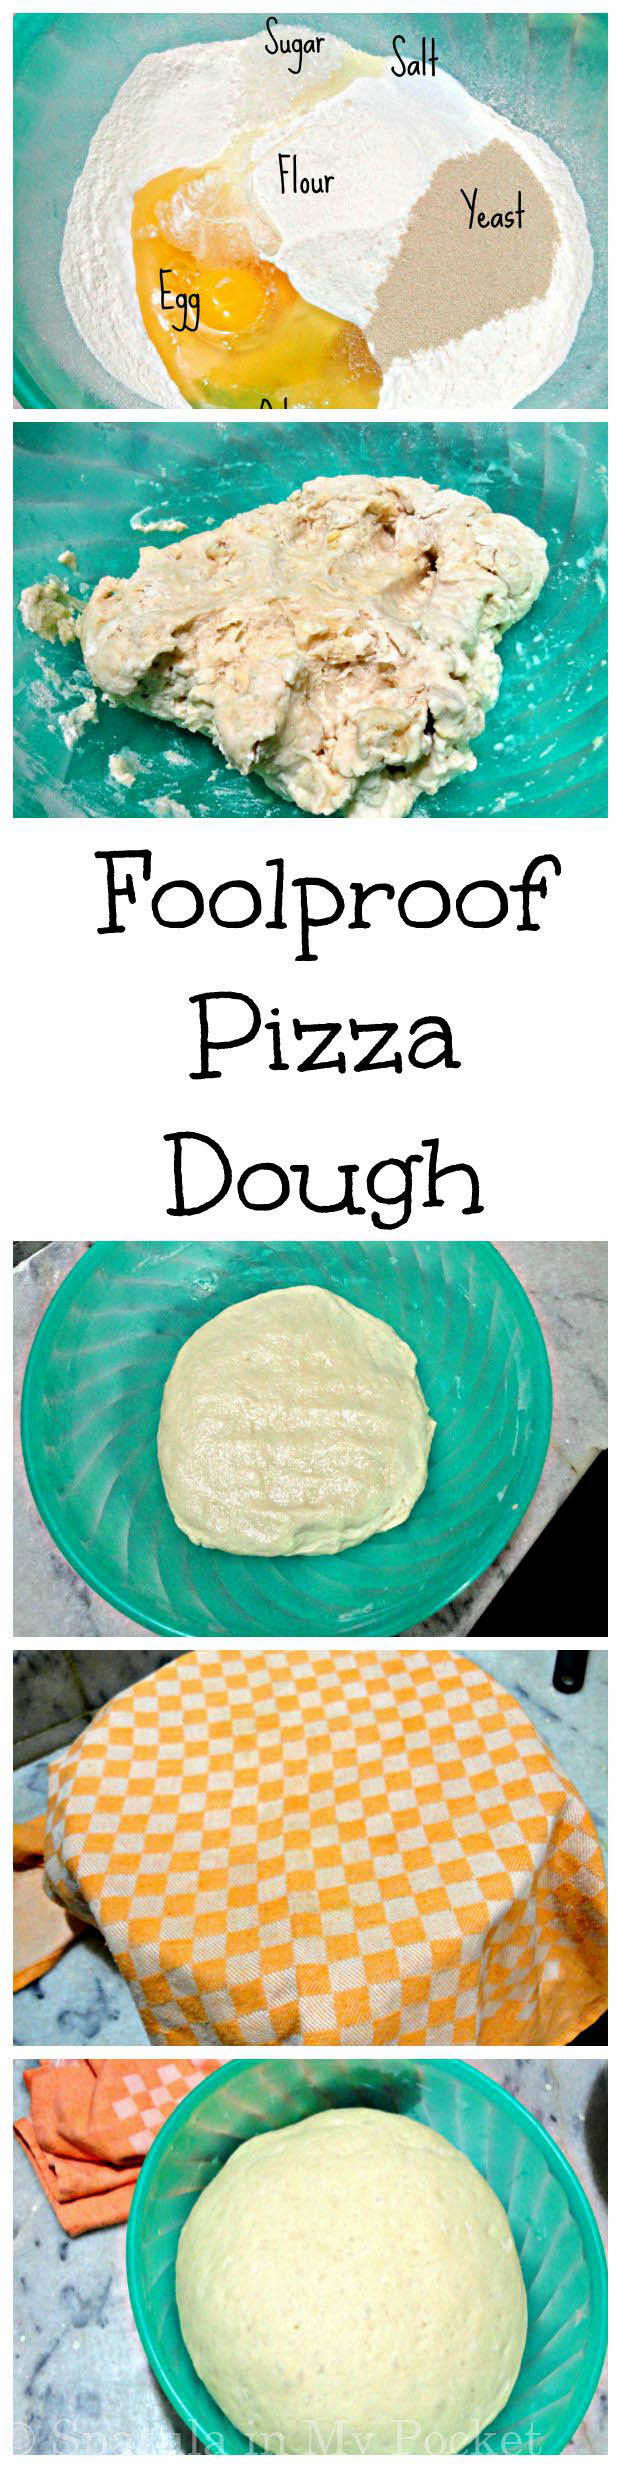
Foolproof Pizza Dough

Yields enough for two large pizzas

Ingredients:

4 cups (500g) all-purpose flour, plus more as needed

1 standard packet (1/4 ounce) or 2 ½ teaspoons active dry yeast

2 teaspoons granulated sugar

1 teaspoon salt

1 egg

¼ cup vegetable oil

½ cup whole milk

Lukewarm water, as needed

Directions:

In a large mixing bowl combine the flour, yeast, sugar, salt, the egg, oil, and the milk. Slowly mix in the water with your hands till all the ingredients are mixed well and dough starts to form.

Knead the dough for 5-7 minutes on a floured counter top till the dough becomes smooth and is no longer sticky. Add more flour if it is still sticky.

Bang the dough on the counter top 7-8 times for elasticity.

Shape the dough in a ball and place in a greased bowl. Brush the top lightly with some oil. Cover with plastic or a kitchen cloth, and allow the dough to rise somewhere warm until doubled in size, around 2 hours.

Punch the dough to release air. Use or freeze as required.

Notes:
Dough can also be made in a stand mixer with the dough hook attachment.
Recipe source: Shireen Anwer

Place all of your dry ingredients in one large bowl.

Homemade pizza dough made so simple, with guaranteed perfect results every time!

Add in the egg, oil, and the milk.

Homemade pizza dough made so simple, with guaranteed perfect results every time!

Now, slowly mix in the warm water. Water should be lukewarm NOT hot or else it’d kill the yeast. Mix together everything, either my hand or in your stand mixer with dough hook attached, till just combined.

When it resembles something like that, it’s time to plop this sticky piece of not yet dough on a floured counter and it’s time to knead.

Homemade pizza dough made so simple, with guaranteed perfect results every time!

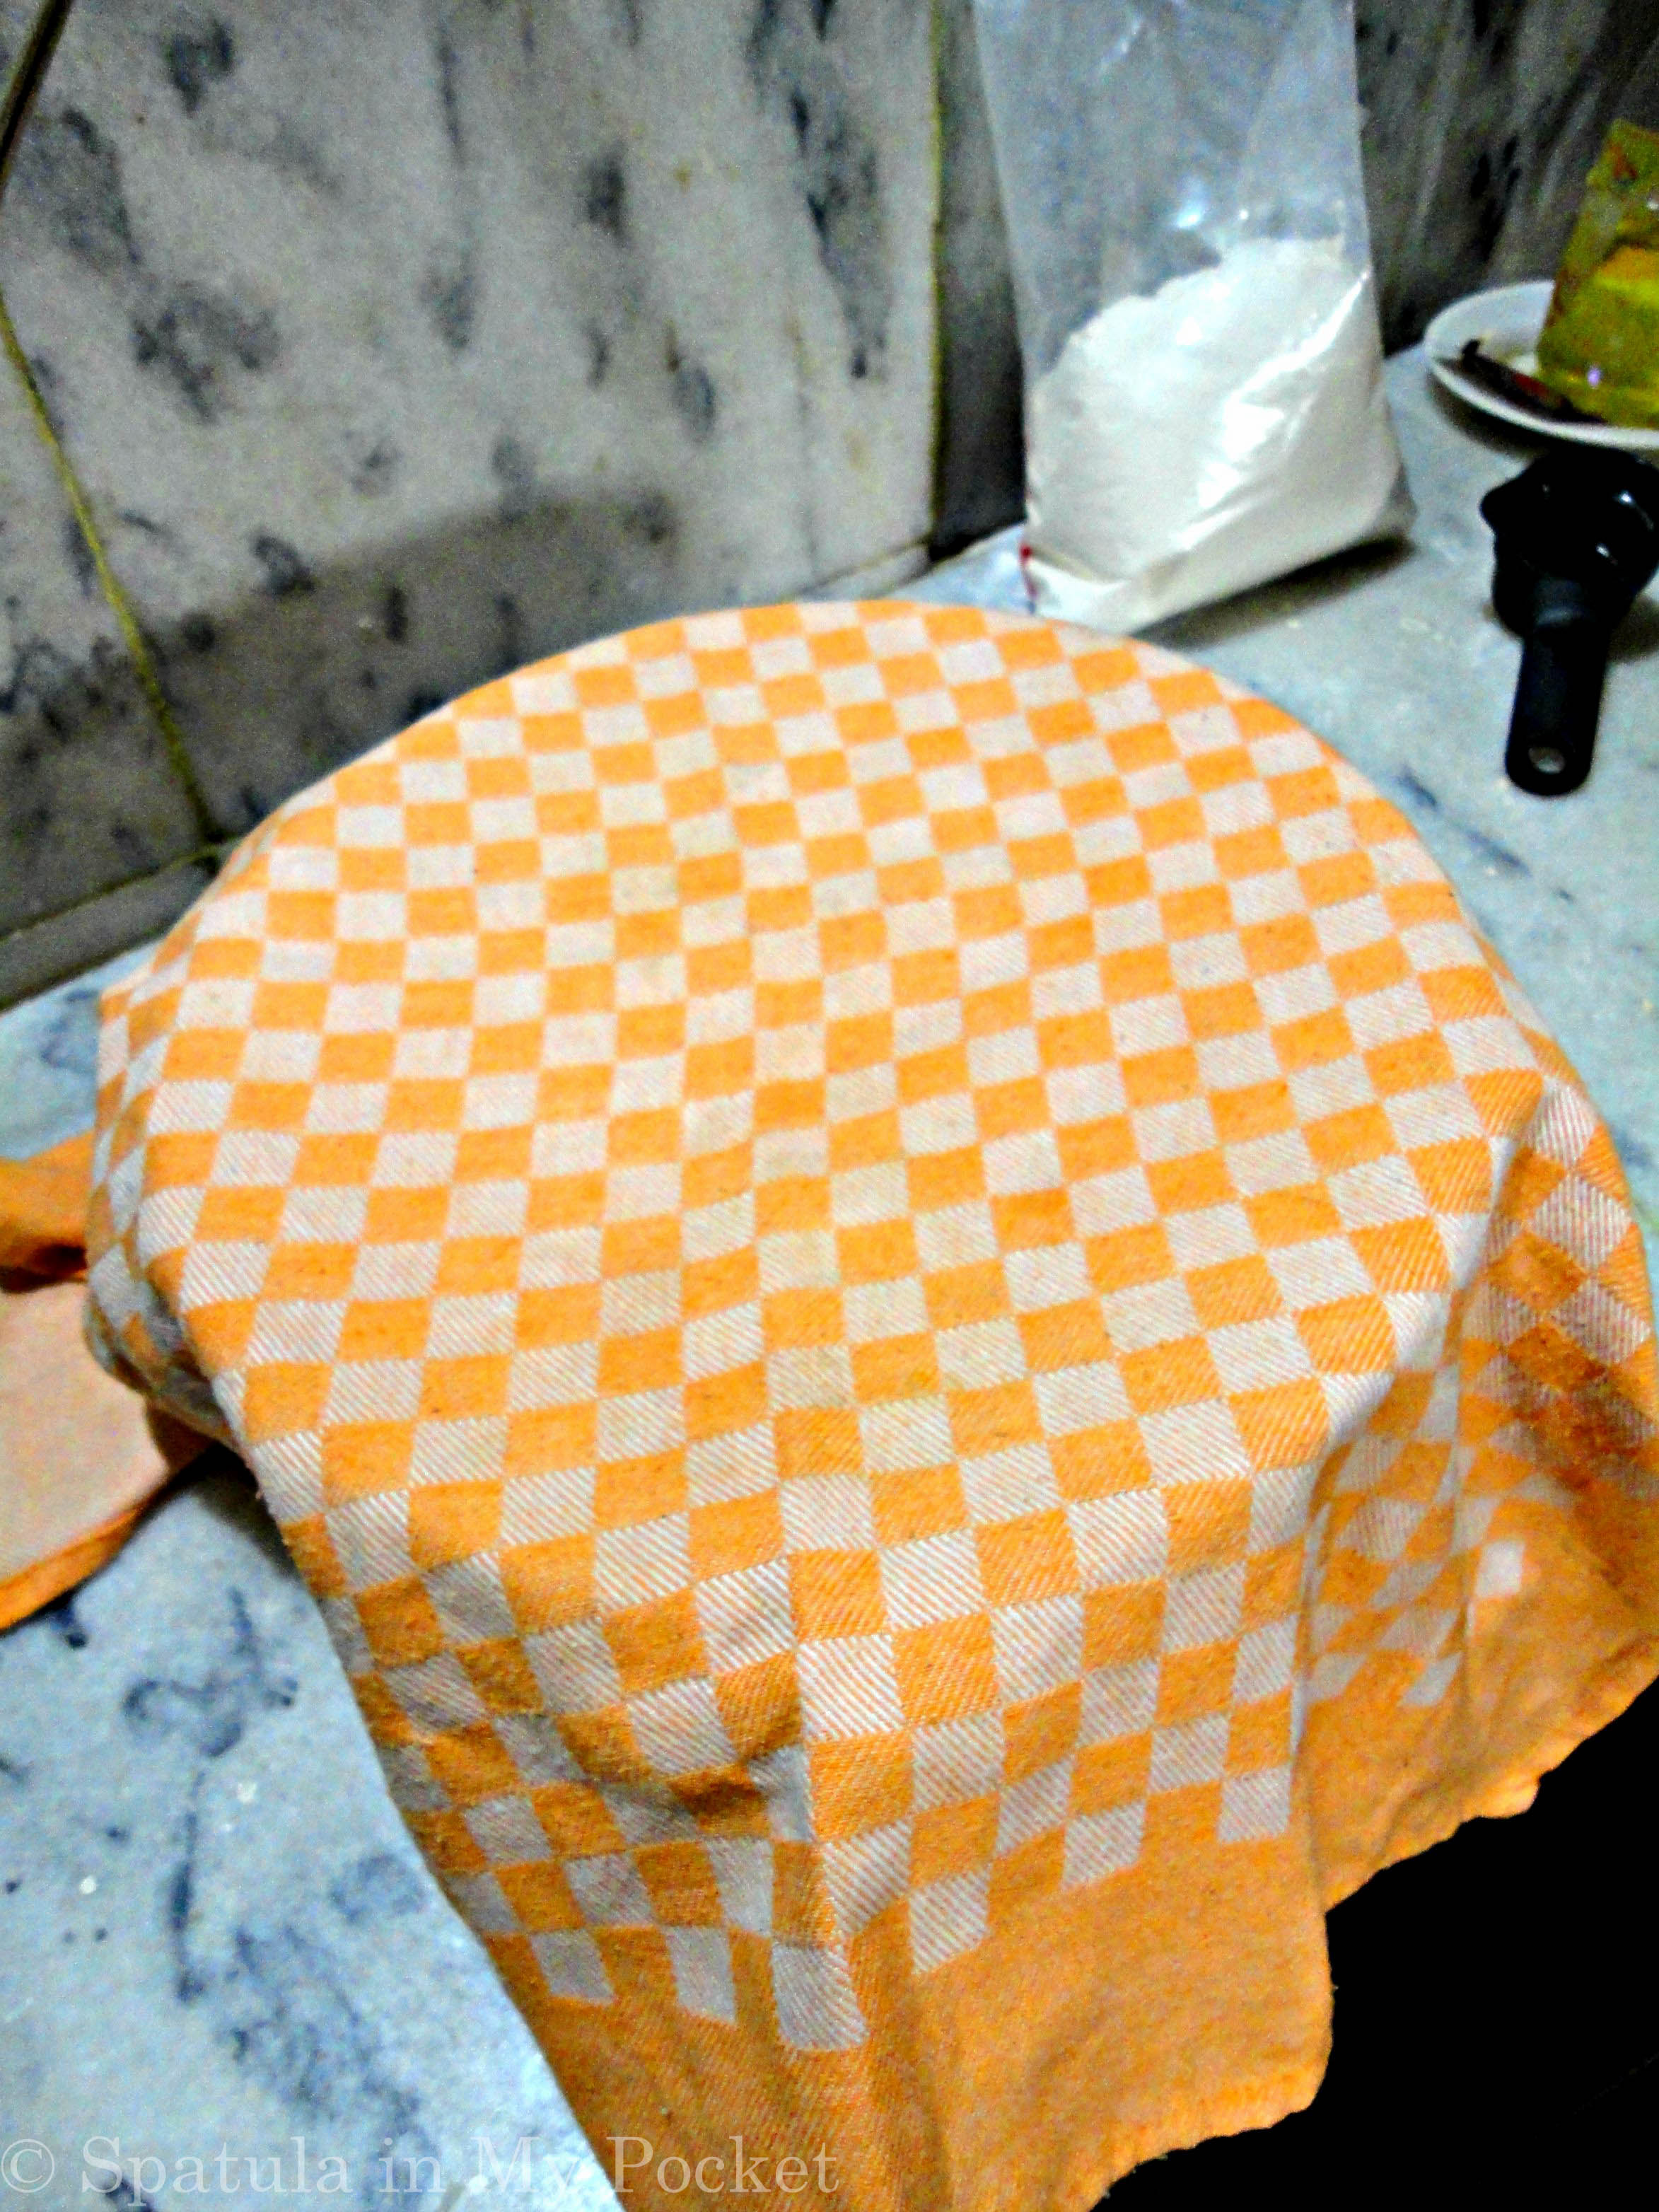
Knead and sprinkle flour on the counter and the dough from time to time till it no longer sticks to your hands or the counter top. Knead for a good 5 minutes. Tip: bang dough, on the counter top, hard for a good 7 to 8 times for elasticity. Then shape it into a ball, and place in a greased bowl. Flatten it a bit and lightly brush the top with some vegetable oil.

Homemade pizza dough made so simple, with guaranteed perfect results every time!

Cover with a kitchen towel and let the dough rest somewhere warm, for me that’s my microwave turned off, till its doubled in size, around 1 ½ – 2 hours.

Homemade pizza dough made so simple, with guaranteed perfect results every time!

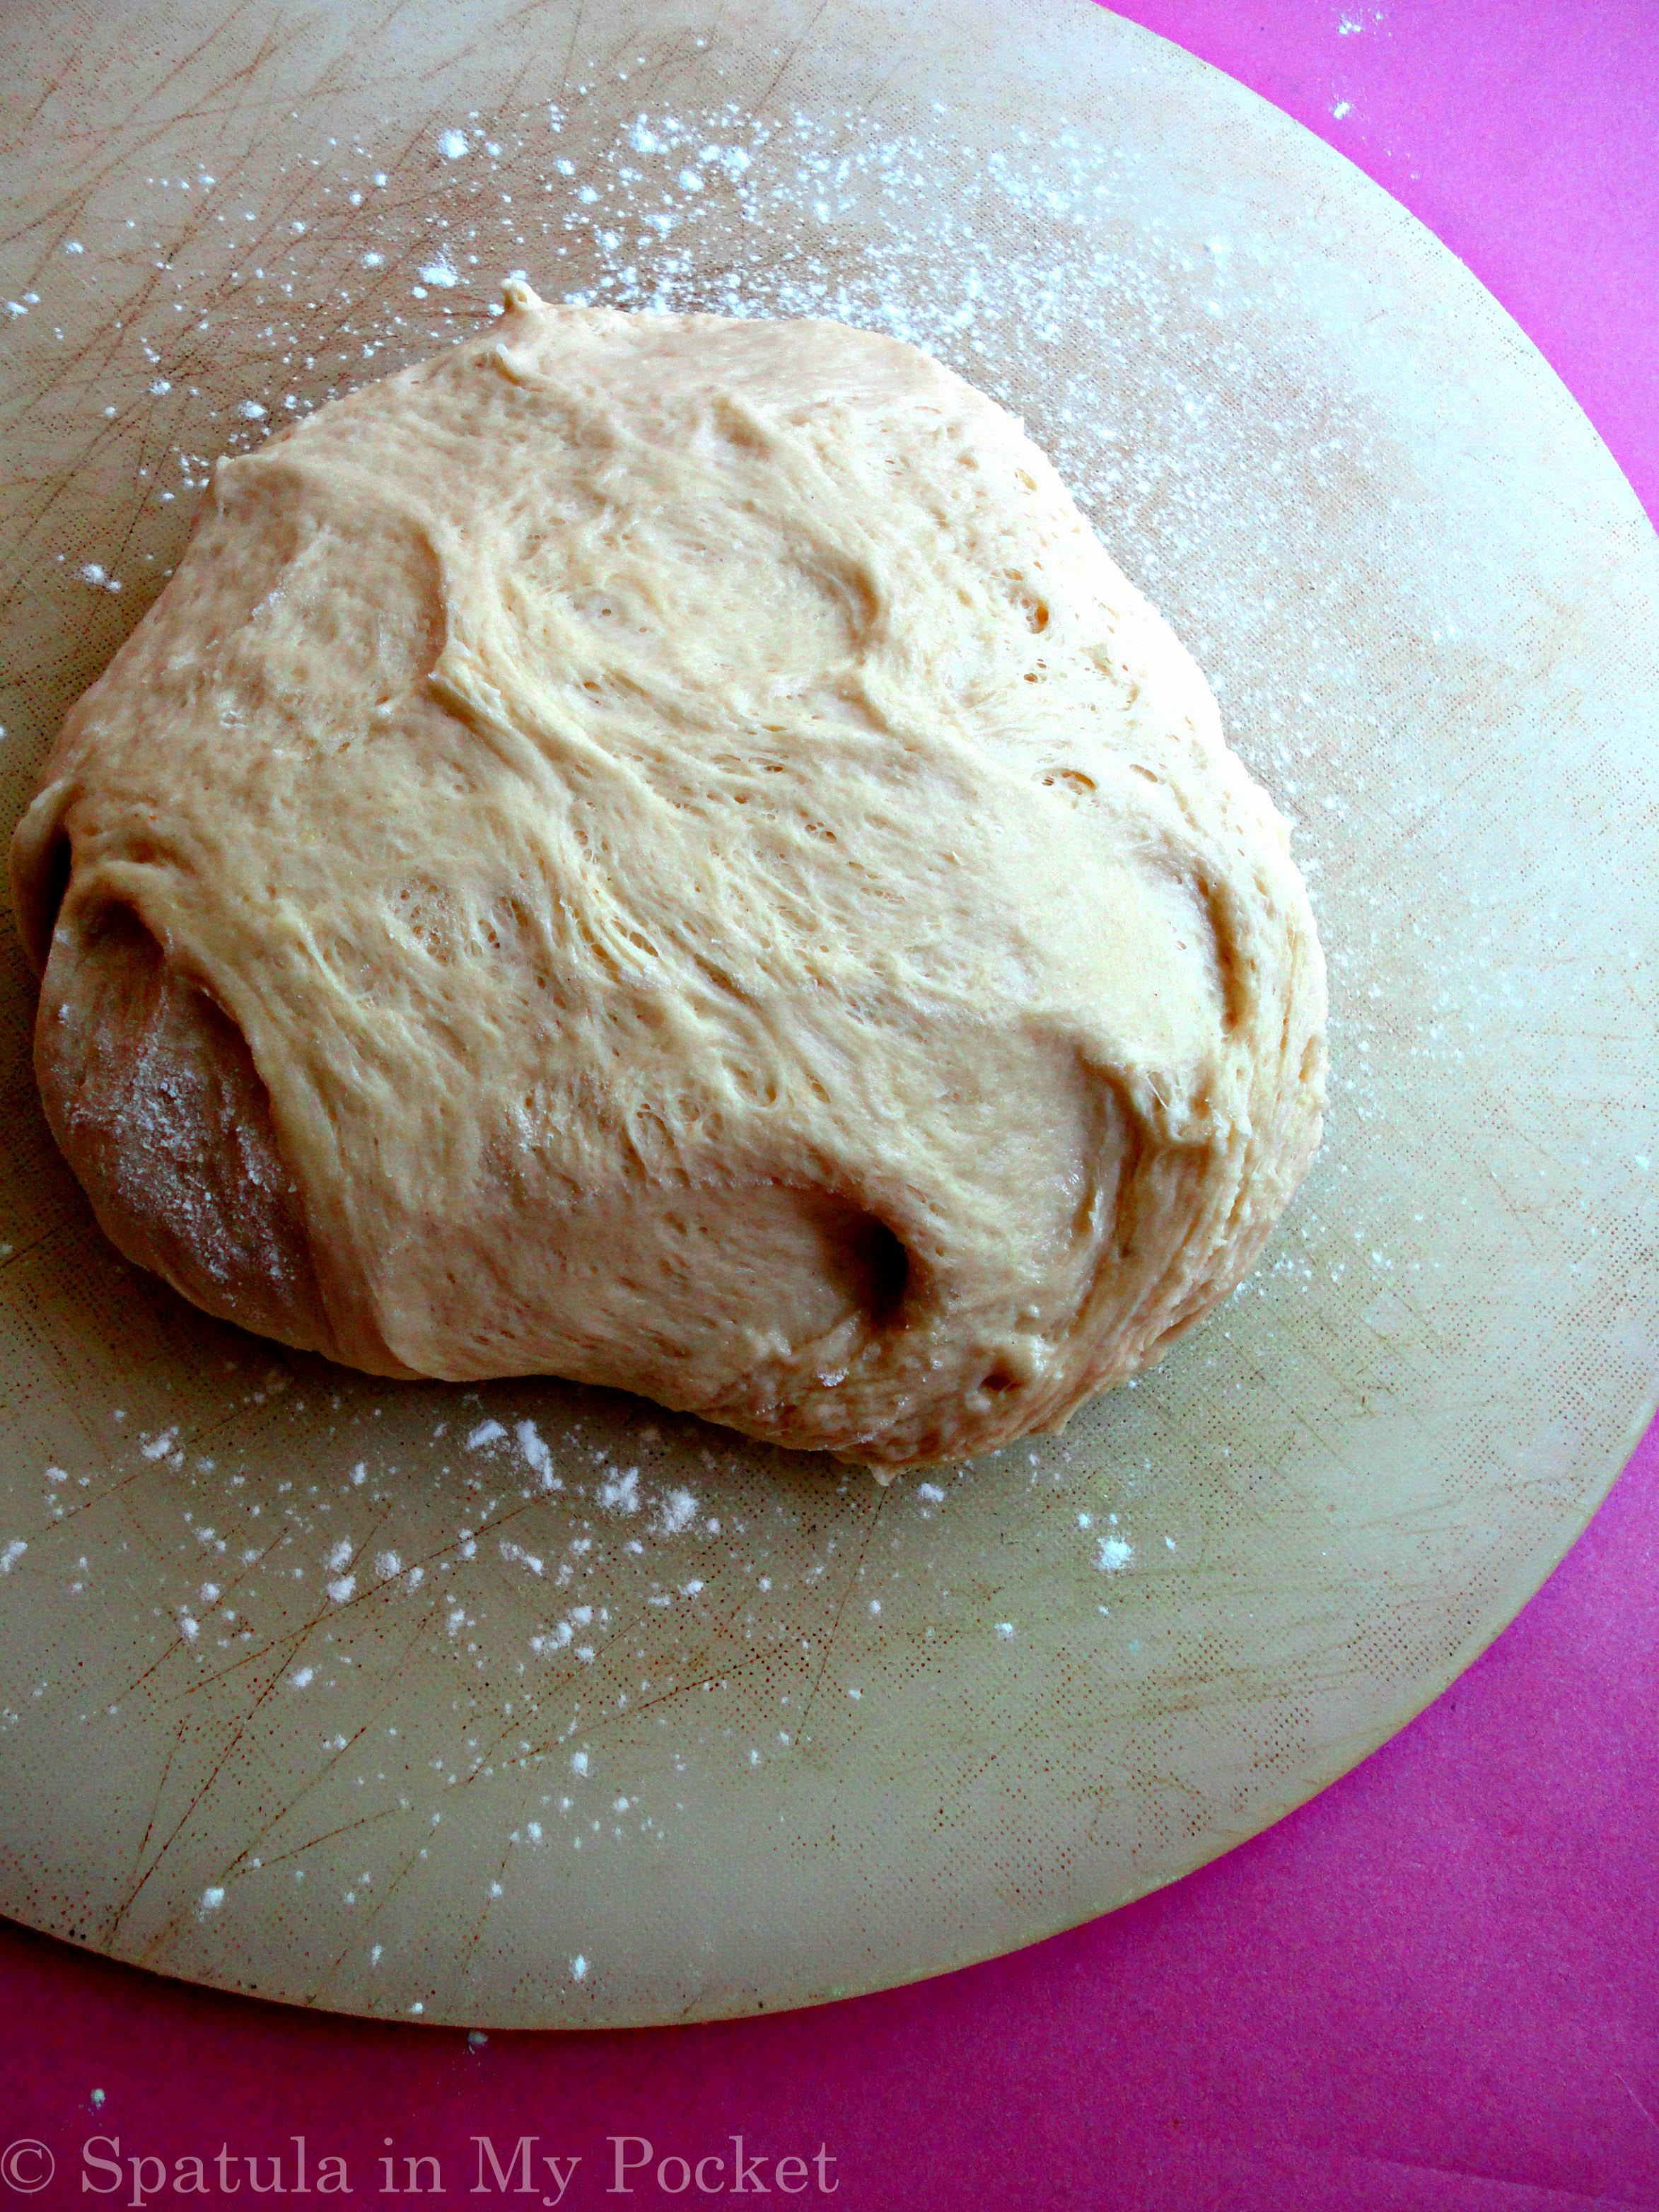
And tada! Look how nicely it has poofed up.

Homemade pizza dough made so simple, with guaranteed perfect results every time!

Look at how yeasty it is!

Homemade pizza dough made so simple, with guaranteed perfect results every time!

Punch it down to release air, and it is now ready to be rolled out, customized and baked into something delicious!

Homemade pizza dough made so simple, with guaranteed perfect results every time!

 AN OVERVIEW

Homemade pizza dough made so simple, with guaranteed perfect results every time!

Chicken Roll Parathas

When your parents are off to a wedding and leave you in charge of dinner, what do you do? You make roll parathas! And go a bit overboard and make three types of chutneys too. And salad.
Hot parathas filled with succulent pieces of chicken and loads of yummy chutney are to die for!
Roll parathas are a popular street food here in Pakistan. My favorite is the one from TRP (Taimoori Roll Paratha) in Islamabad. Their hot parathas filled with succulent pieces of chicken tikka and loads of yummy chutney are to die for!

Hot parathas filled with succulent pieces of chicken and loads of yummy chutney are to die for!

That fateful day, I craved a roll paratha with all my being but was too lazy to go out. So, I made my own roll parathas, and they turned out…wait for it…even better than TRP (if I do say so myself)! These parathas are fresh, tangy and super filling; a complete balanced meal all in one wrap. Save yourself some time and money, and try this homemade version of roll parathas, and quell those cravings!

Hot parathas filled with succulent pieces of chicken and loads of yummy chutney are to die for!

These enticingly tangy roll parathas take only a few minutes to prepare, provided you have all the prep done beforehand. I have used store-bought frozen parathas here, which makes the whole ordeal even quicker. You could go ahead and make your own parathas with flour, salt, warm water, and clarified butter (aka ghee). I always opt for MonSalwa when it comes to parathas. They are somewhat reasonably priced and are super flaky and taste amazing.
Marinate the boneless chicken pieces in all of the spices and little bit of salt and leave it in the refrigerator for at least half an hour. You can even marinate it the night before and just fry it or grill it the next day. I smoked the chicken in the end, which is totally optional, but I do recommend it. The burning coal leaves the most exquisite BBQ flavor in your chicken, and leaves your kitchen smelling like a real roadside BBQ joint.

Hot parathas filled with succulent pieces of chicken and loads of yummy chutney are to die for!

The condiments are all up to you. You can put any sort of chutney in, however much you like. I used tamarind and alu bukharay ki chutney, both of which I usually always have on hand. I fill up jars of the chutneys and freeze them for future roll parathas emergencies. I also made a fresh mint yogurt raita to accompany the roll parathas. It’s just yogurt, pinch of freshly ground black pepper, ground coriander, salt and chopped up mint leaves.

If you want, I can put up a detailed post on the chutneys next. Just let me know in the comments box below.

Hot parathas filled with succulent pieces of chicken and loads of yummy chutney are to die for!
Grill the parathas till golden brown. Top each one with some fresh salad leaves, pickled onion, and cucumber. Then pile on the juicy bits of chicken, along with drizzles of chutneys. Top it off with some fresh coriander leaves, and squeezes of lemon or lime juice. Wrap it all up in a piece of parchment paper for the authentic TRP style or just prick in some toothpicks to help hold the entire thing. And tada! There you have it….homemade roll parathas ready in a jiffy. Now clear away all the mess before parents return home o.o

Hot parathas filled with succulent pieces of chicken and loads of yummy chutney are to die for!

Chicken Roll Parathas

Yields: 8 parathas
Ingredients
8 frozen roll parathas, store-bought or homemade
Filling
400g boneless chicken, cut in cubes
1 teaspoon red chili powder
½ teaspoon black pepper
½ teaspoon allspice or garam masala powder
1 tsp salt
¼ teaspoon turmeric powder
1 tsp ground cumin
1 tsp ginger garlic paste
2 Tablespoon plain yogurt, heaped
2 Tablespoon oil
Extras (see Notes below)1
Tamarind chutney (imli ki chutney)
Plum chutney (alu bokharay ki chutney)
Mint yogurt raita
Onion2
Cucumber, sliced
Salad leaves, sliced
Directions:
Marinate the chicken in all of the filling ingredients mentioned above except the oil, for at least half an hour or overnight. Pan-fry the marinated chicken in 2 Tablespoon of oil, till it is tender and juicy. Give it the smoke of coal.3 Set aside.
Heat a griddle and drizzle some oil. Fry the parathas on low-medium heat till golden brown on both sides.
To assemble the parathas, take a prepared parathas, place nits of chicken in the middle, top with onion rings, cucumber, the salad leaves. Drizzle chutney and raita. Squeeze some lemon juice. Roll tightly, and keep it in place with toothpicks.
Serve hot alongside some mango slices.
Notes
1.       These are my preferred choice of fillings. You can omit or substitute with anything you like; tomatoes, mint leaves, green onion, mango relish, lettuce…
2.      Slice the onion thinly in the form of rings. Squeeze some lemon juice, and toss well.
3.      For the smoke: put the burning coal on a piece of bread on top of the chicken. Drizzle with oil and immediately cover the pan.