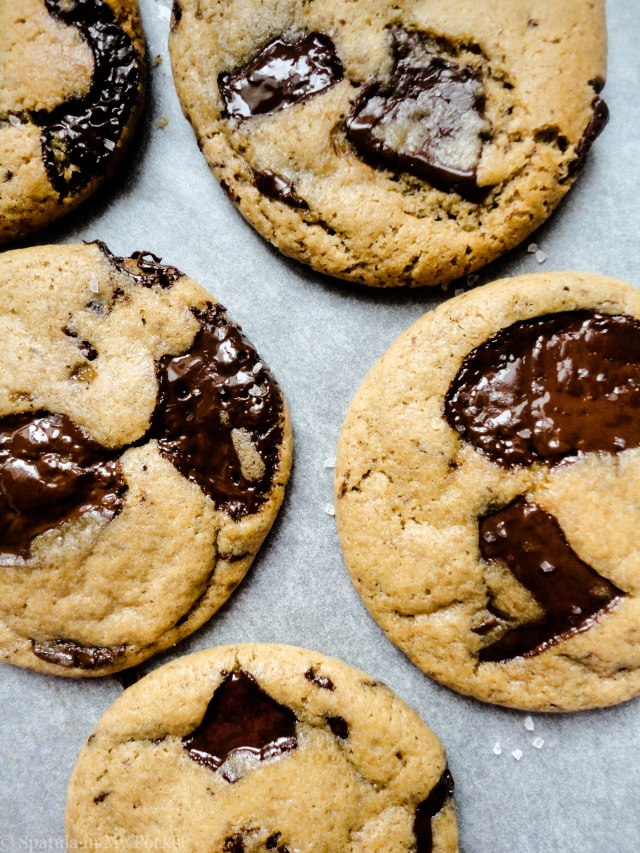
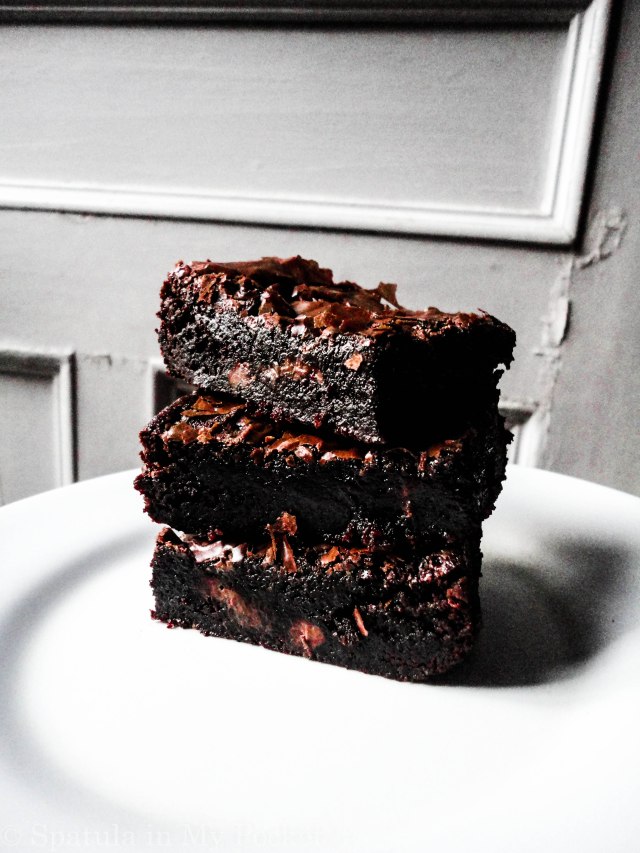
Chunks of milk chocolate and rolled oats. The ultimate cookie combination!

I bake cookies often. Not for any particular reason, other than I find them to be the quickest thing to whip together to satisfy my sweet cravings.
I end up baking half of the dough and stashing the rest in my freezer for the next wave of cravings.
#sorrynotsorry

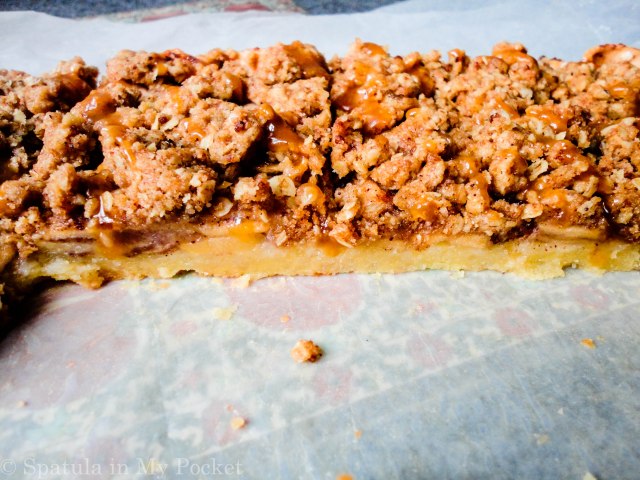
These Milk Chocolate Chunk Oat Cookies are everything you’re looking for in a cookie: slightly crisp edges, soft in the middle, and melty bits of chocolate in every bite….perfection!
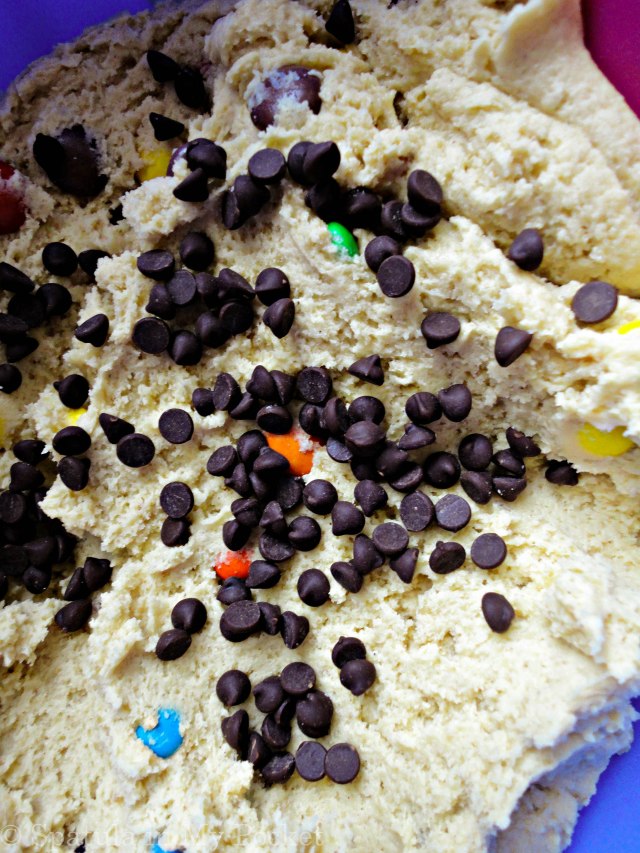
The rolled oats add to gritty texture of the cookies and there are chunks of chocolate scattered throughout. You can add chopped walnuts or raisins to add an extra oomph of flavor.


Notes:
- Once the dry ingredients are added, don’t over-mix the dough. With cookies, the less mixing, the better (once flour has been added). This will keep them soft and chewy instead of hard and dense.
- Don’t forget parchment paper to line your cookie sheet. Parchment paper prevents the bottom of these cookies from getting overly baked/browned, and prevents them from sticking to the baking sheet.
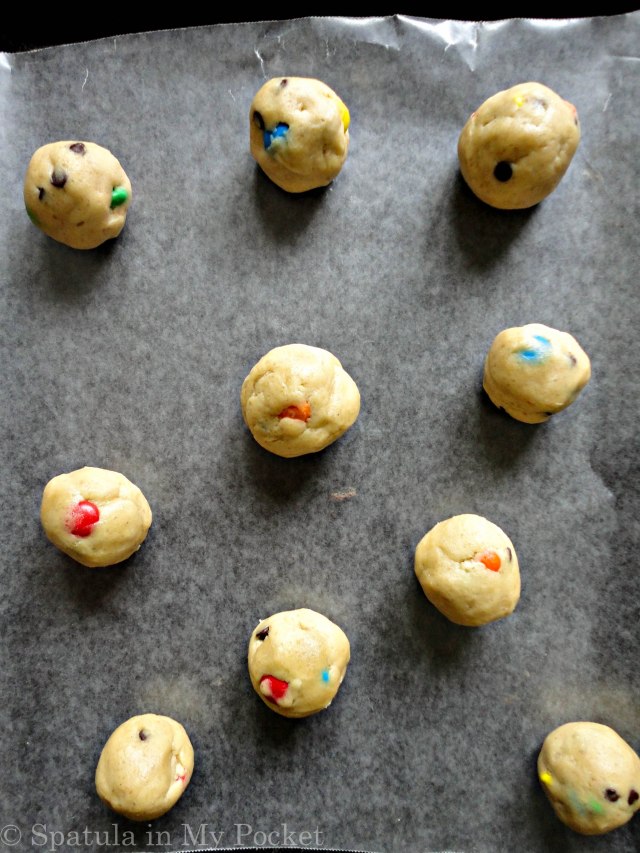
- Chill the dough for at least 30 minutes before baking. Chilling gives the dough time to rest and results in a flavorful cookie with a tighter shape. If you chill the dough for more than 30 minutes, it will firm up and become difficult to handle. If this happens, simply let the dough come to temperature on the kitchen counter before using.
- Any milk chocolate will do. You can also use dark chocolate if you prefer a more bitter edge to balance the sweetness of the cookie.
- If you can’t find rolled oats, you can use quick cooking oats. The texture of the cookies might be a litter harder.
- These cookies are tender right out of the oven and will firm up as they cool. Make sure you let them cool on the baking tray for at least 5-6 minutes, before moving them to the rack to cool completely.
- Unbaked cookie dough balls freeze really well. Place them in a freezer bag and freeze for up to 3 months. Bake frozen cookie dough balls for an extra minute, no need to thaw.

Make a double batch and stash half the cookies in the freezer for another day.
It is always a wise idea to have cookie dough on hand in case of (sugar craving) emergencies 😉
Milk Chocolate Chunk Oat CookiesMakes 24 cookiesIngredients:· 1 1/2 cups (250g) flour· 1/2 cup (50g) rolled oats· 1 tsp cornflour· 1 tsp baking soda· 3/4 tsp salt· 1/2 cup (113g) unsalted butter, at room temperature· 1/2 cup (110g) brown sugar· 1/2 cup (120g) granulated white sugar· 1 large egg, at room temperature· 1 tsp vanilla extract· 300g milk chocolate, choppedDirections:
Notes* If using salted butter, reduce the amount of salt to a ¼ tsp.** Cookies stay fresh covered at room temperature for up to 1 week. |


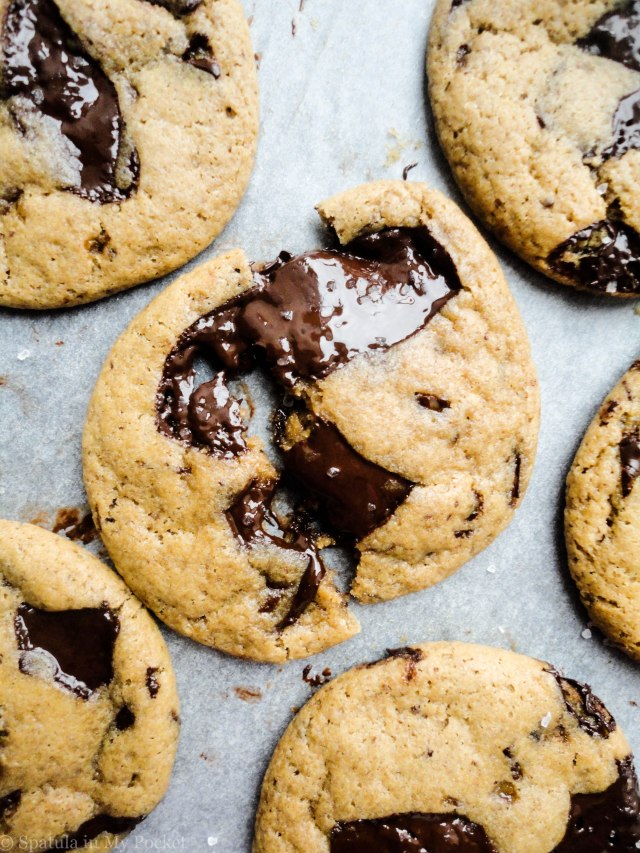


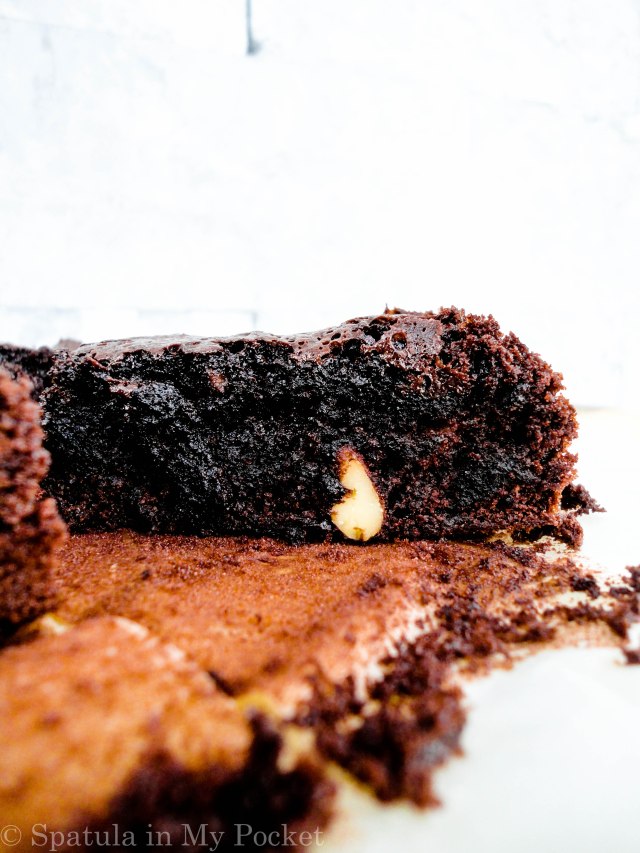


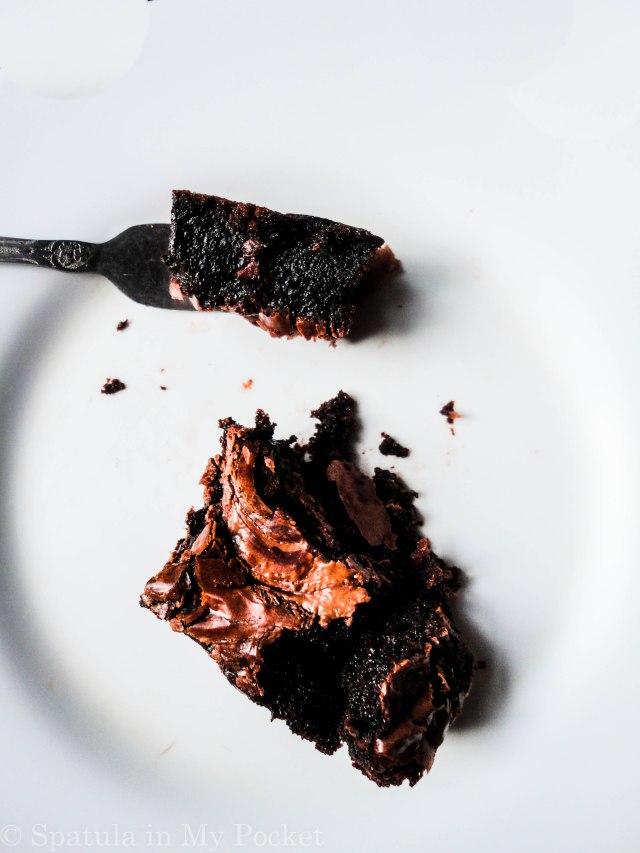


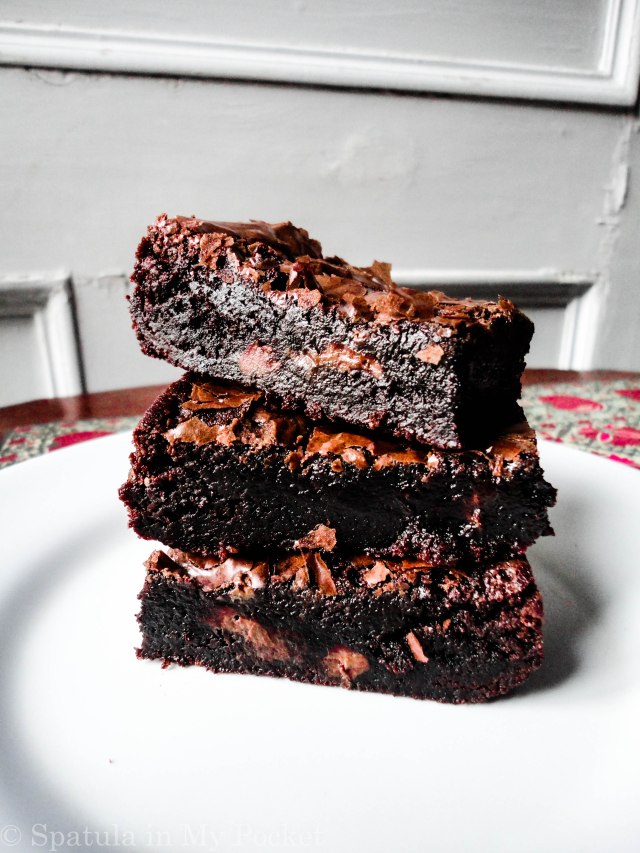


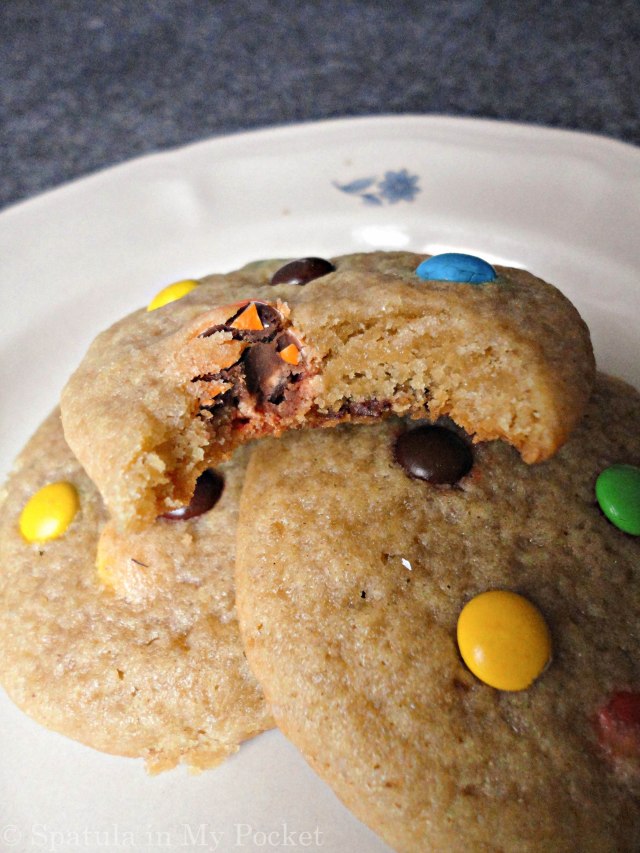


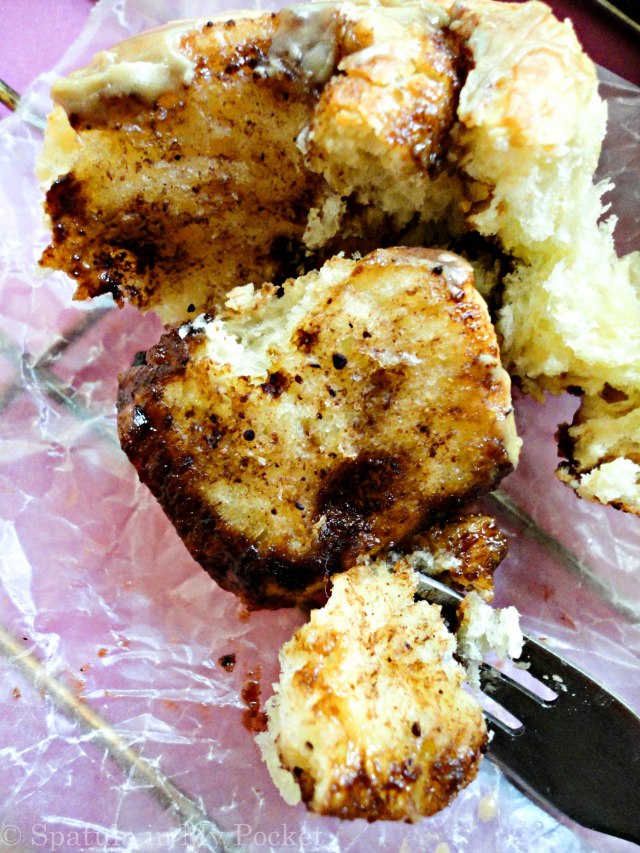
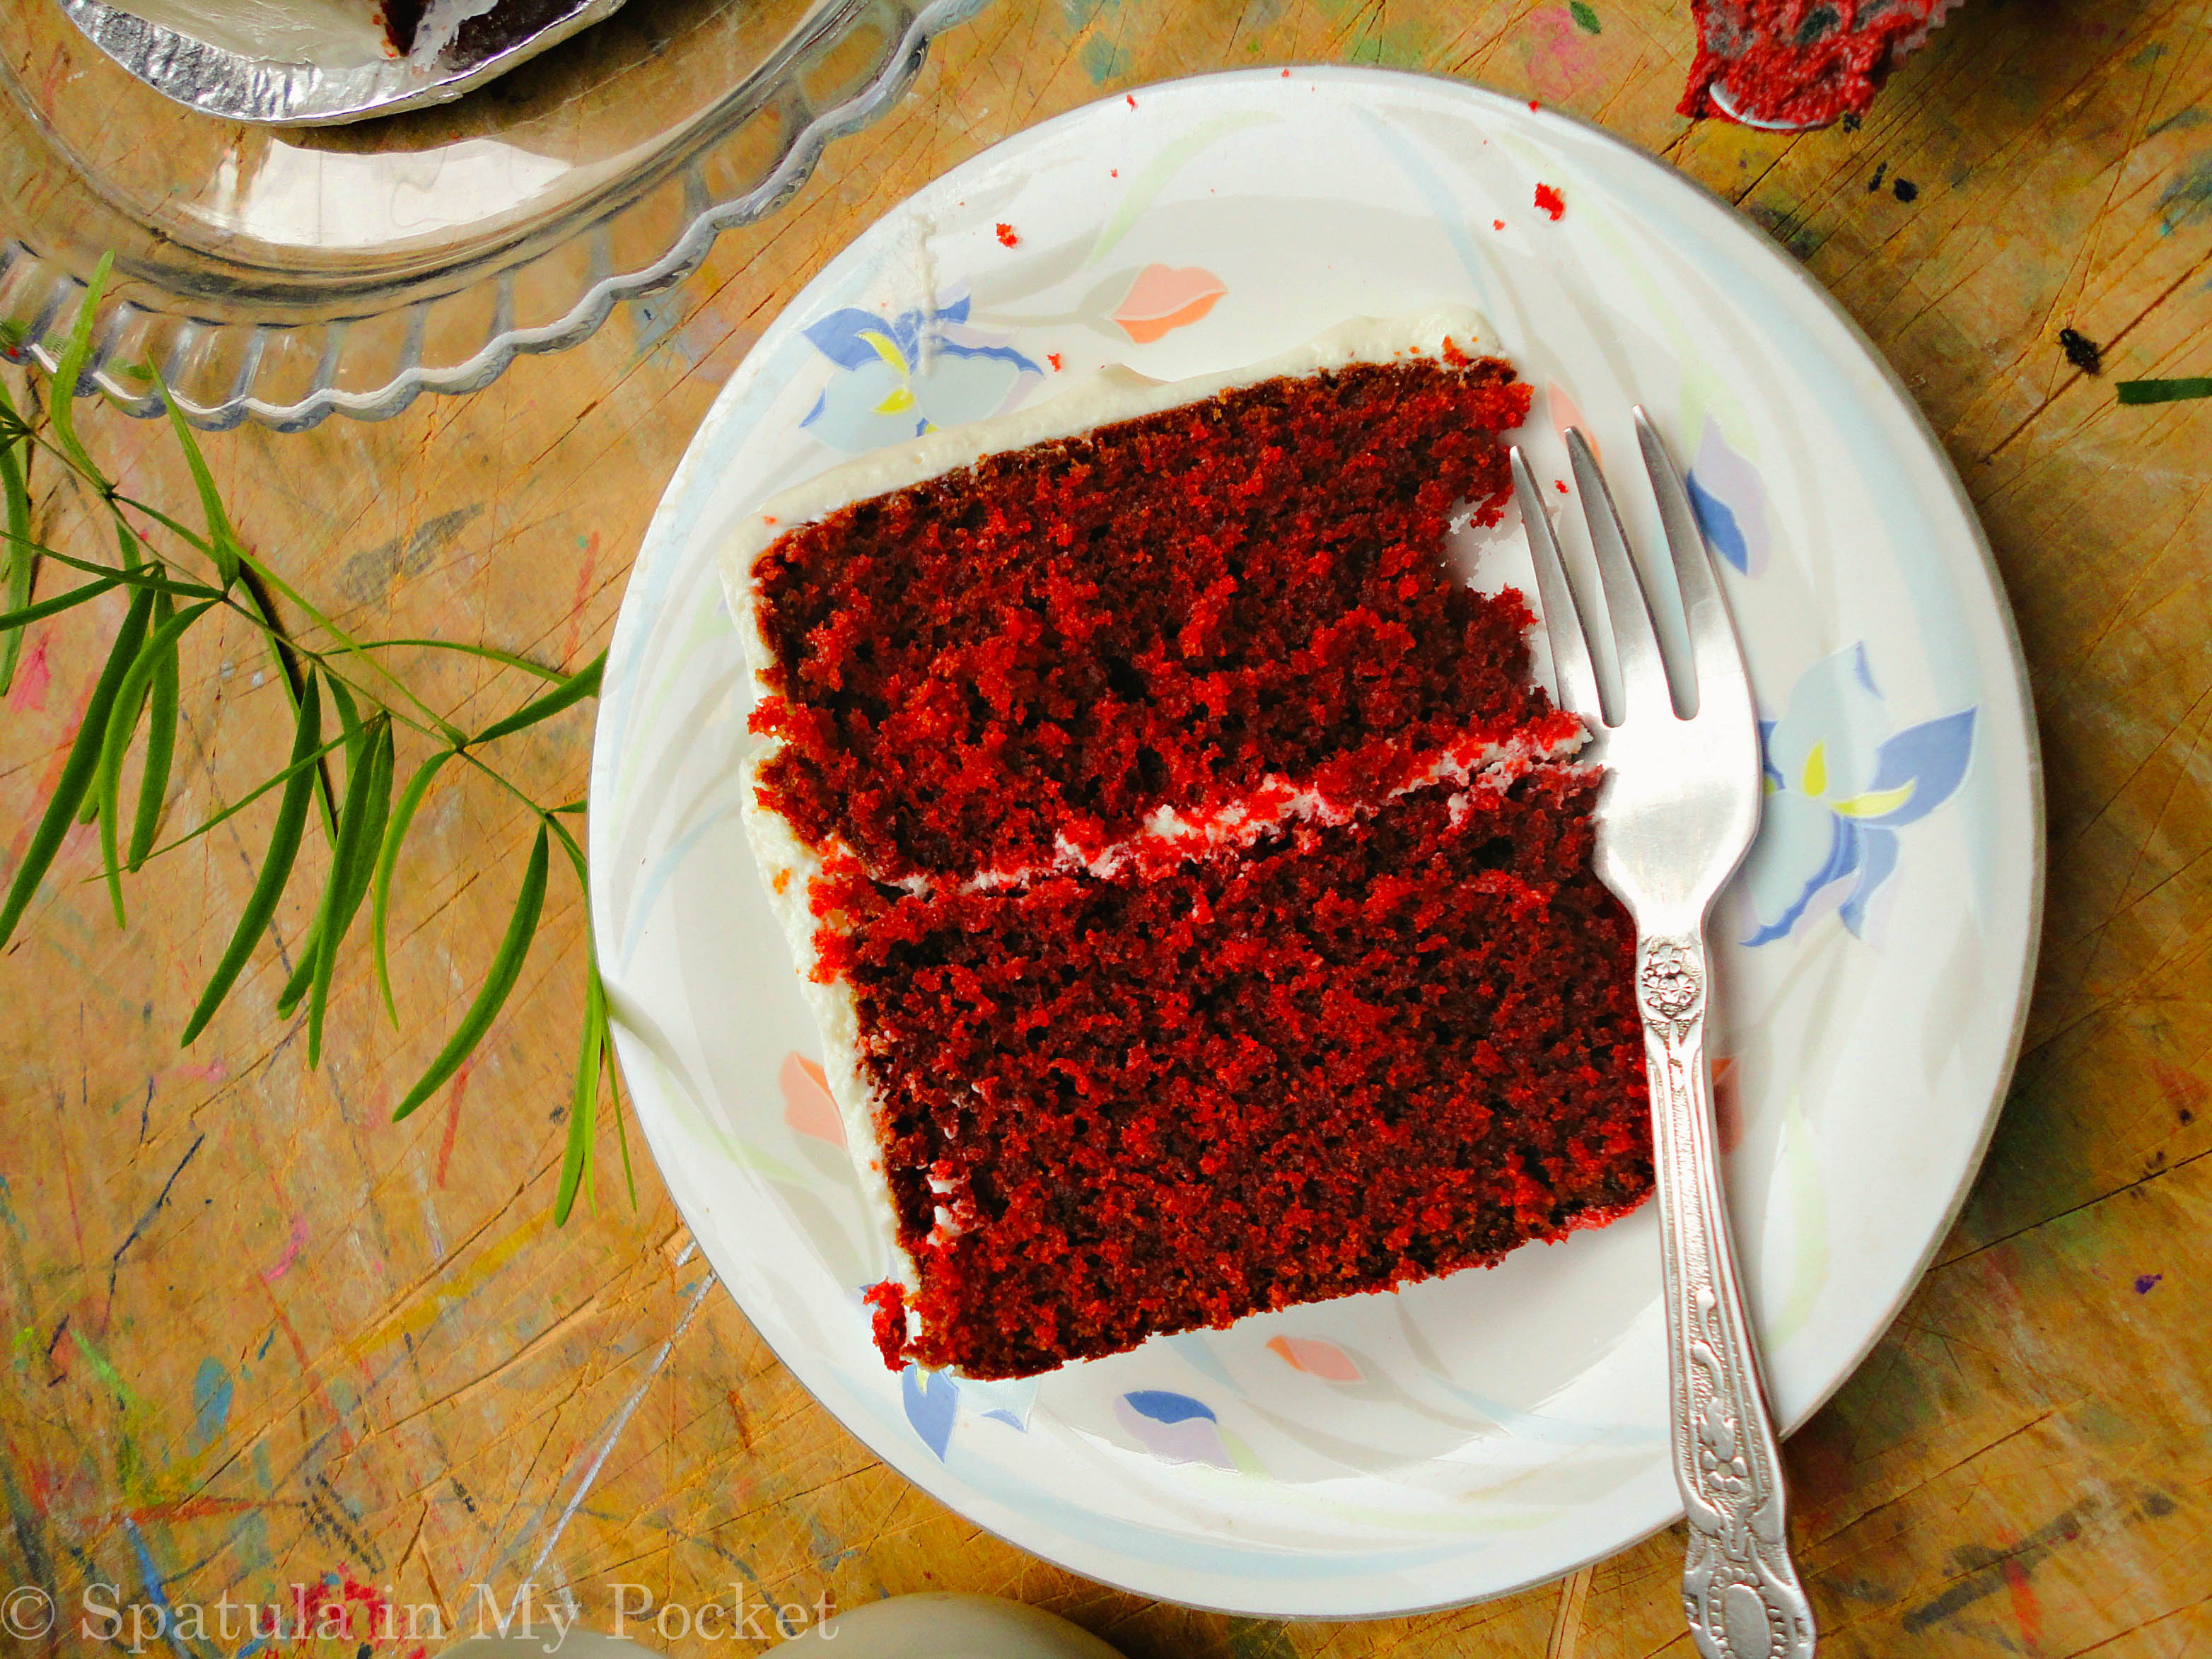
 That first bite though.