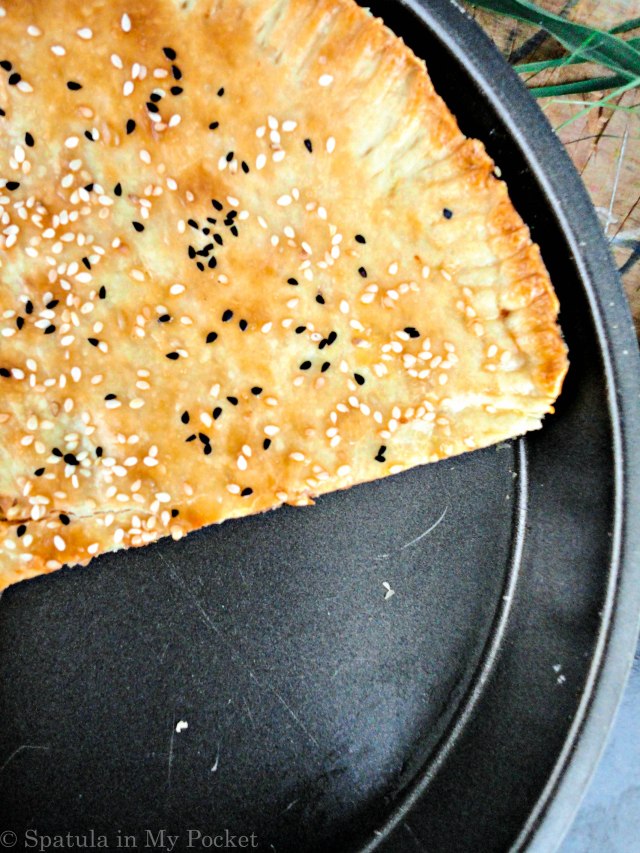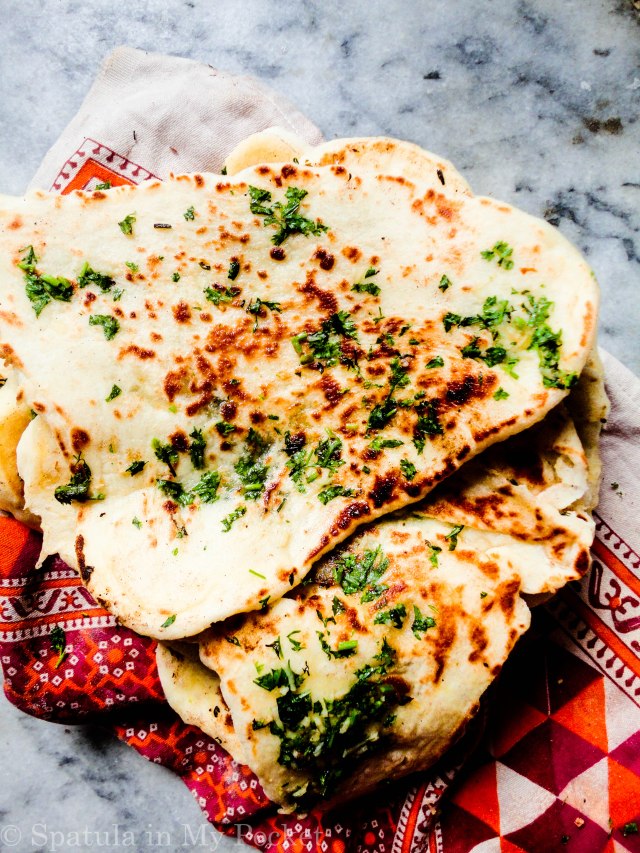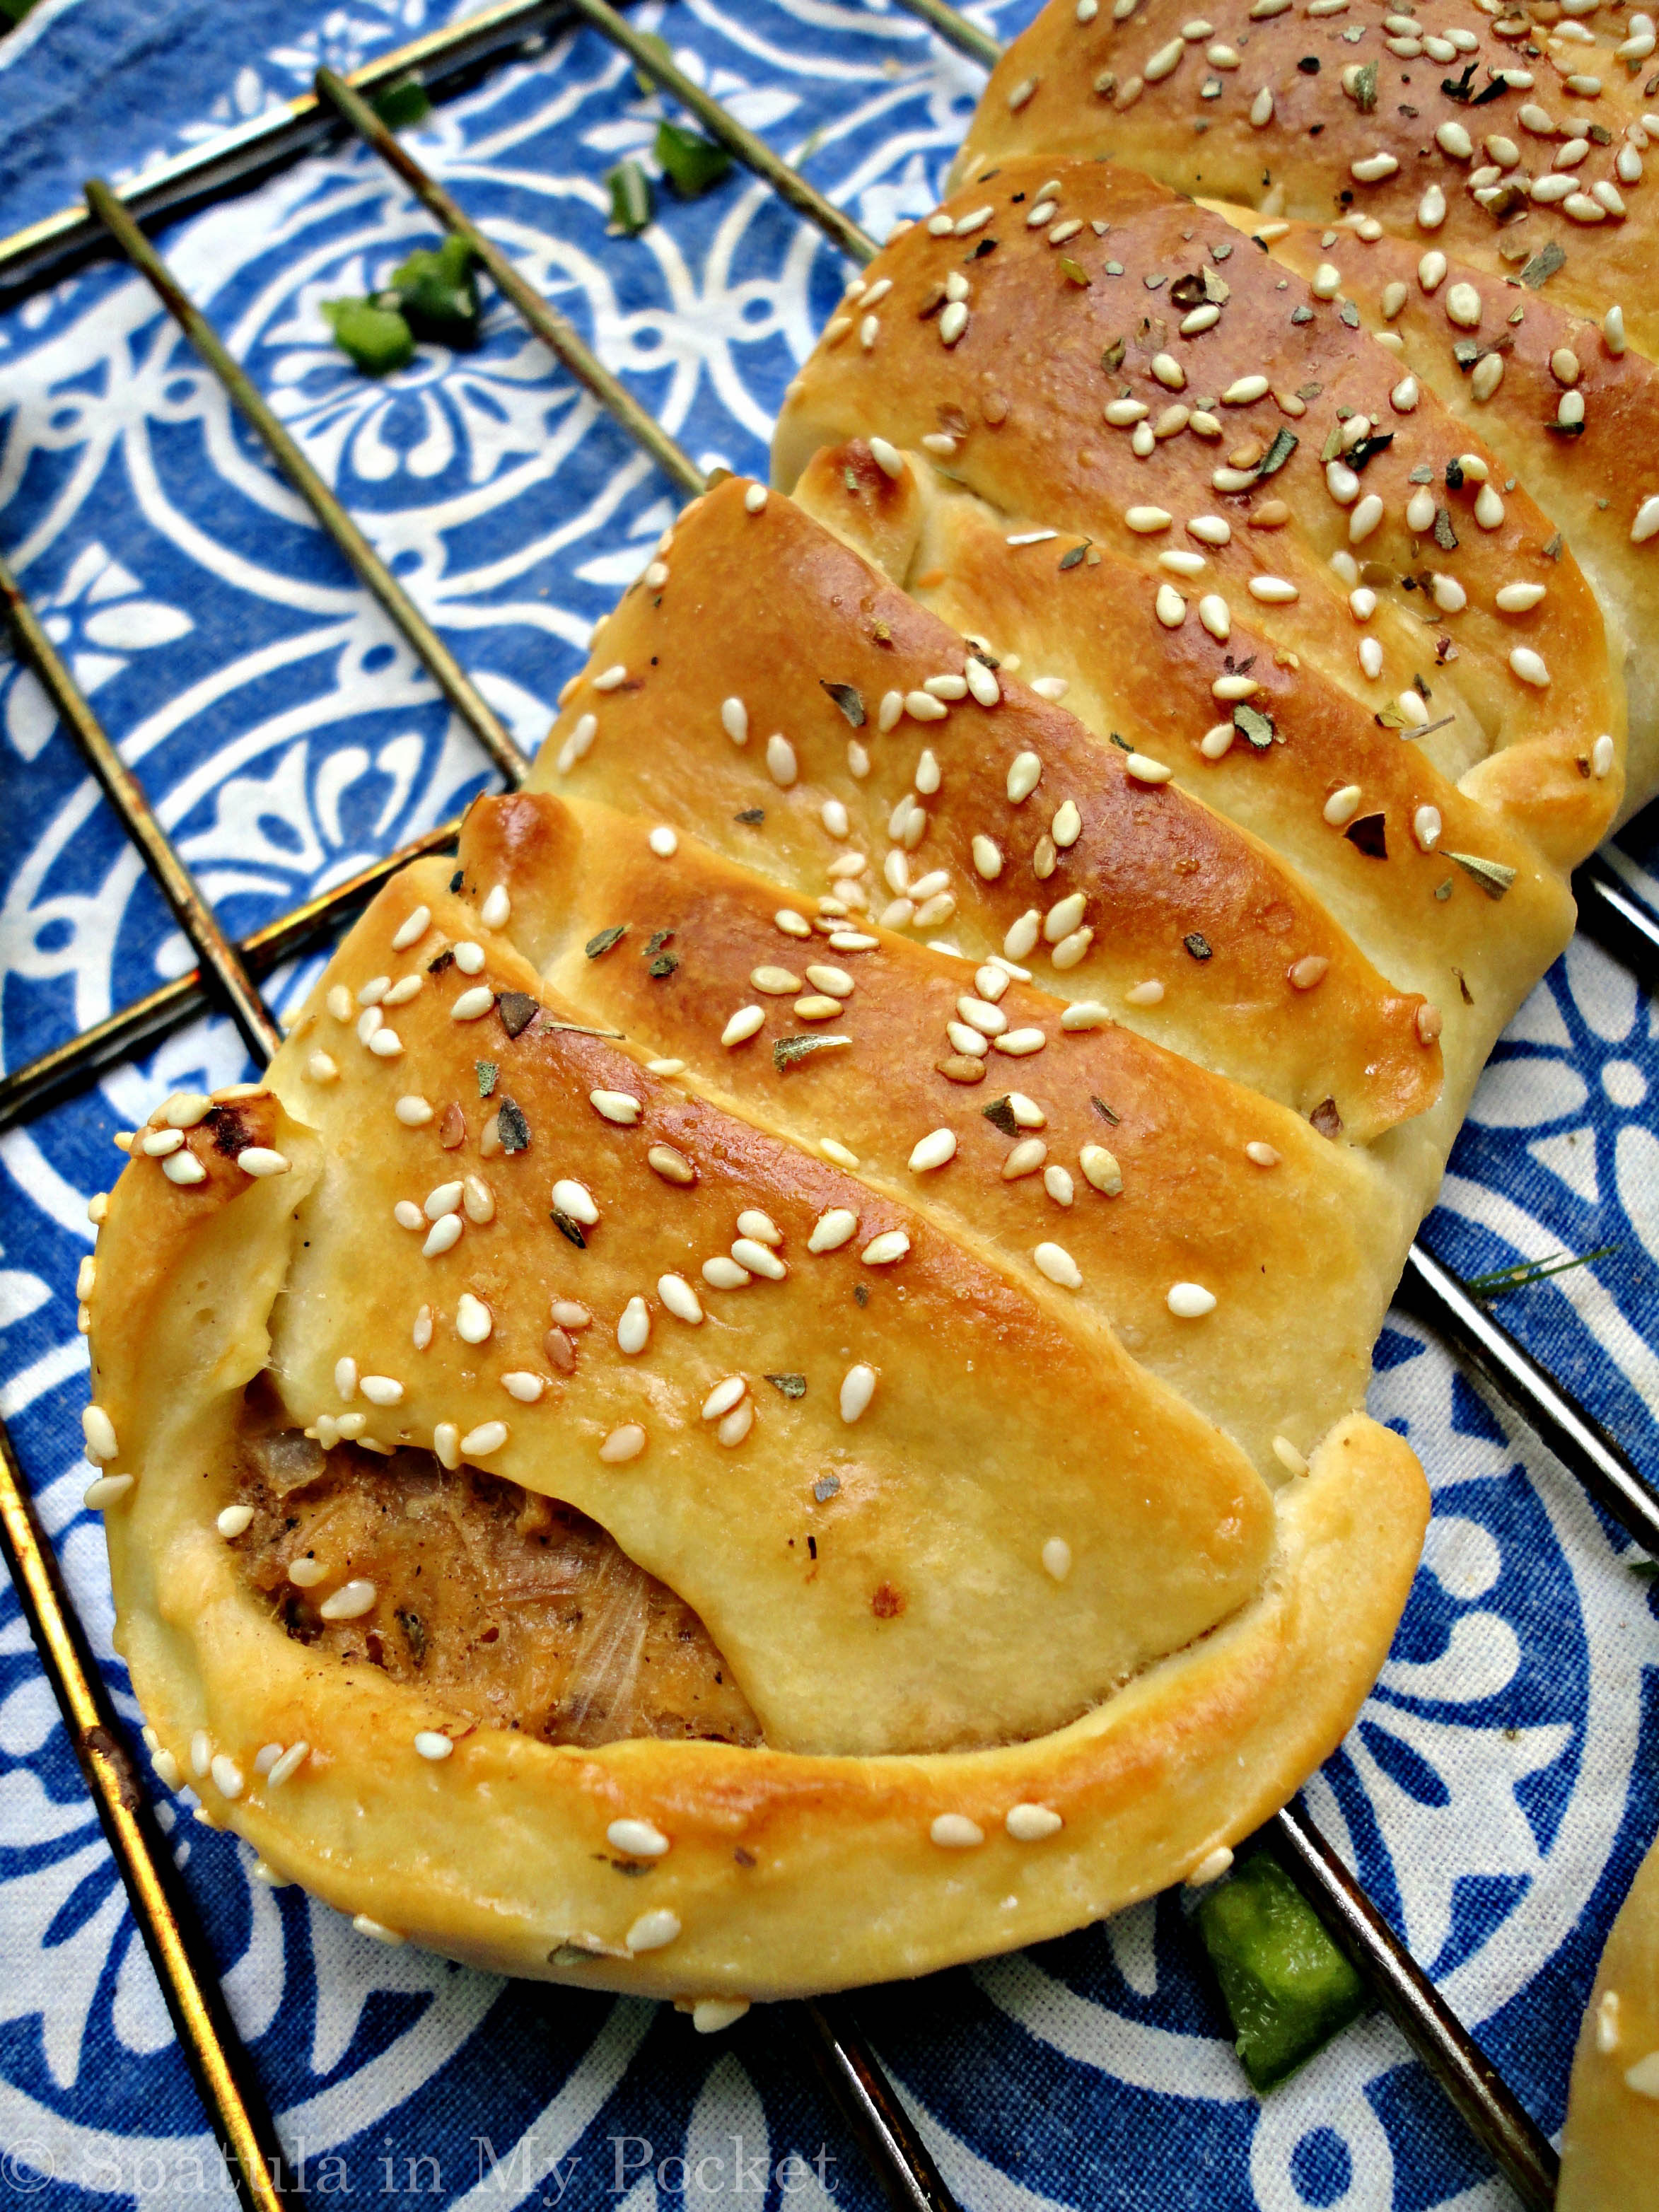
Garlicy, herby, melt-in-your-mouth pillows of dough.


Garlic knots are strips of pizza dough twisted into the shape of a knot, baked till golden brown, and then brushed with a garlic and herb infused butter. I have been craving them ever since I last ate them at Pizza Pigrims in London.
With plenty of time on hand, I tried to perfect the recipe at home and turns out they are SO much easier than you’d expect and packed with flavor.
Nothing beats homemade dough fresh out of the oven especially if its smothered in garlicky buttery goodness.

These rolls are a cinch to make.It is a little hard to tie the dough into knots, but after a few tries you get the hang of it.
Below is a step-by-step guide on how to shape them along with a picture tutorial at the end of the recipe:
How to Shape Garlic Knots
- Using your hands, shape the dough into a log.
- Cut the log into 1-inch strips.
- Roll each strip into a long rope, around 8-inches long.
- Tie the rope into a knot.
Don’t worry if they are a little wonky (like mine :p), they still taste delicious.


Garlic knots are best served fresh out of the oven. However, they are still light and soft when served the next day. Simply heat them in a microwave for a few seconds until warmed through.
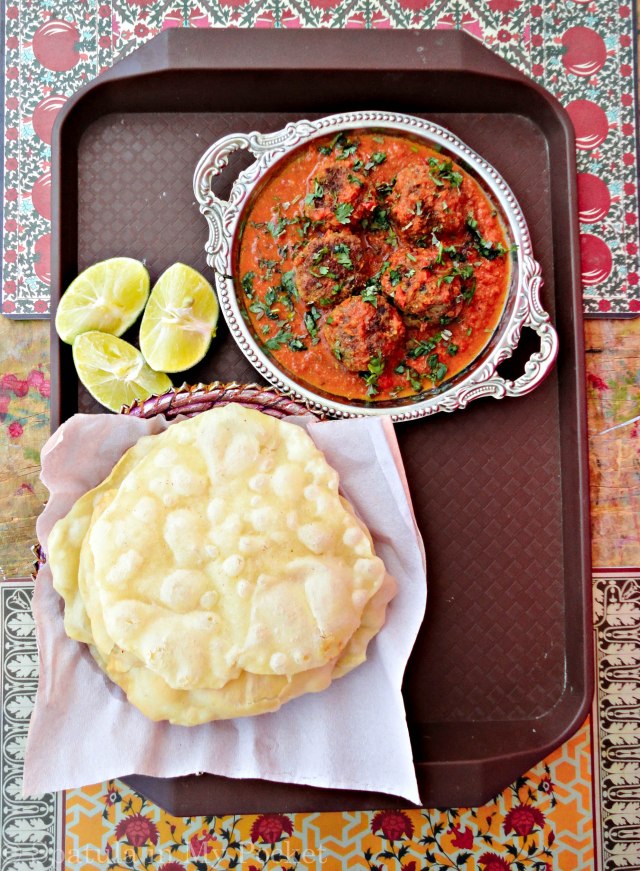
They are traditionally served as an accompaniment with a bowl of soup, pasta or pizza, but they are so delicious that they can be served alone, and can be a perfect addition to your iftar table.

They are one of the most satisfyingly delicious things to eat and are unbelievably addictive. Try them this Ramadan and let me know they turn out.
More delicious recipes you can try this Ramadan:
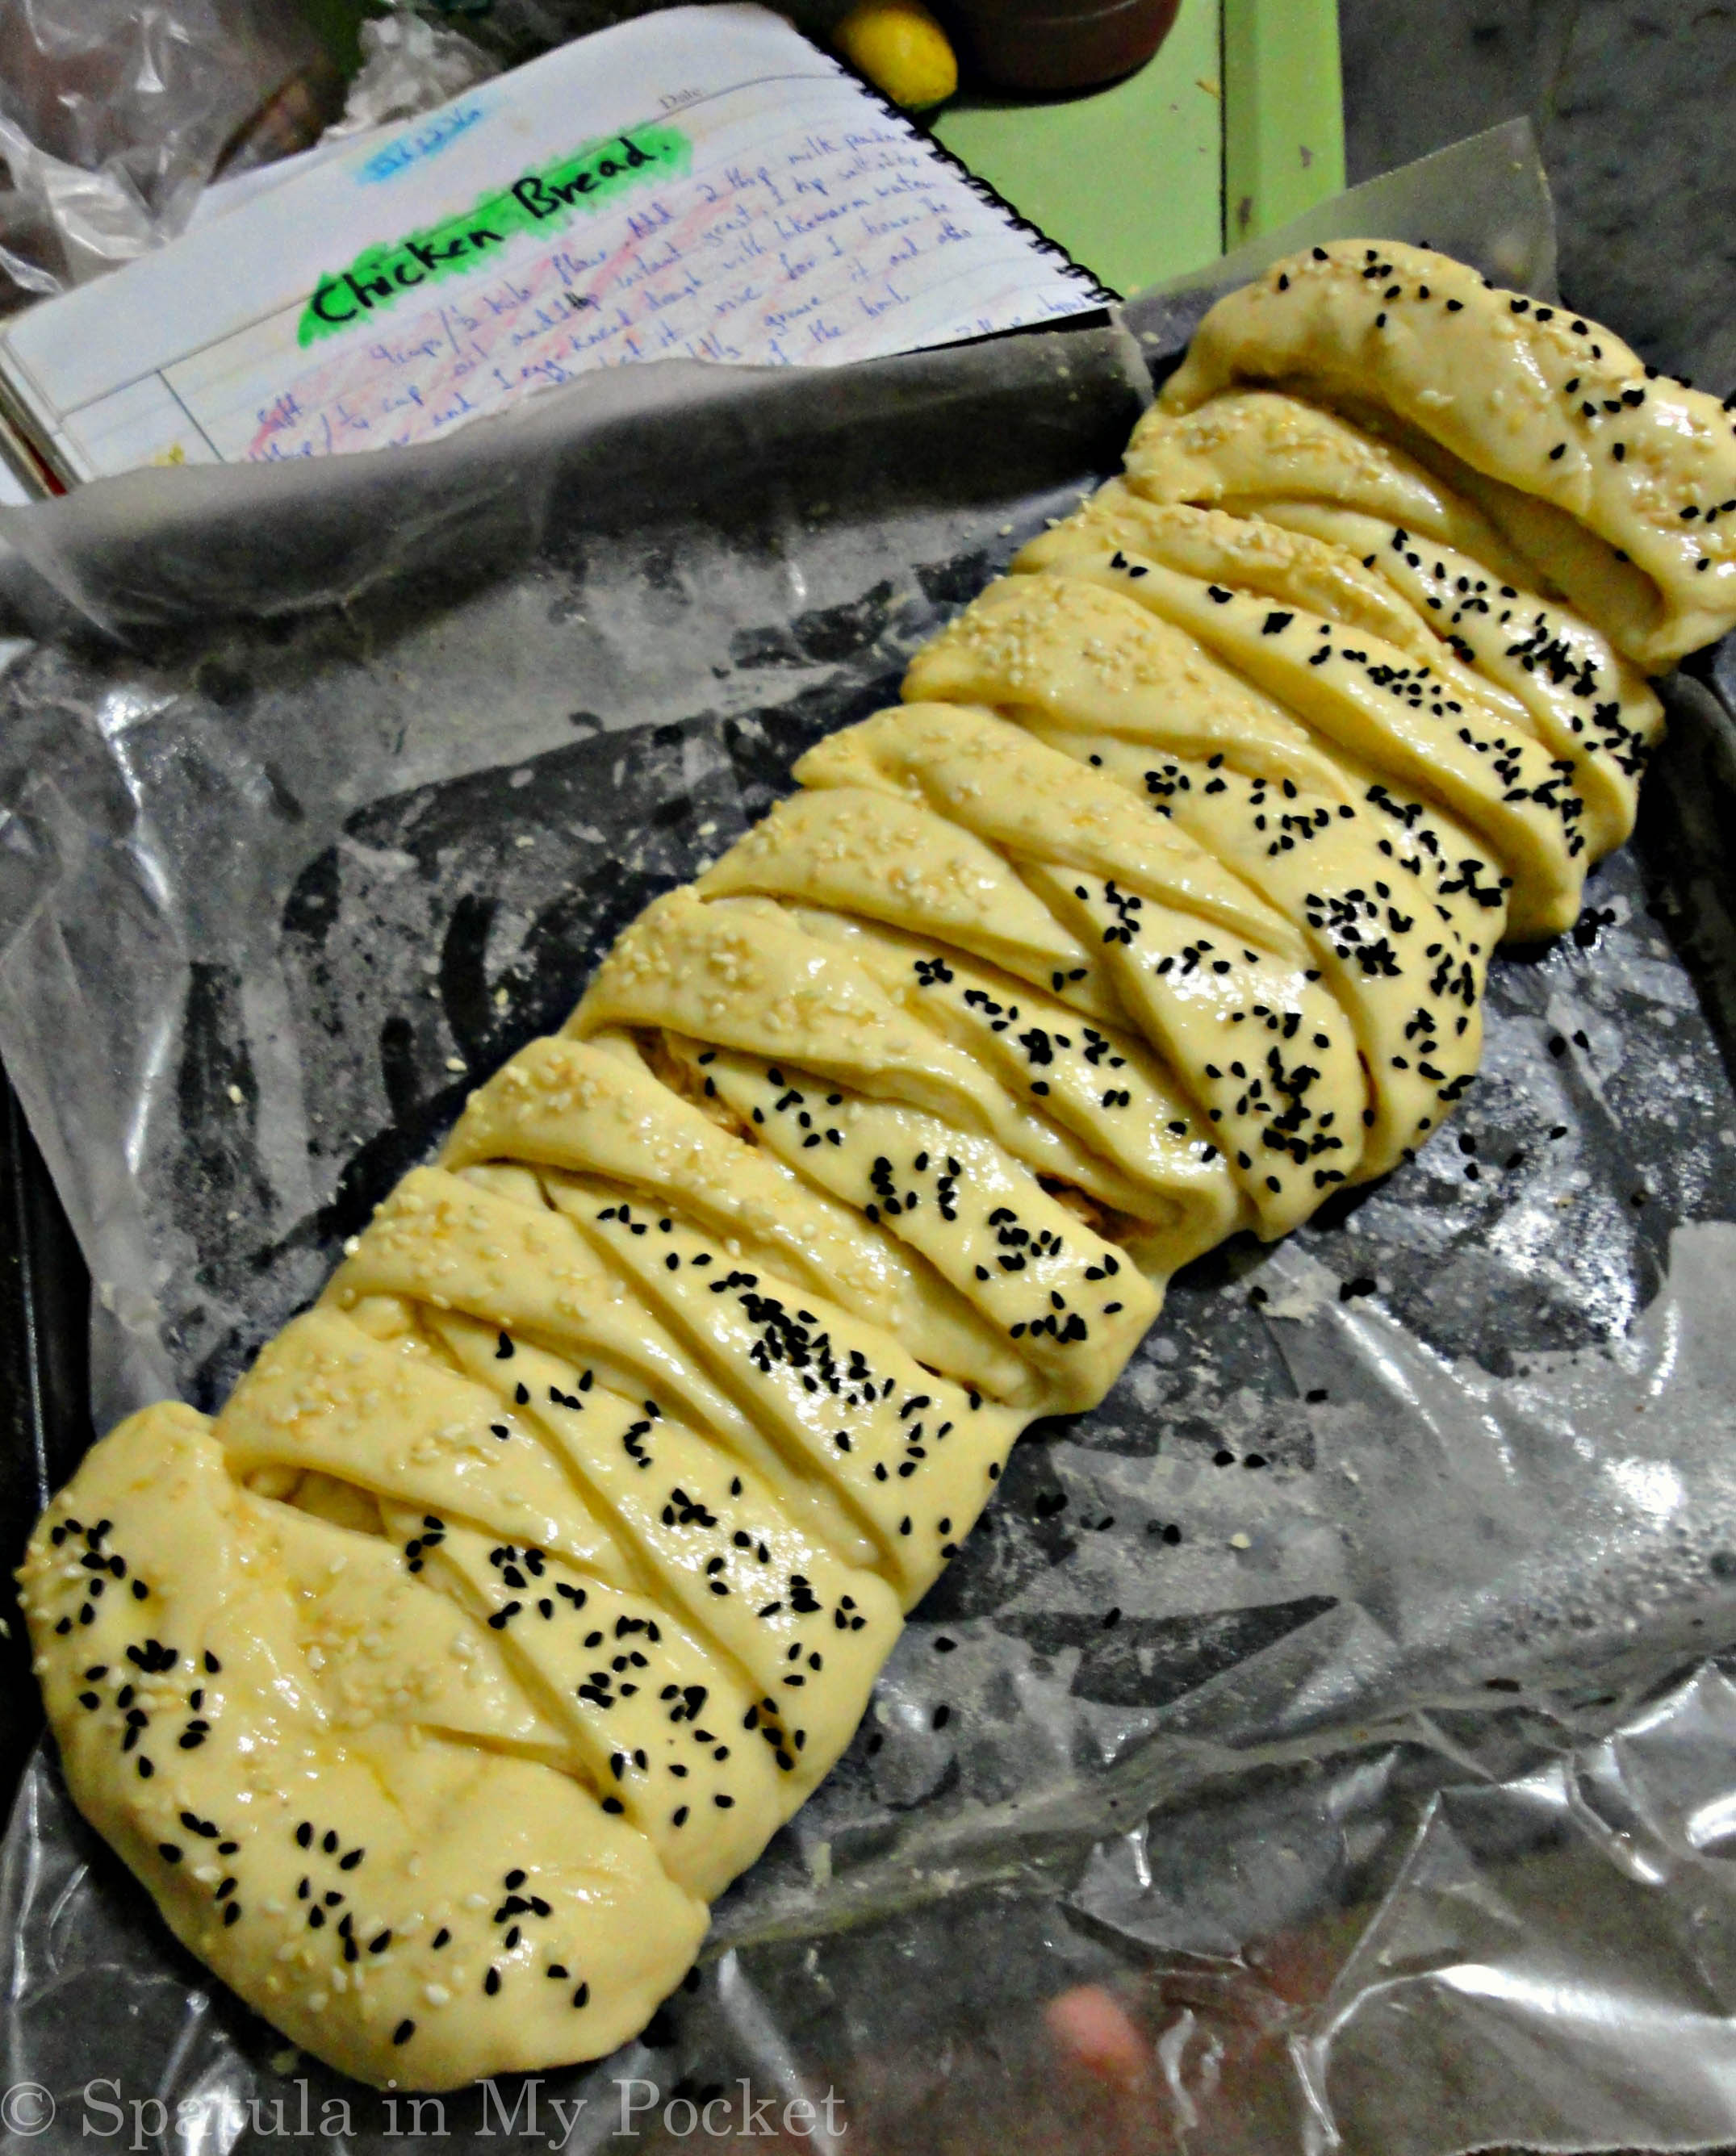
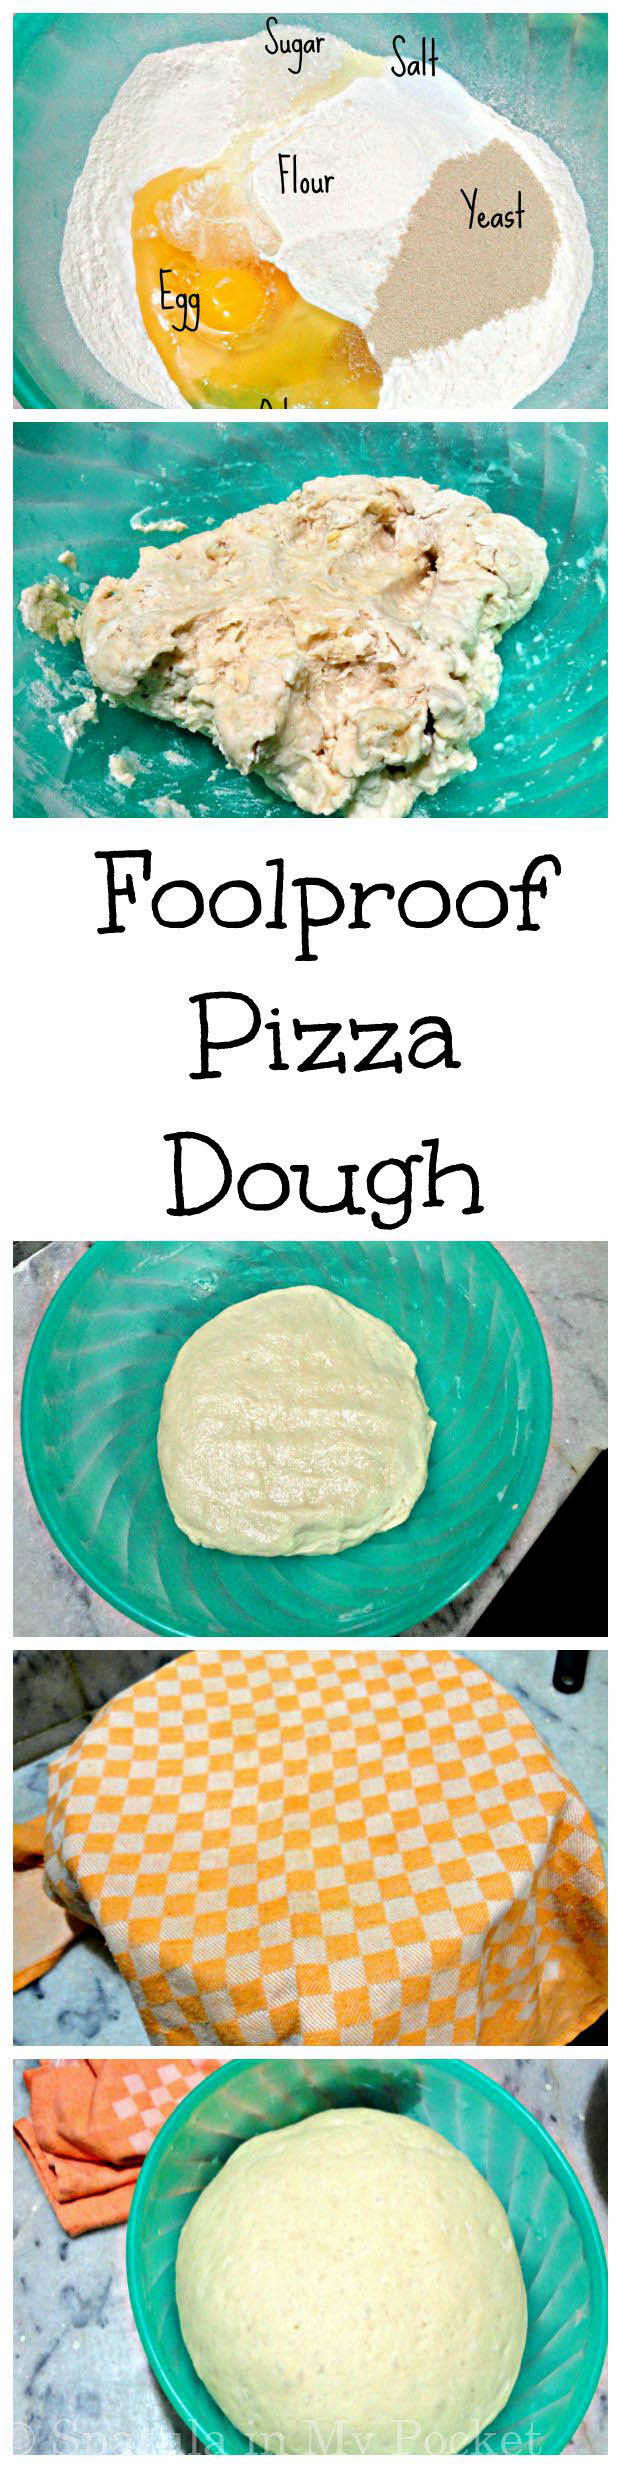
Garlic KnotsYields: 16- 18 knotsIngredients:For the Dough· 2 1/4 cups (280g) all-purpose flour· 1/2 tsp (2g) salt· 2/3 cup (160ml) lukewarm milk· 1 tbsp (15g) sugar· 1 standard packet of instant yeast· 2 tbsp (30g) melted butter or oil· 1 eggFor the Garlic Butter· 4 Tablespoons (50g) butter, melted· 3 garlic cloves, minced· 2 Tablespoons chopped fresh coriander· Pinch of saltDirections:
|
How to shape them

Picture credits: Finecooking