Hi my lovelies.
You may or may not know, but I put up my first bake stall, in the beginning of December, at a social event held at my university.

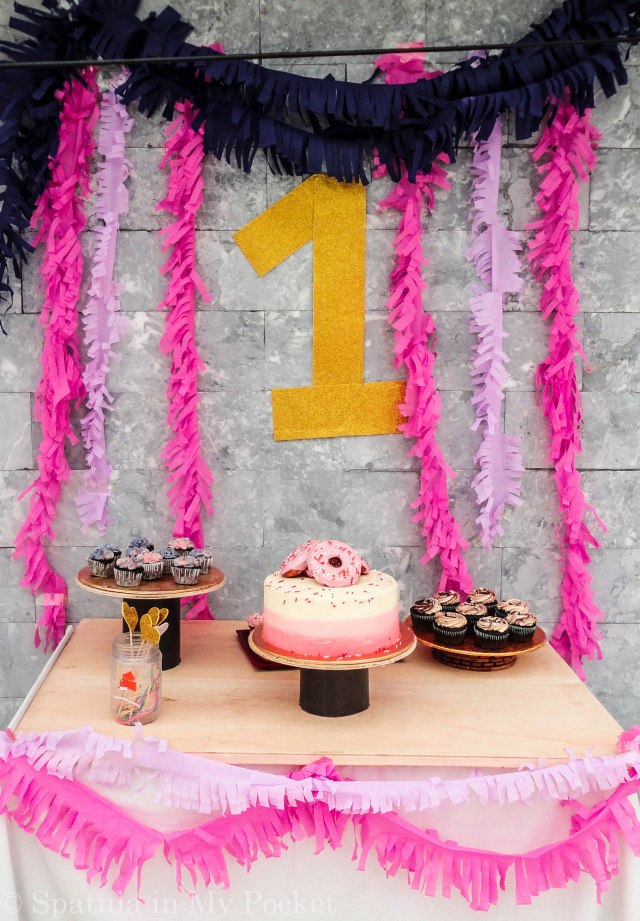
Initially doubtful of putting up a stall, but was egged on by my friends, my parents agreed, and then I grudgingly signed up for the event. I had always wanted to set up a stall and sell baked goods, always had this setup planned in my head; what I’ll sell, how I’ll sell it and everything. Needless to say, not everything went as envisioned, but it was close to perfect.
One stall was envisaged with countless sleepless nights (I’m a born worrier. Yes people, Anxiety!), whining sessions with mum, menu meetings with friends, internet hogging for stall bake sale ideas and tips, deciding between; what to bake, what not to make, how much to make, and the décor!

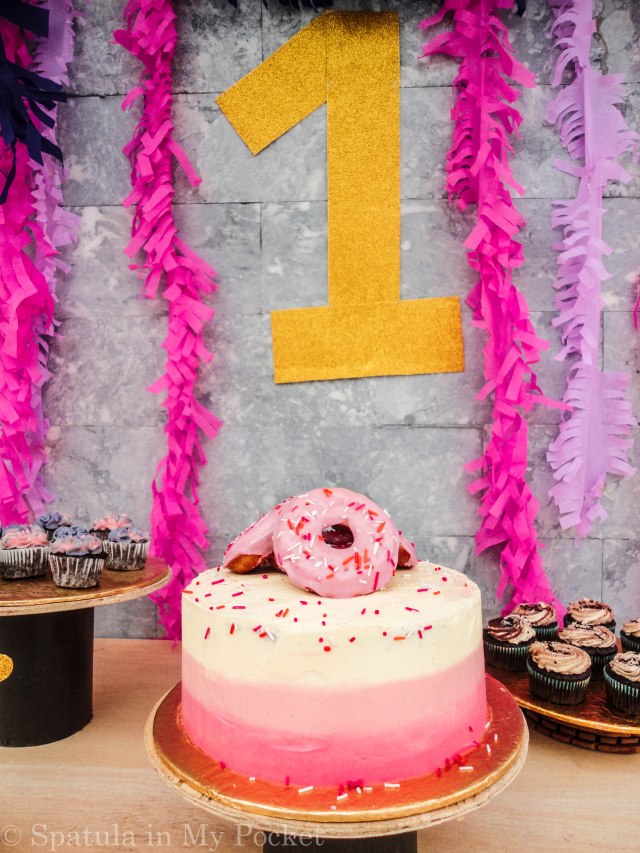
The banner cutouts. Shoutout to my adorable lil sisters for all the hardwork…loveyou NihalKhatemAnum! :**

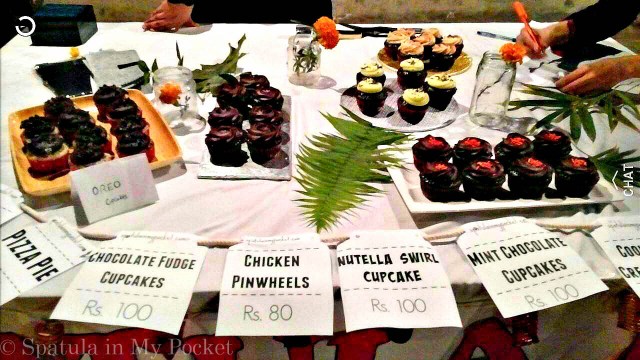
Price cards. Aren’t they pretty? ^^
Oh and the countless shopping trips. Icing sugar and Cocoa shopping in bulk. Buying 100000xxx sticks of butter. Kilos and kilos worth of flour. And a hundred dozen cupcake liners. Best shopping spree it was. And thanks to my mum and my sister who beared with me and took me to the store each time I panicked having forgotten one lil thing or the other.
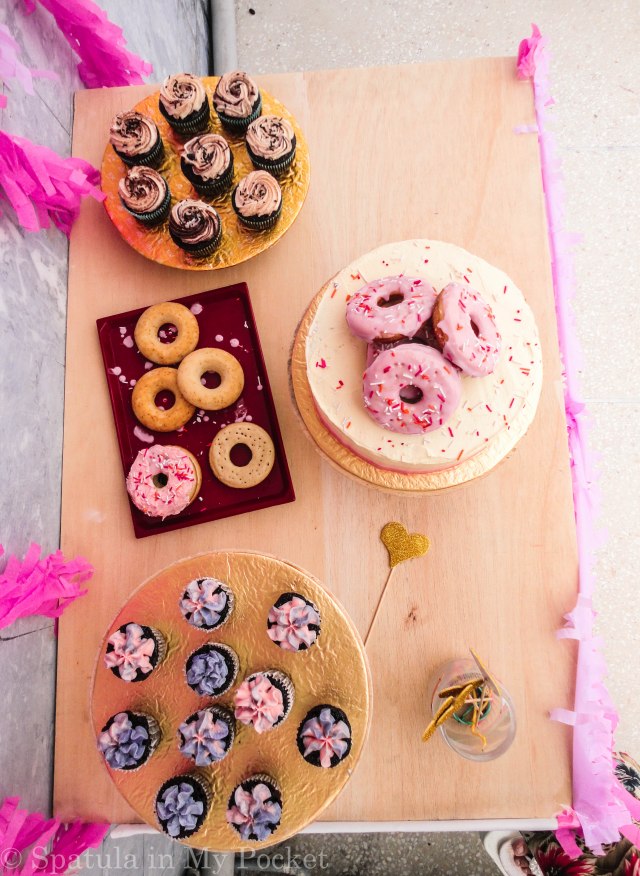
The array of offerings I decided upon and then eventually sold were:
-
Oreo Chunk Brownies
-
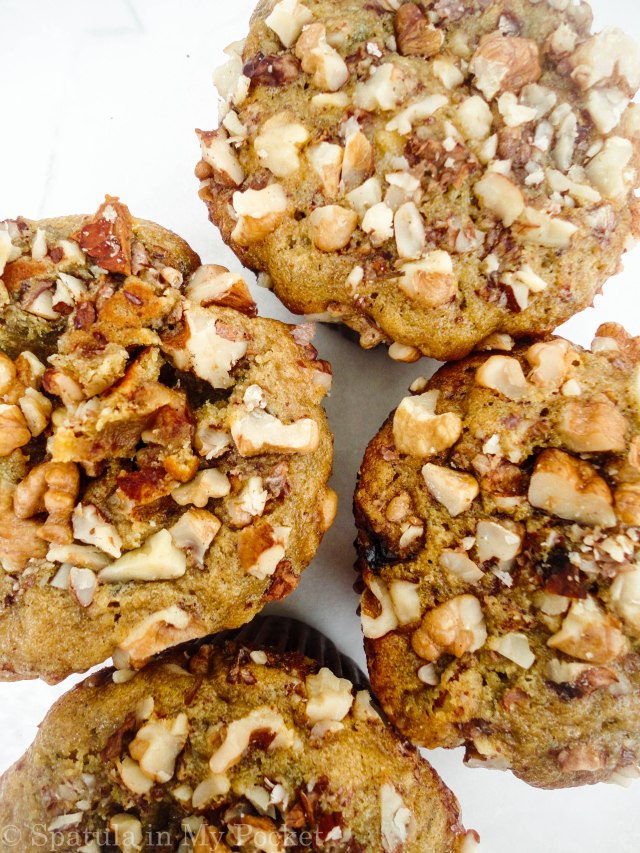
Browned Butter Walnut Brownies
-
-
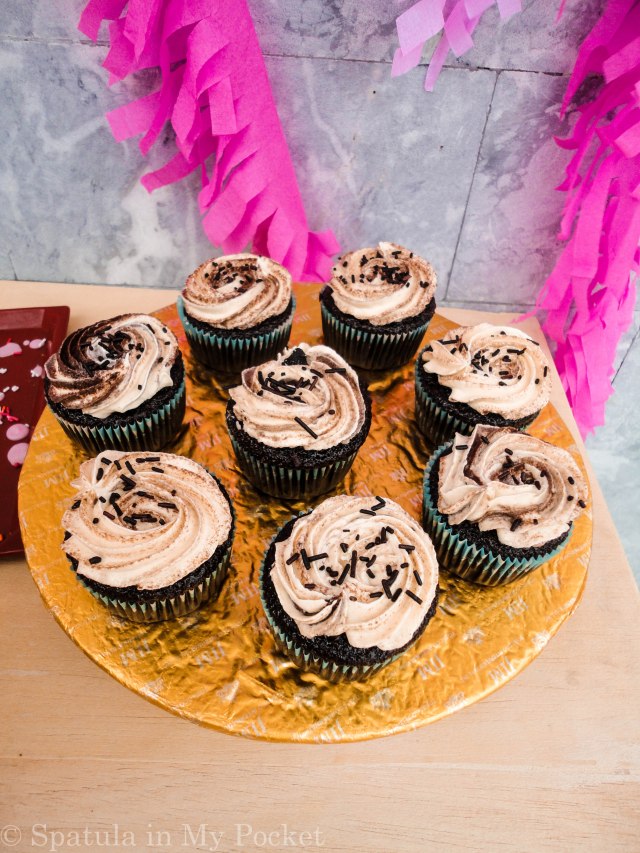
Chocolate Fudge Cupcakes with Chocolate Frosting
-
Chocolate Cupcakes with Peanut butter Frosting
-
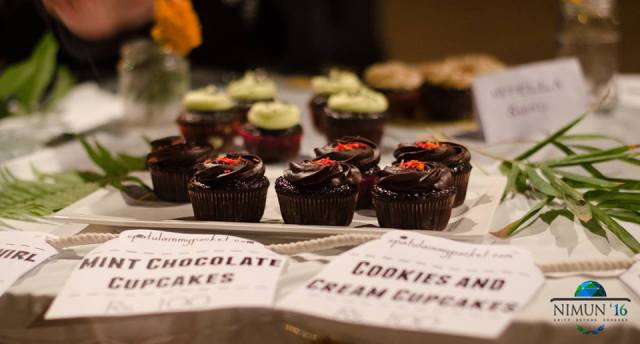
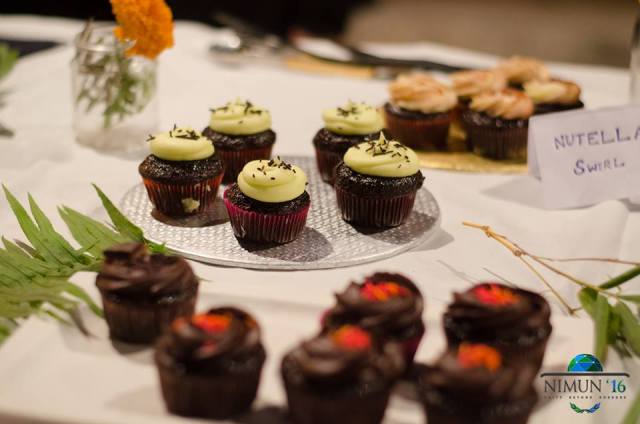
Chocolate Cupcakes with Mint Frosting
-
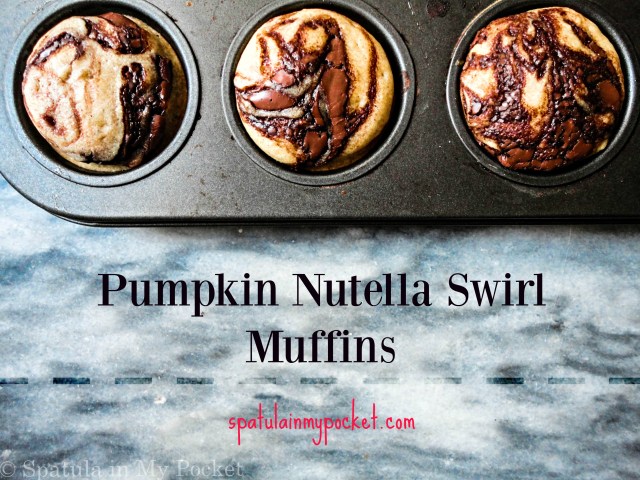
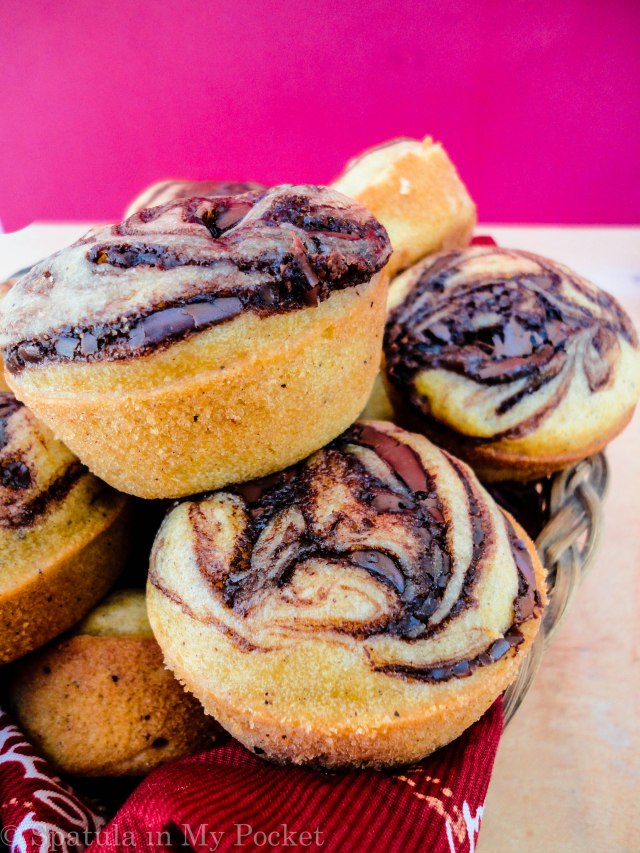
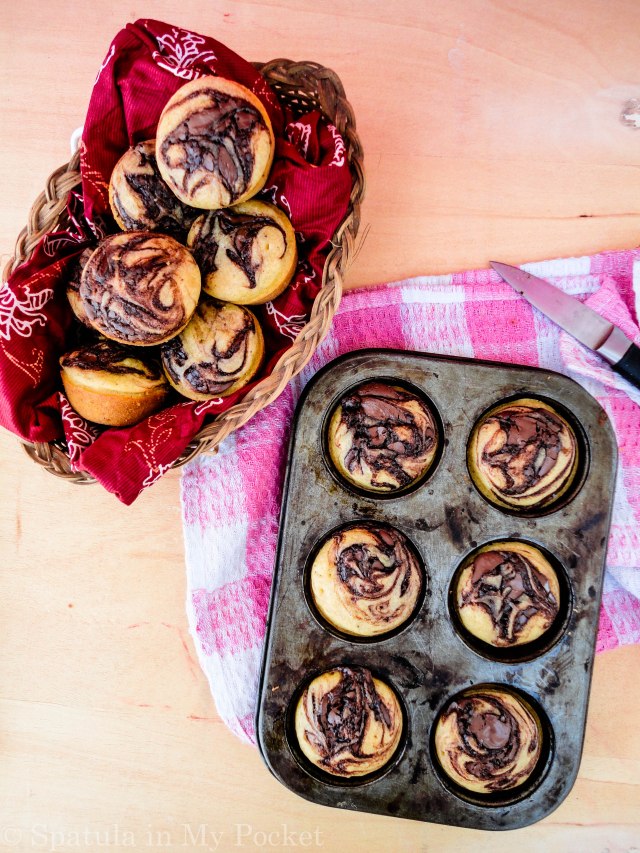
Nutella Swirl Cupcakes
-
Pizza Pies
-
Chicken Pinwheels

The Savory, a last minute addition-Pizza pies and Pinwheels.

Cookies and Cream Cupcakes aka the Ultimate Oreo Cupcakes

The best homemade Chocolate Cupcakes topped with thick and creamy Mint Frosting.

The moistest Chocolate Cupcakes with the BEST Chocolate Buttercream Frosting!

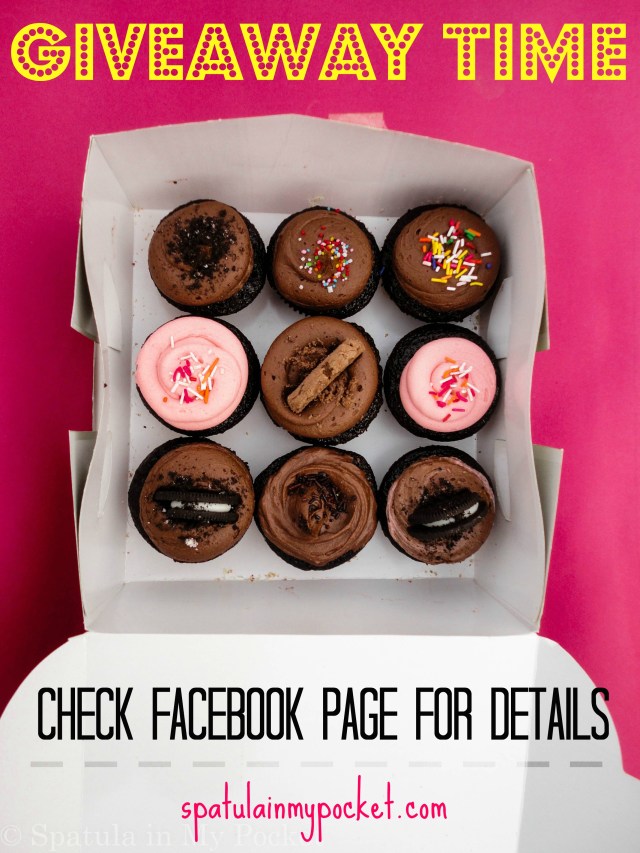
TADAAAA

All boxed up and ready to go!
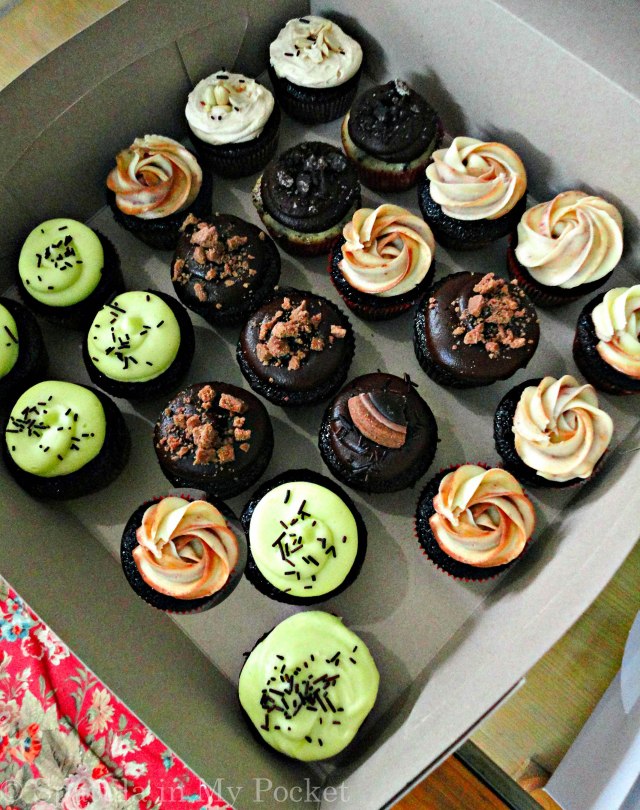

Can you eat just one cupcake?
The Chocolate Fudge Cupcakes were the best seller, obviously. Just look at them. Them dark luscious beauties O.O
And now here are some pictures from the bake stall and the event itself! A random mix of pictures from the official NIMUN page (the event), and snaps from my bake stall Snapstory (username: noora559), which if you missed out on, then… *gasp* Shame on you! -_-


The roaring bonfire, the cool night breeze . . .


Hope you enjoy this post, just felt like sharing it with all of you. I now hope to set up a new bake stall sometime soon. 🙂


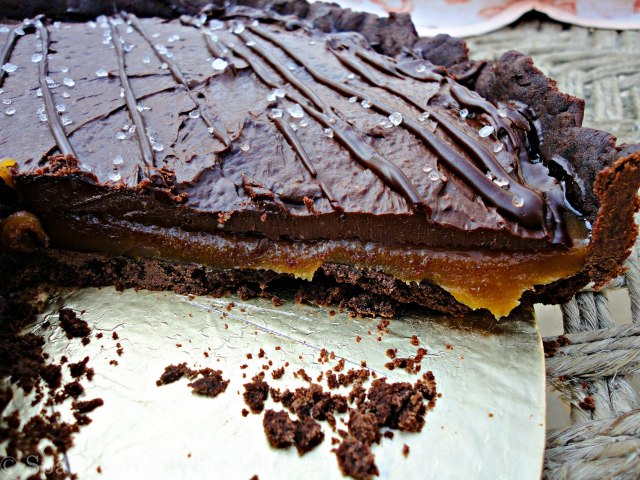


 That first bite though.


