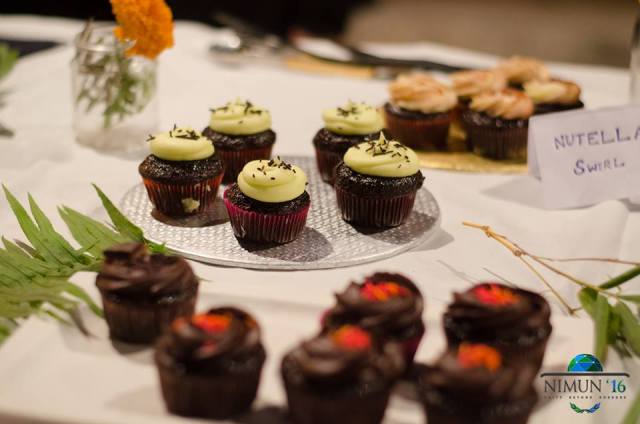
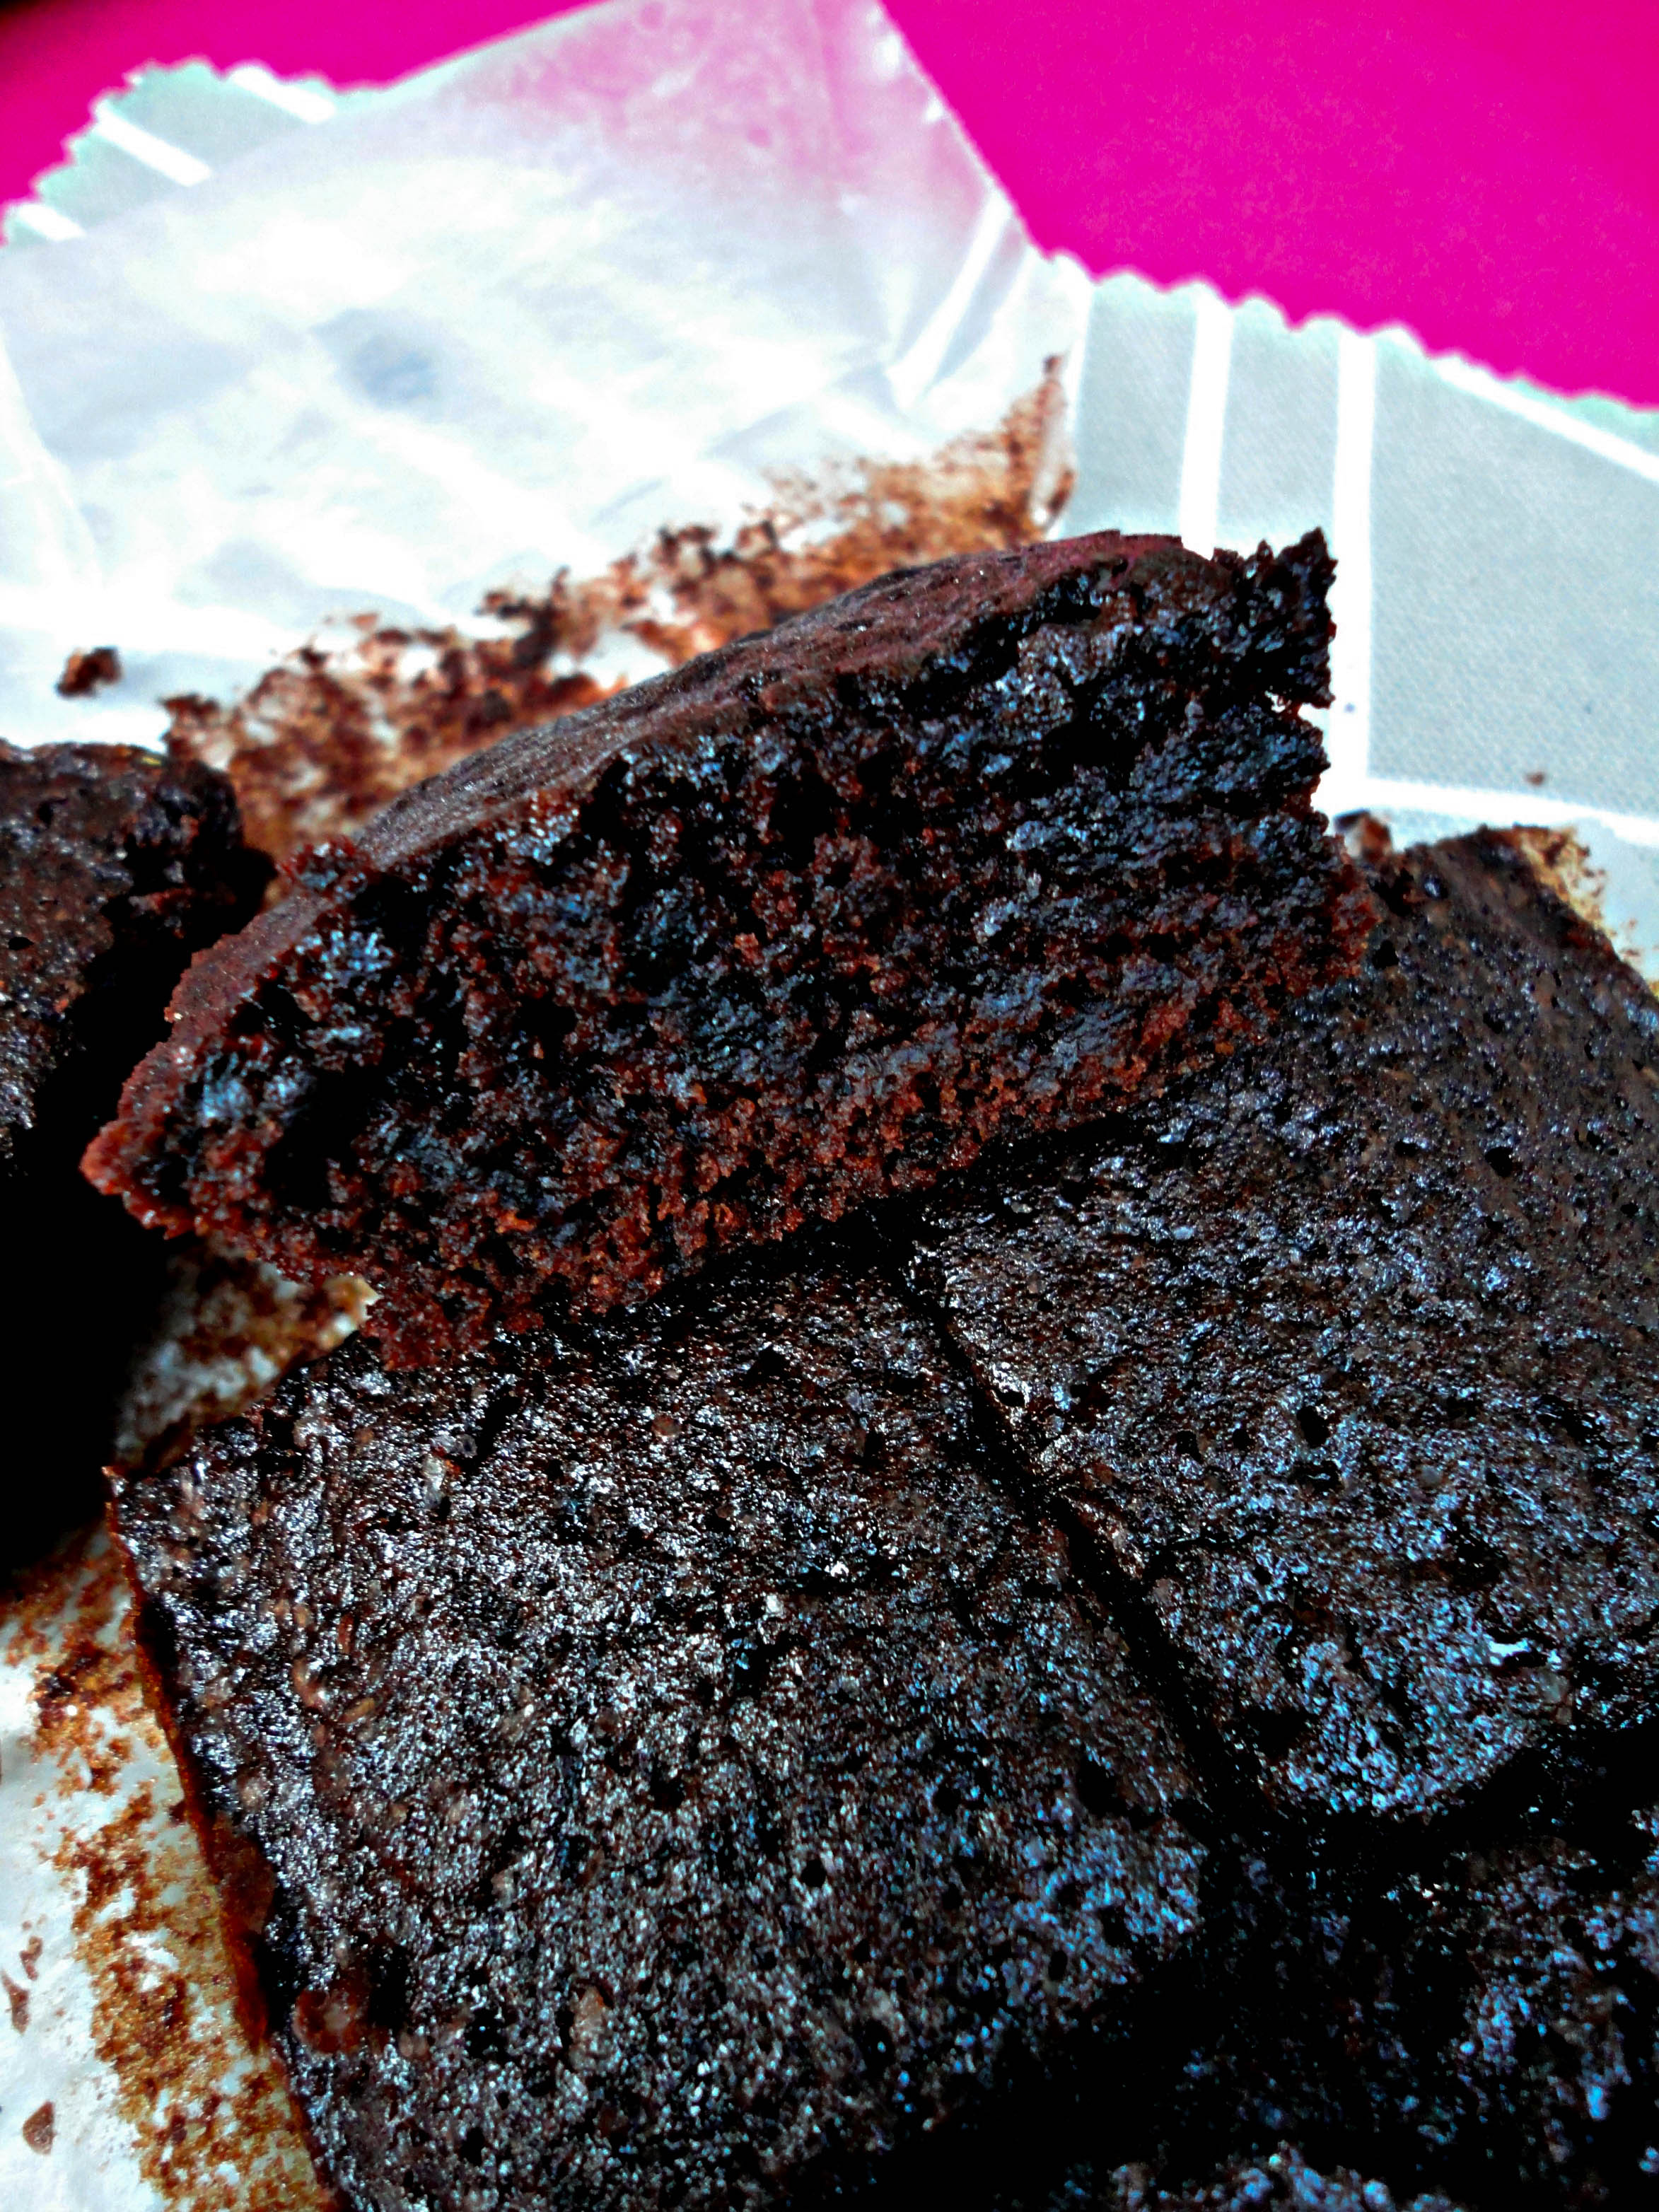
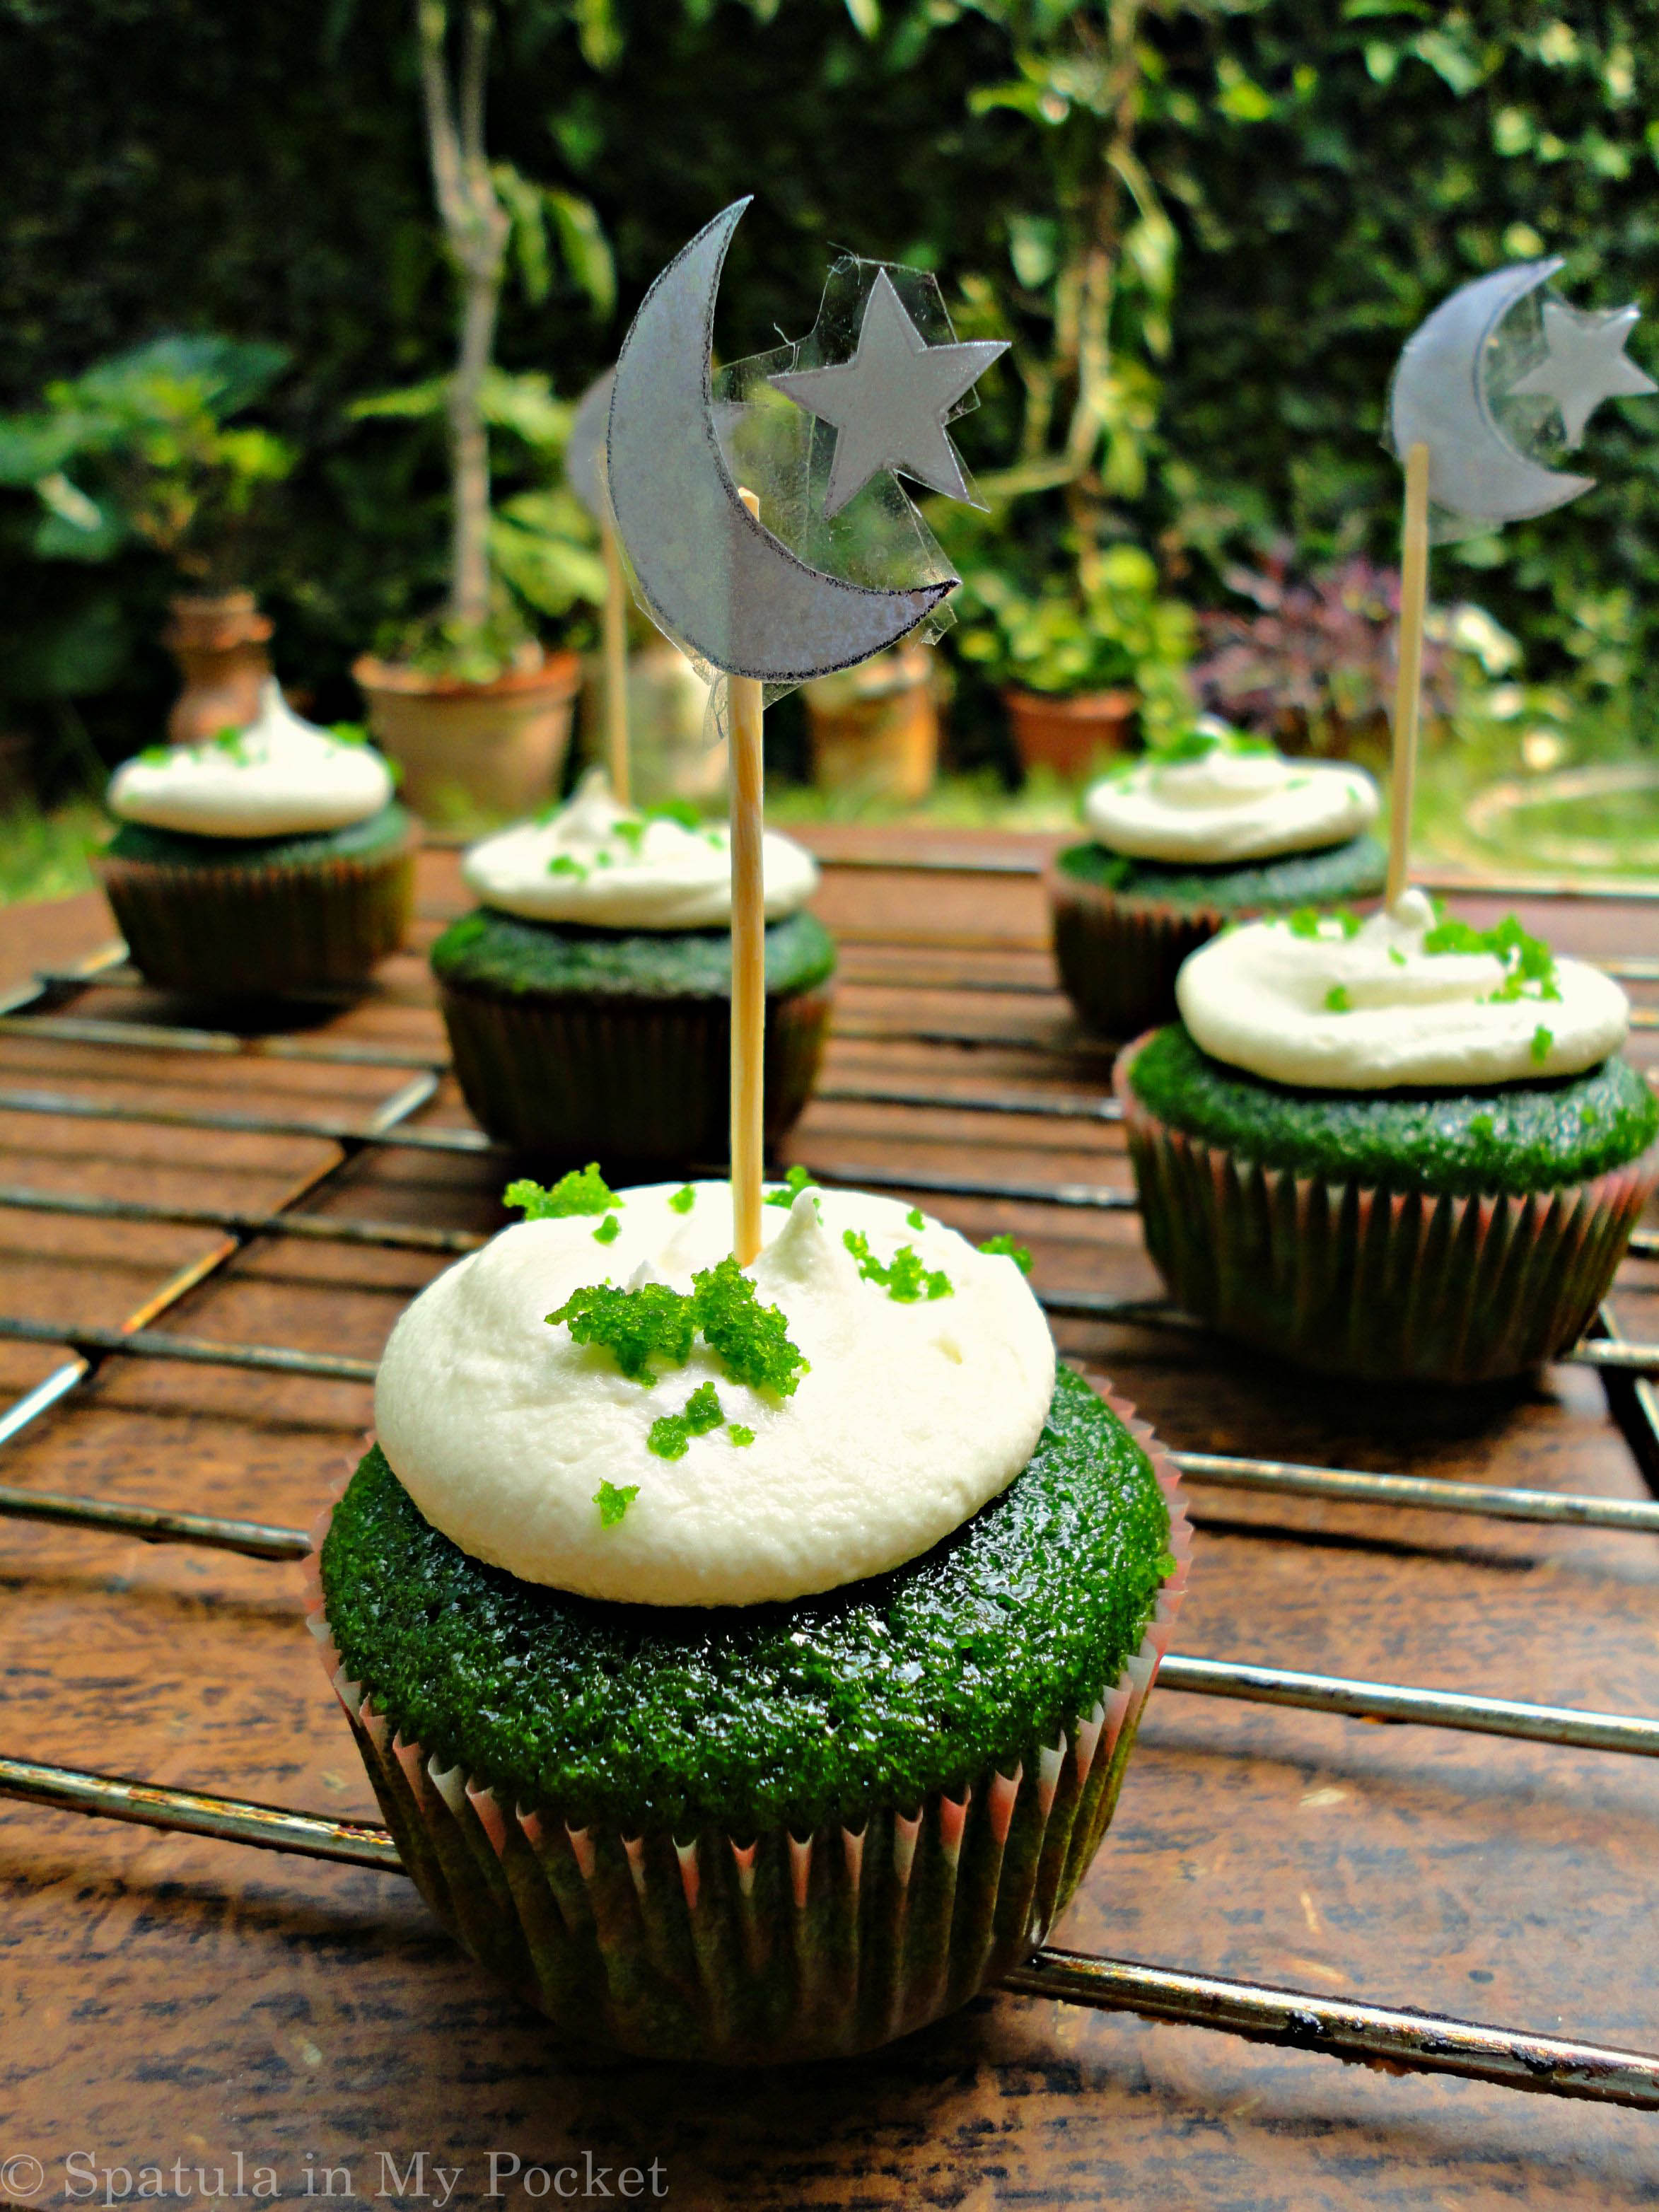
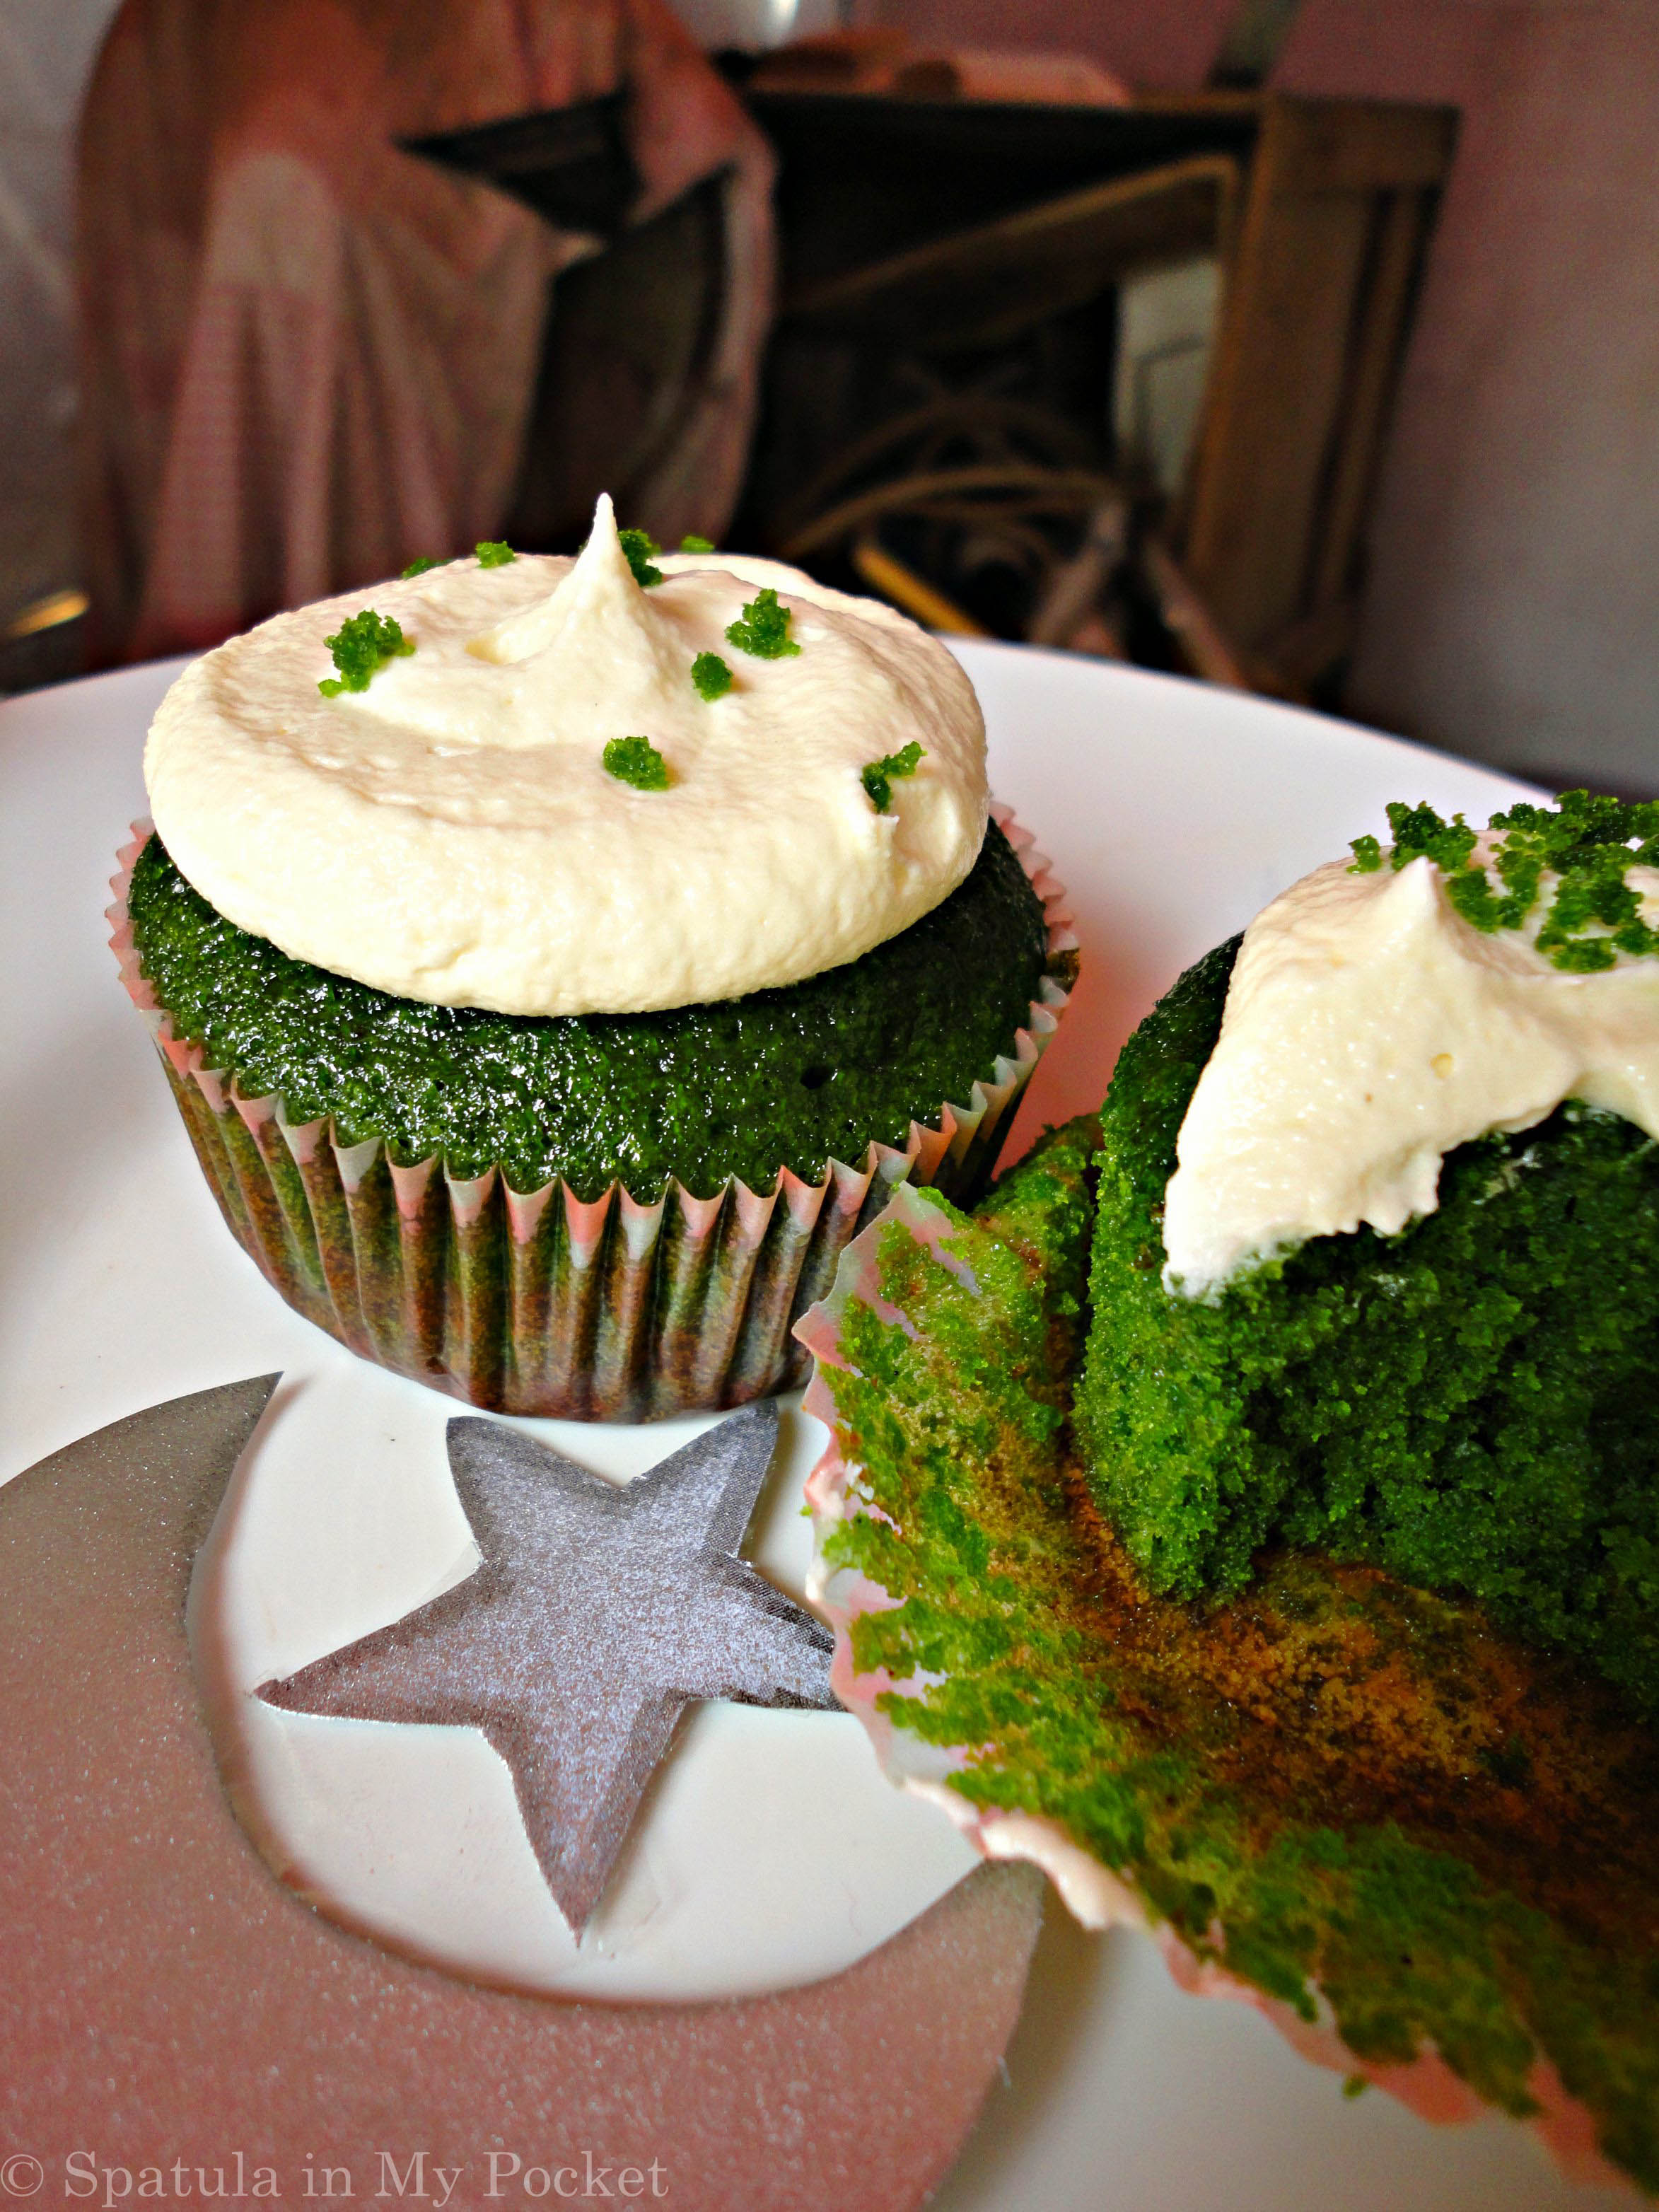
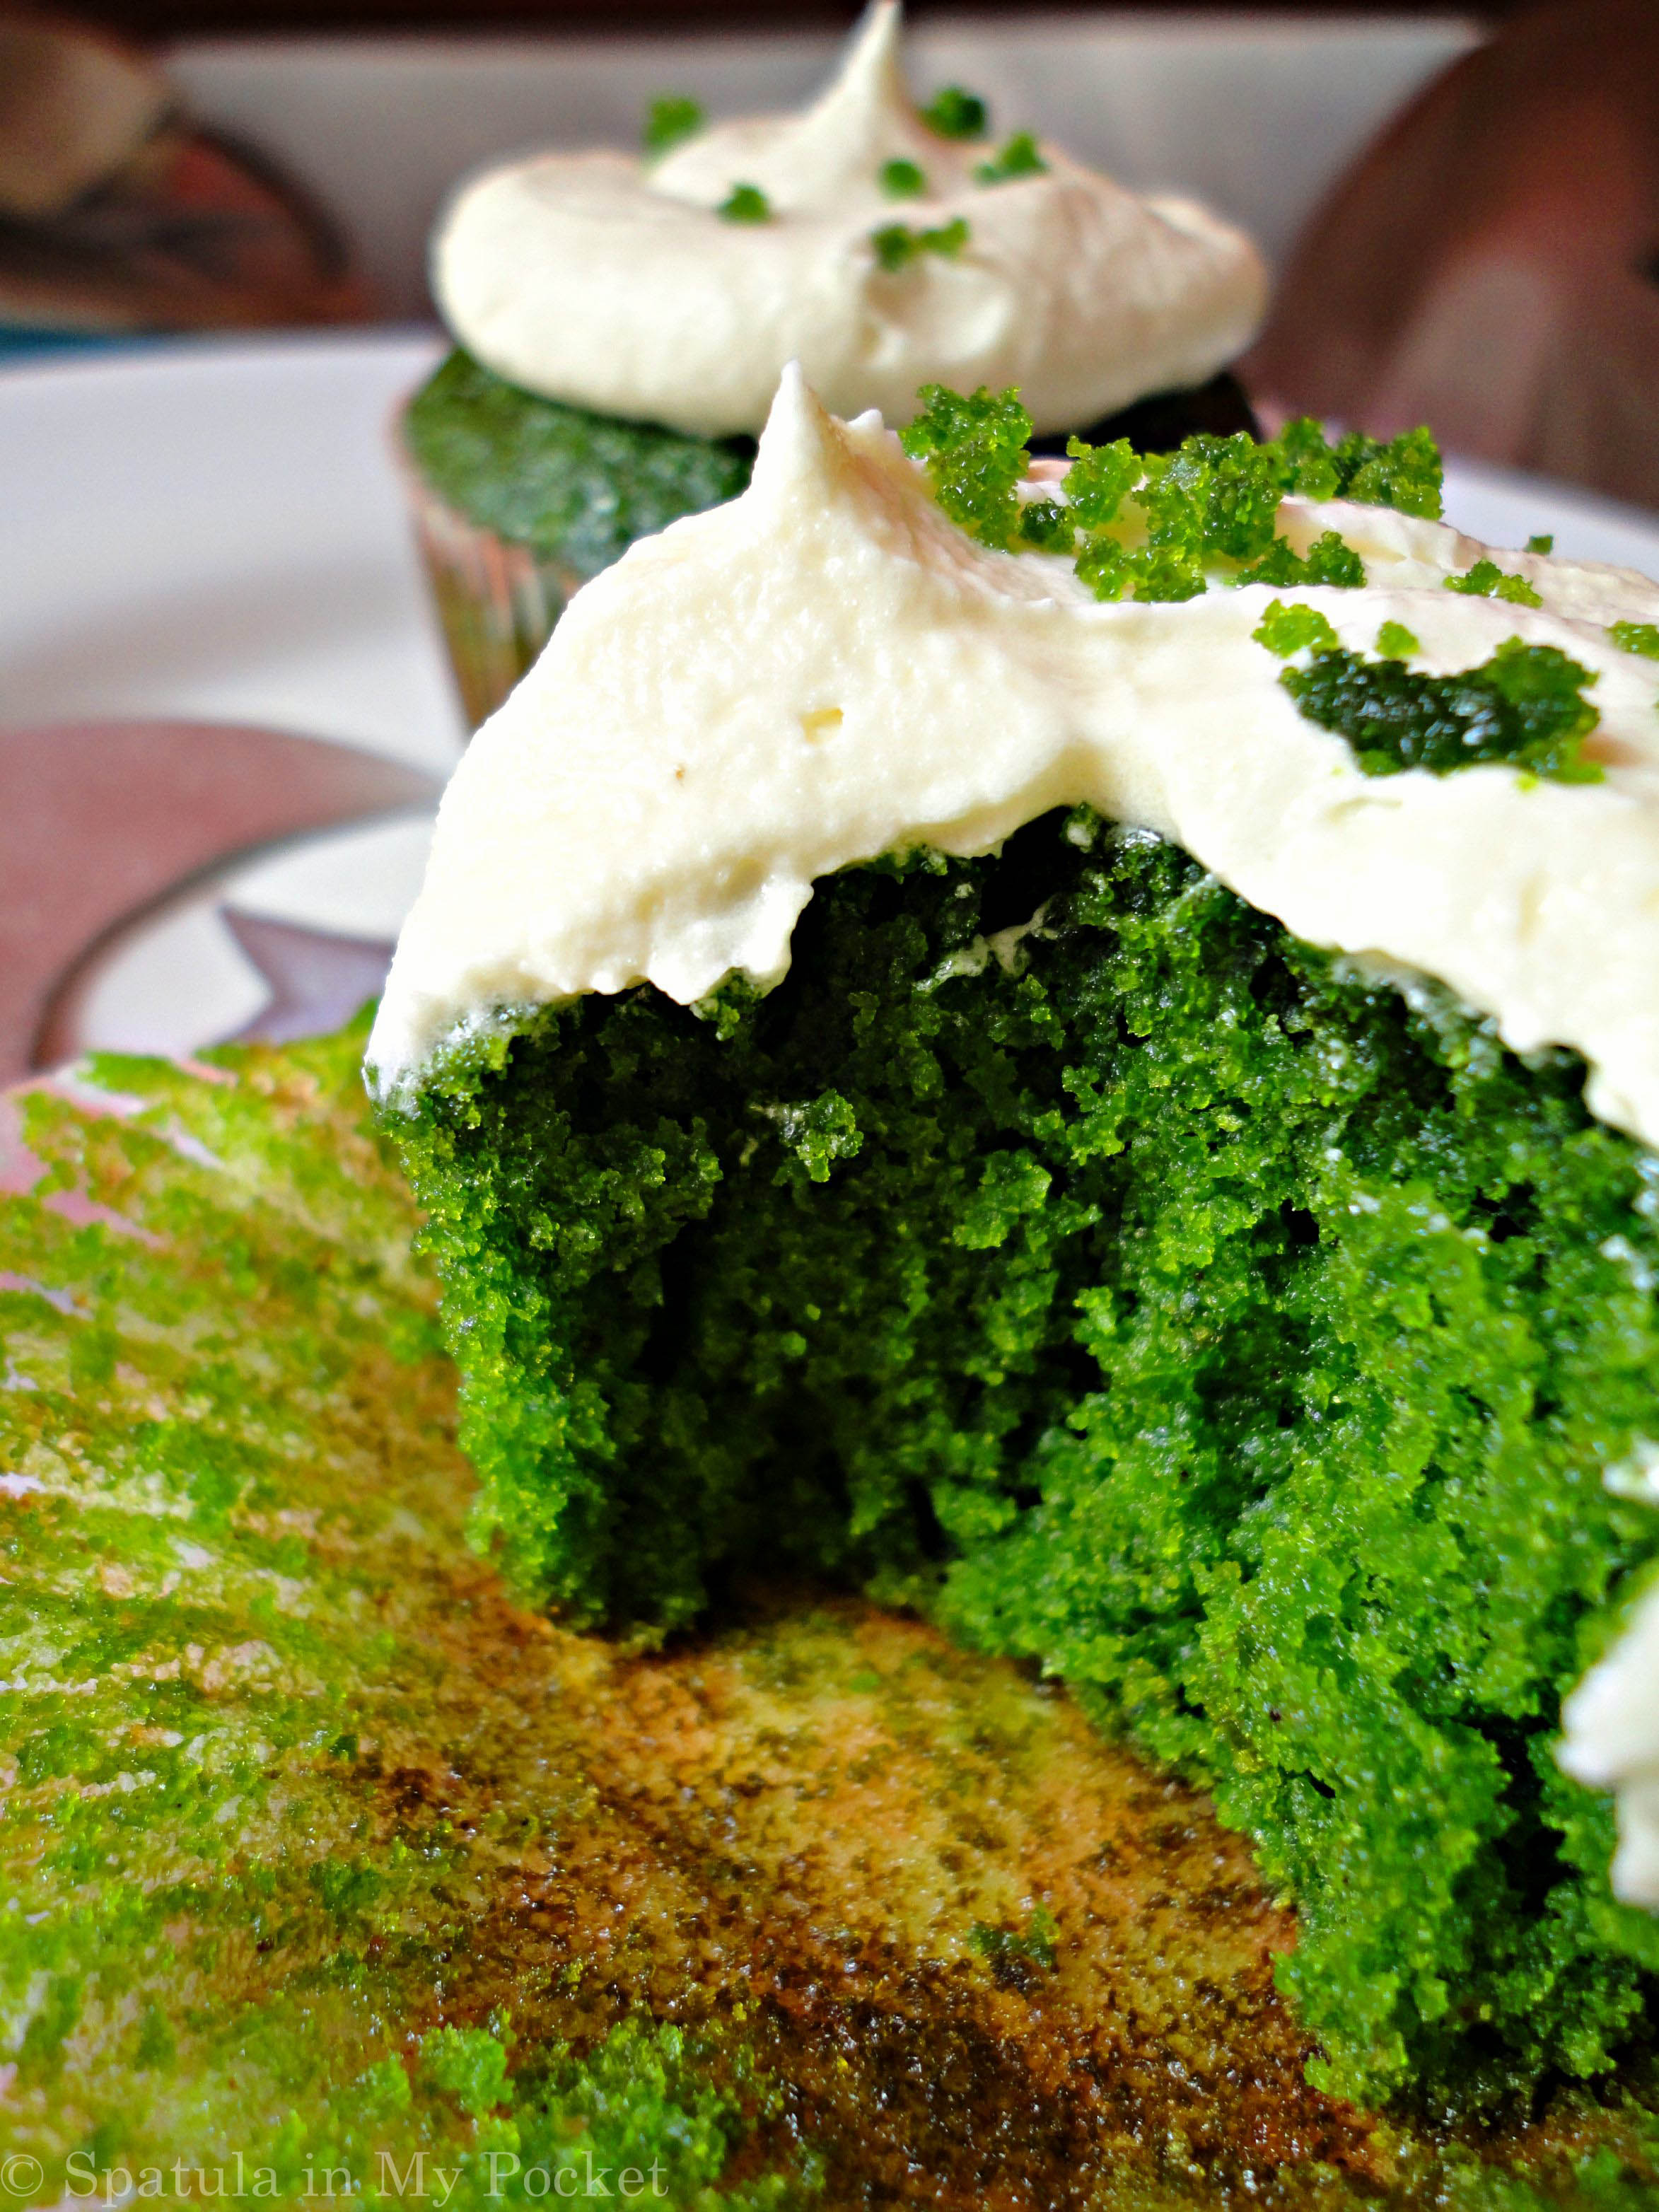
Green Velvet Cupcakes
Yields: 25 cupcakes
Ingredients:
Cupcakes
2 ½ cup all-purpose flour
1 ½ cup sugar
1 Tablespoon cocoa powder
1 teaspoon baking soda
¼ teaspoon salt
2 large eggs
1 cup oil
1 cup buttermilk1
1 Tablespoon vinegar
1 teaspoon vanilla extract
2 Tablespoon liquid green food coloring2
Frosting
½ cup (115 g) butter, softened at room temperature
2 ½ cup icing sugar
1 teaspoon vanilla extract
1 Tablespoon milk
Directions:
For the cupcakes: Preheat oven to 180 degrees C.
Line a muffin tray with cupcake liners.
In a bowl, whisk together all the liquid ingredients; the eggs, oil, buttermilk, vanilla extract, vinegar and the green food coloring.
In another bowl, sift the dry ingredients; the flour, sugar, cocoa, baking soda, and the salt. Mix well.
Add the wet ingredients into the dry ingredients. Mix till just combined.
Spoon batter into the prepared muffin tray, 3/4th of the way full.
Bake for 20-22 minutes.
Cool completely before applying frosting.
For the frosting: beat the butter on high till smooth and creamy. Add in the sugar, 1 cup at a time. Beat on slow. When all of the sugar is mixed in, add the milk and the vanilla extract. Beat on high till frosting is smooth and fluffy. Add more milk if stiff.
Notes:
1. Substitute for buttermilk: 1 tablespoon of vinegar or lemon juice + 1 cup milk
2. Gel food color can also be used (a 1 oz bottle)
Adapted from Love from the oven |


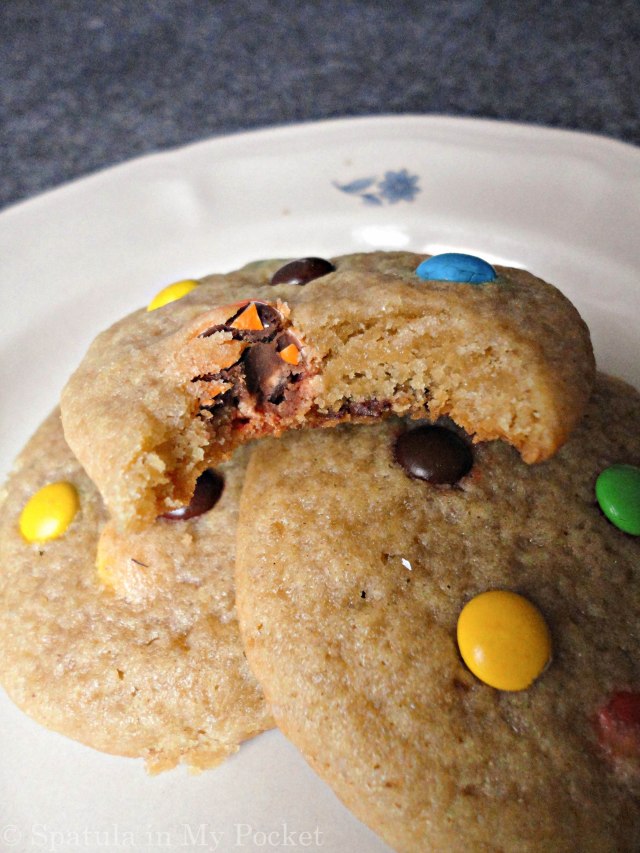


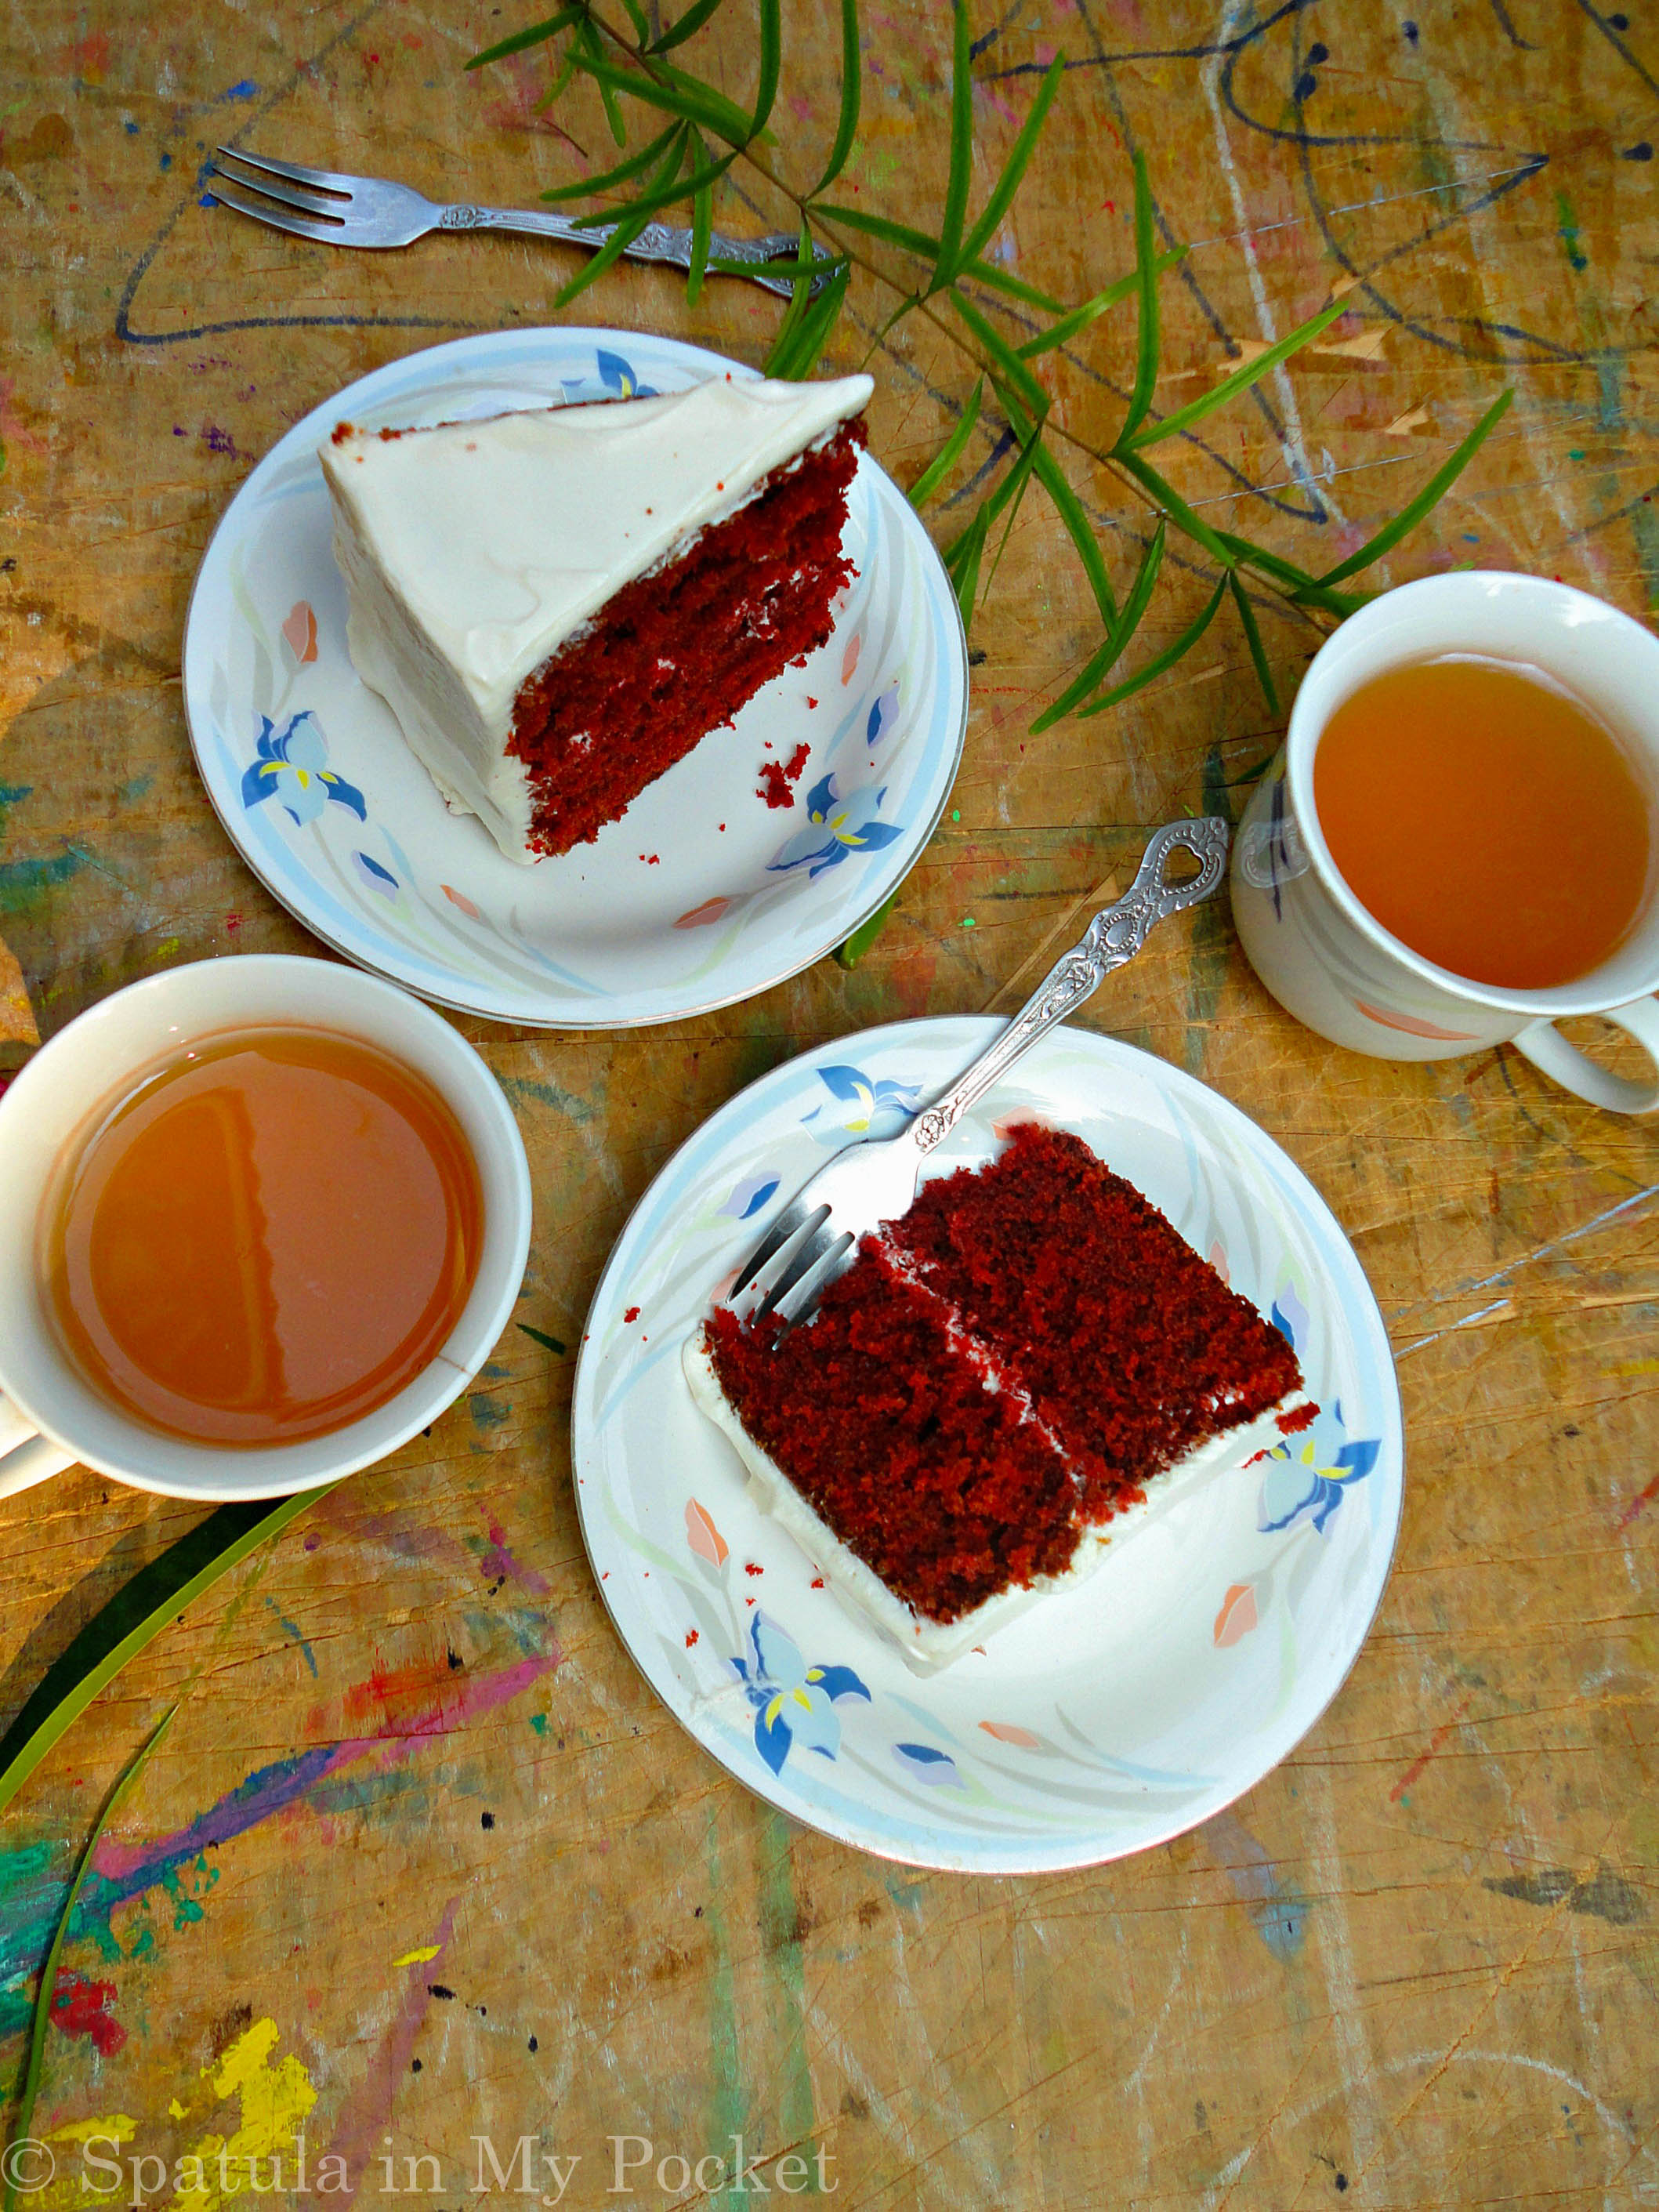
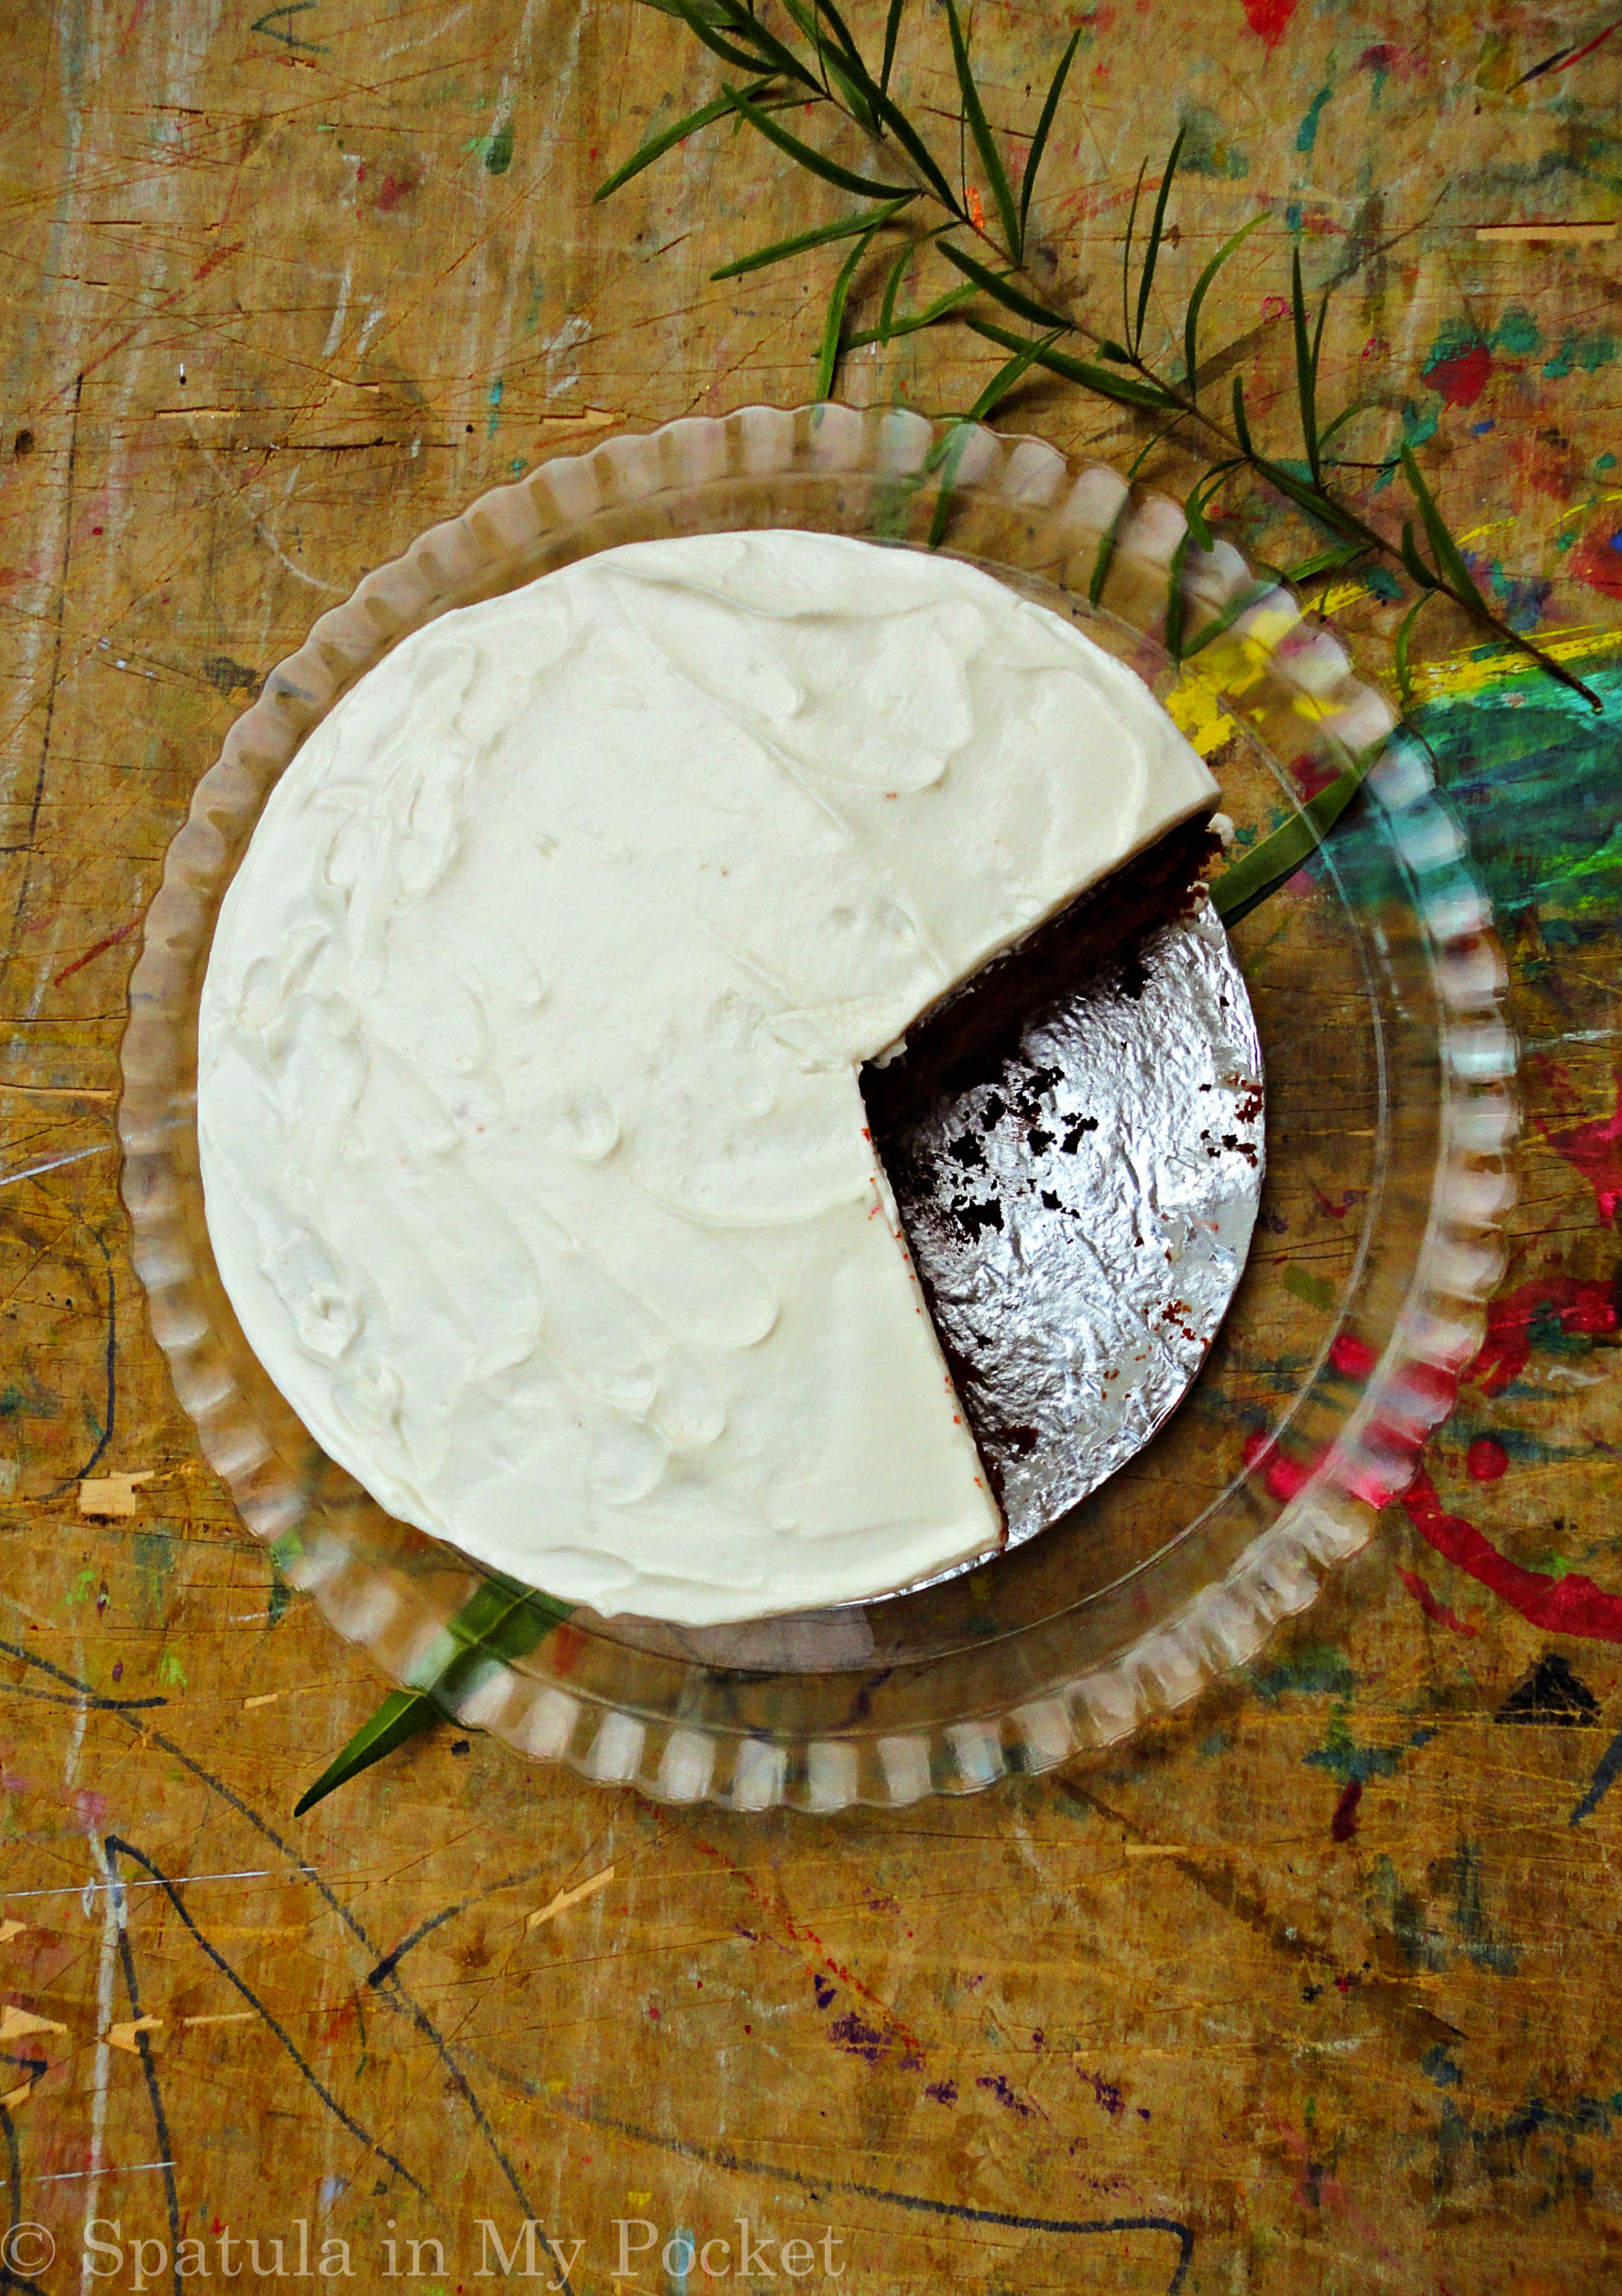
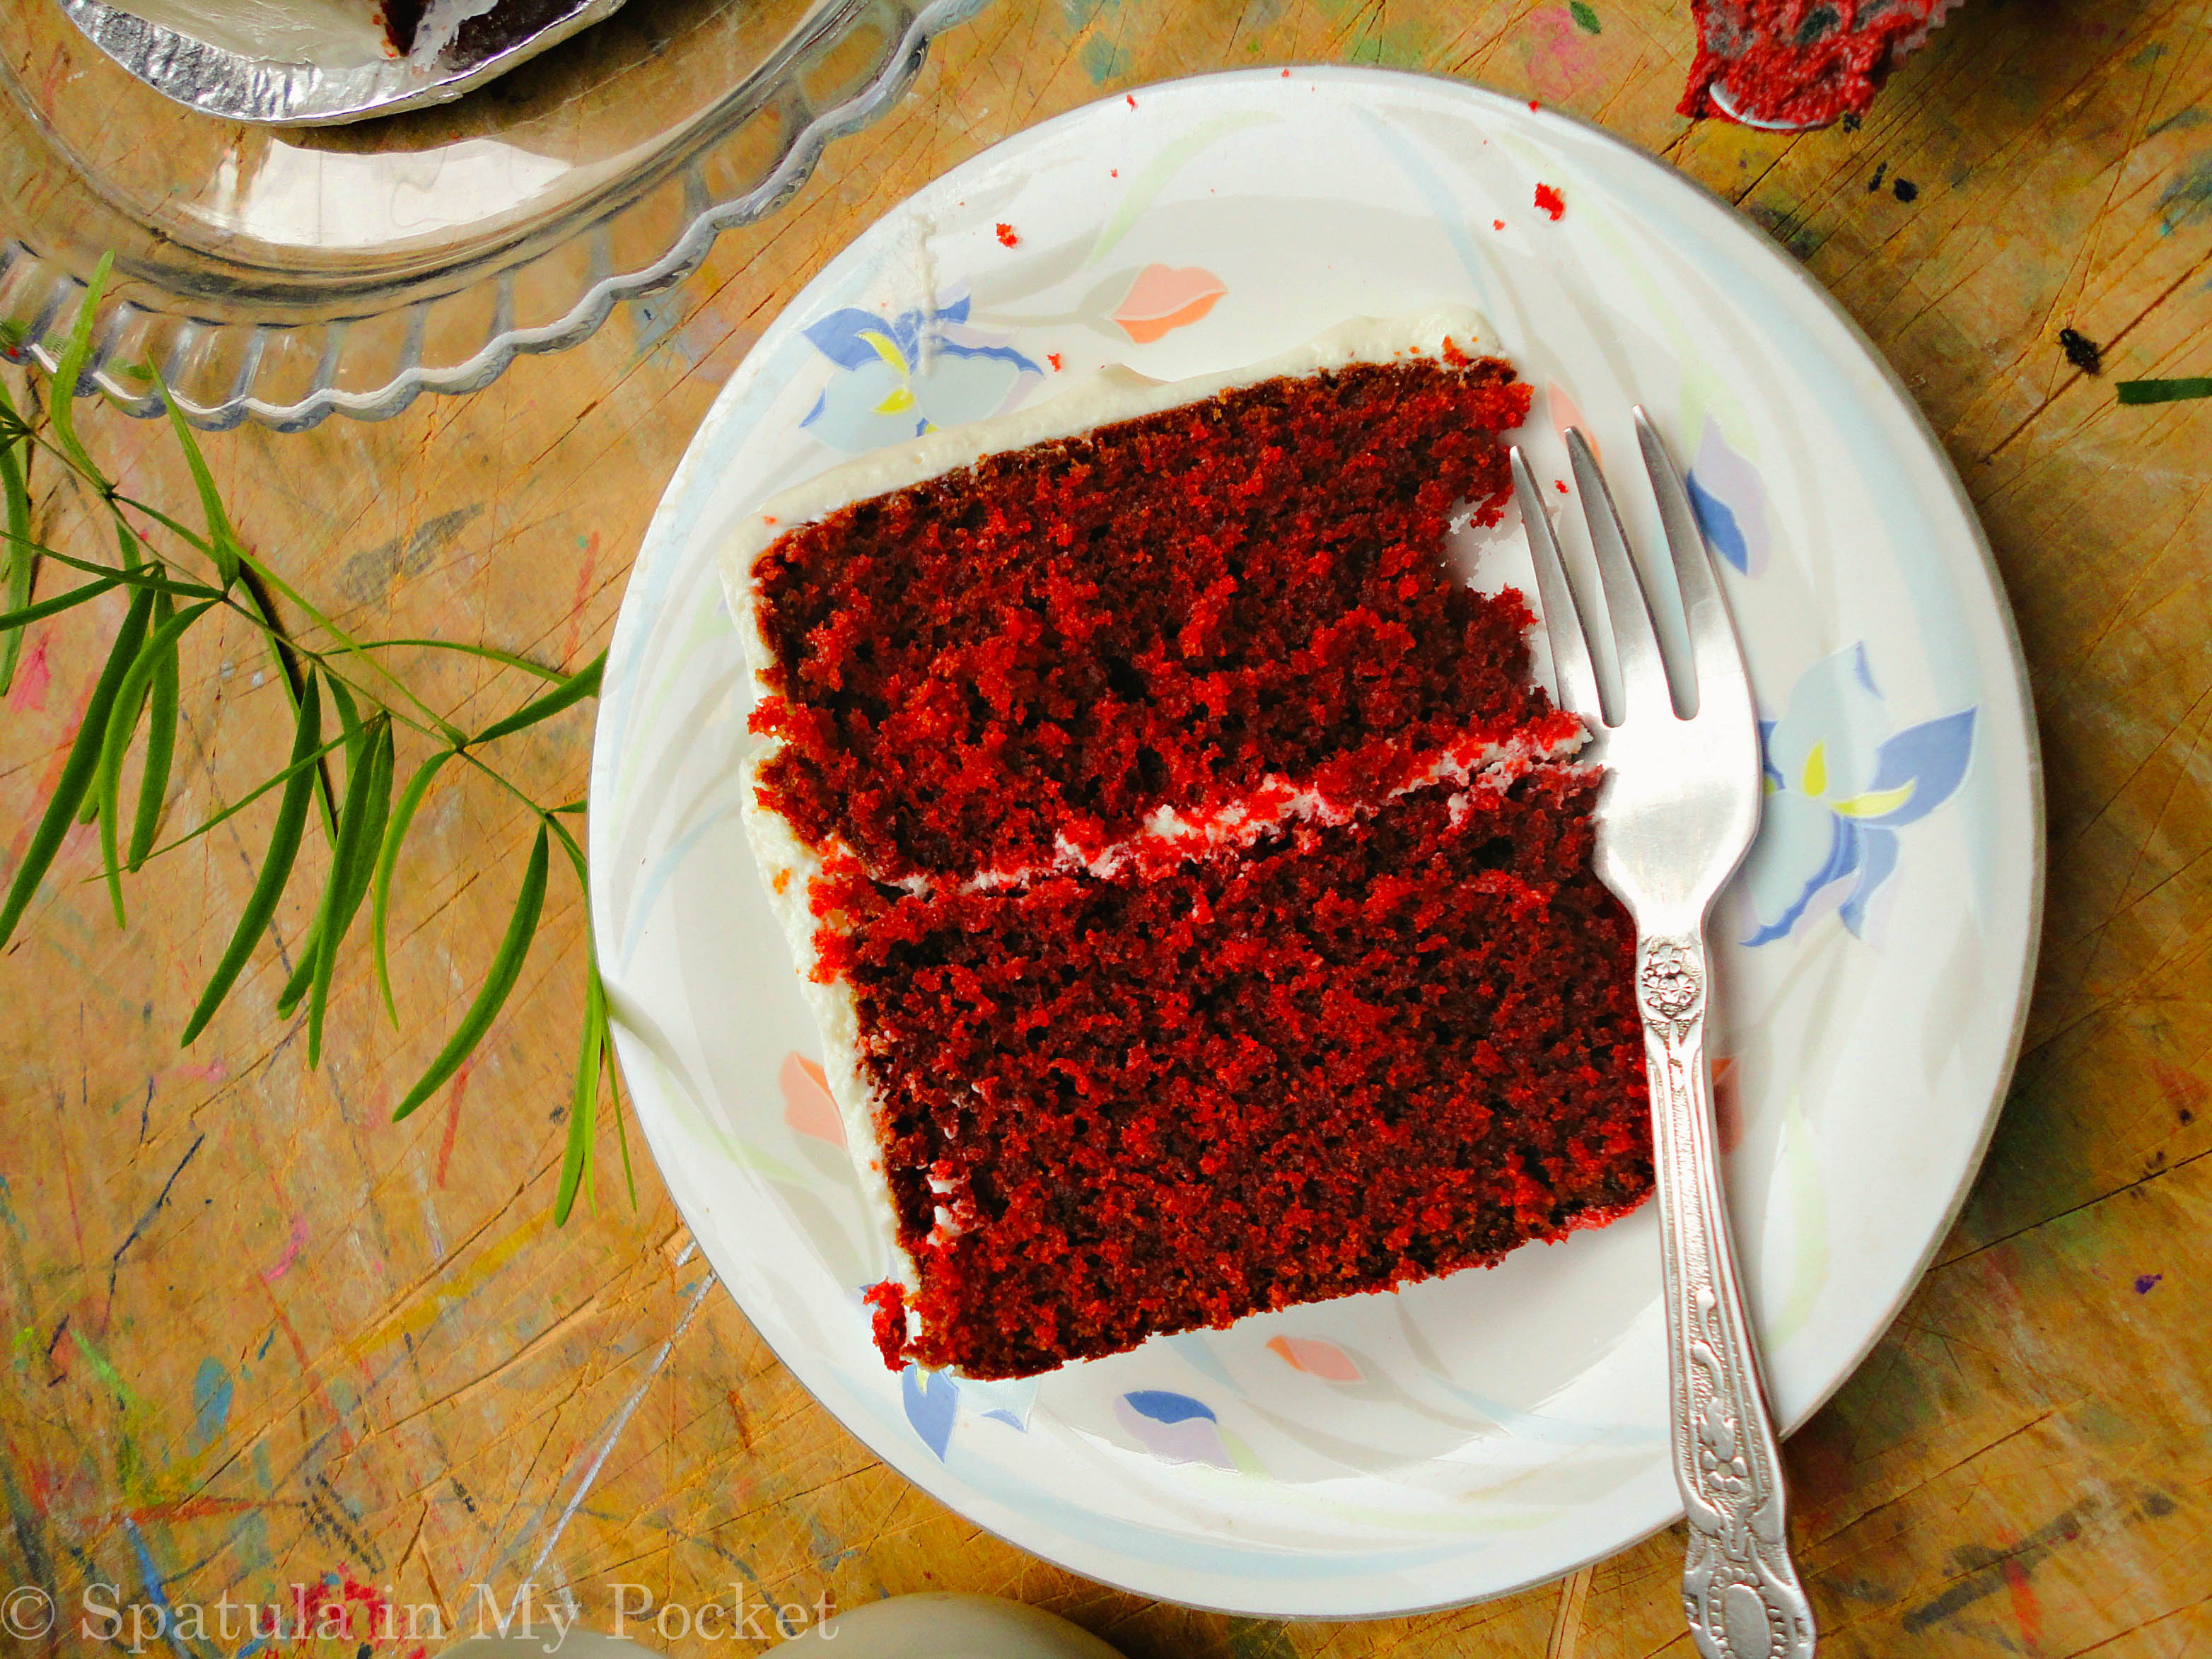
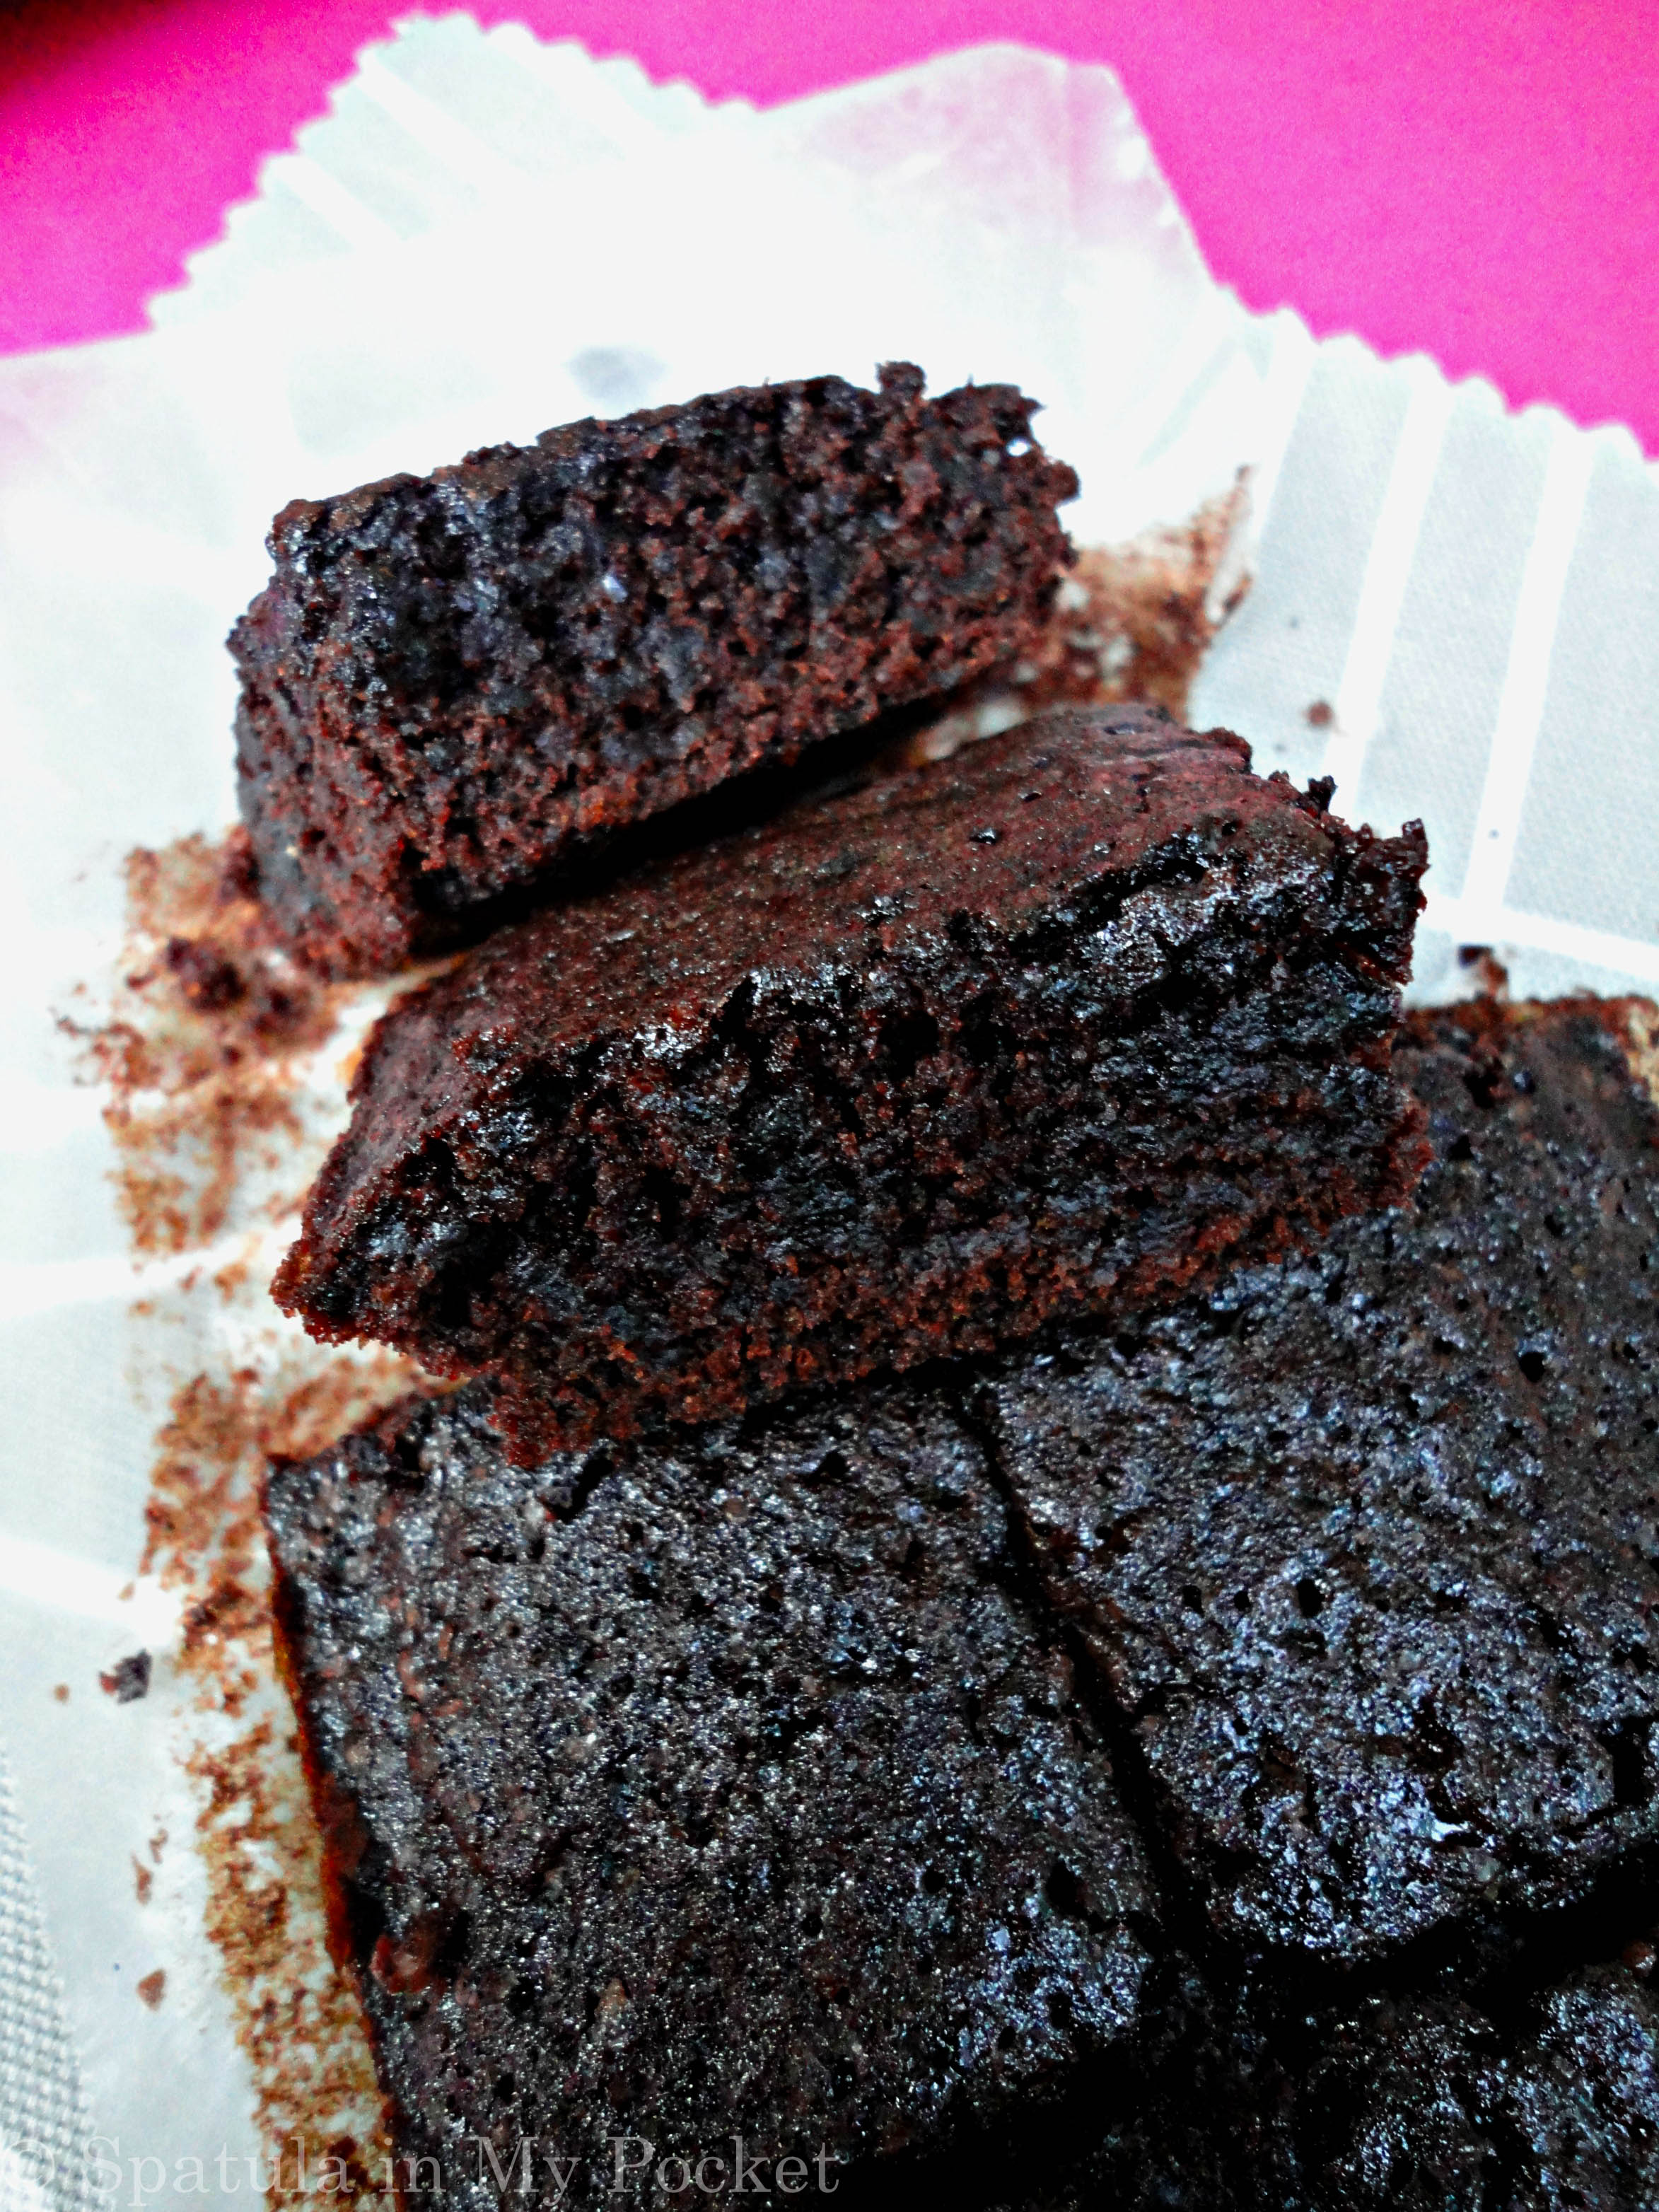
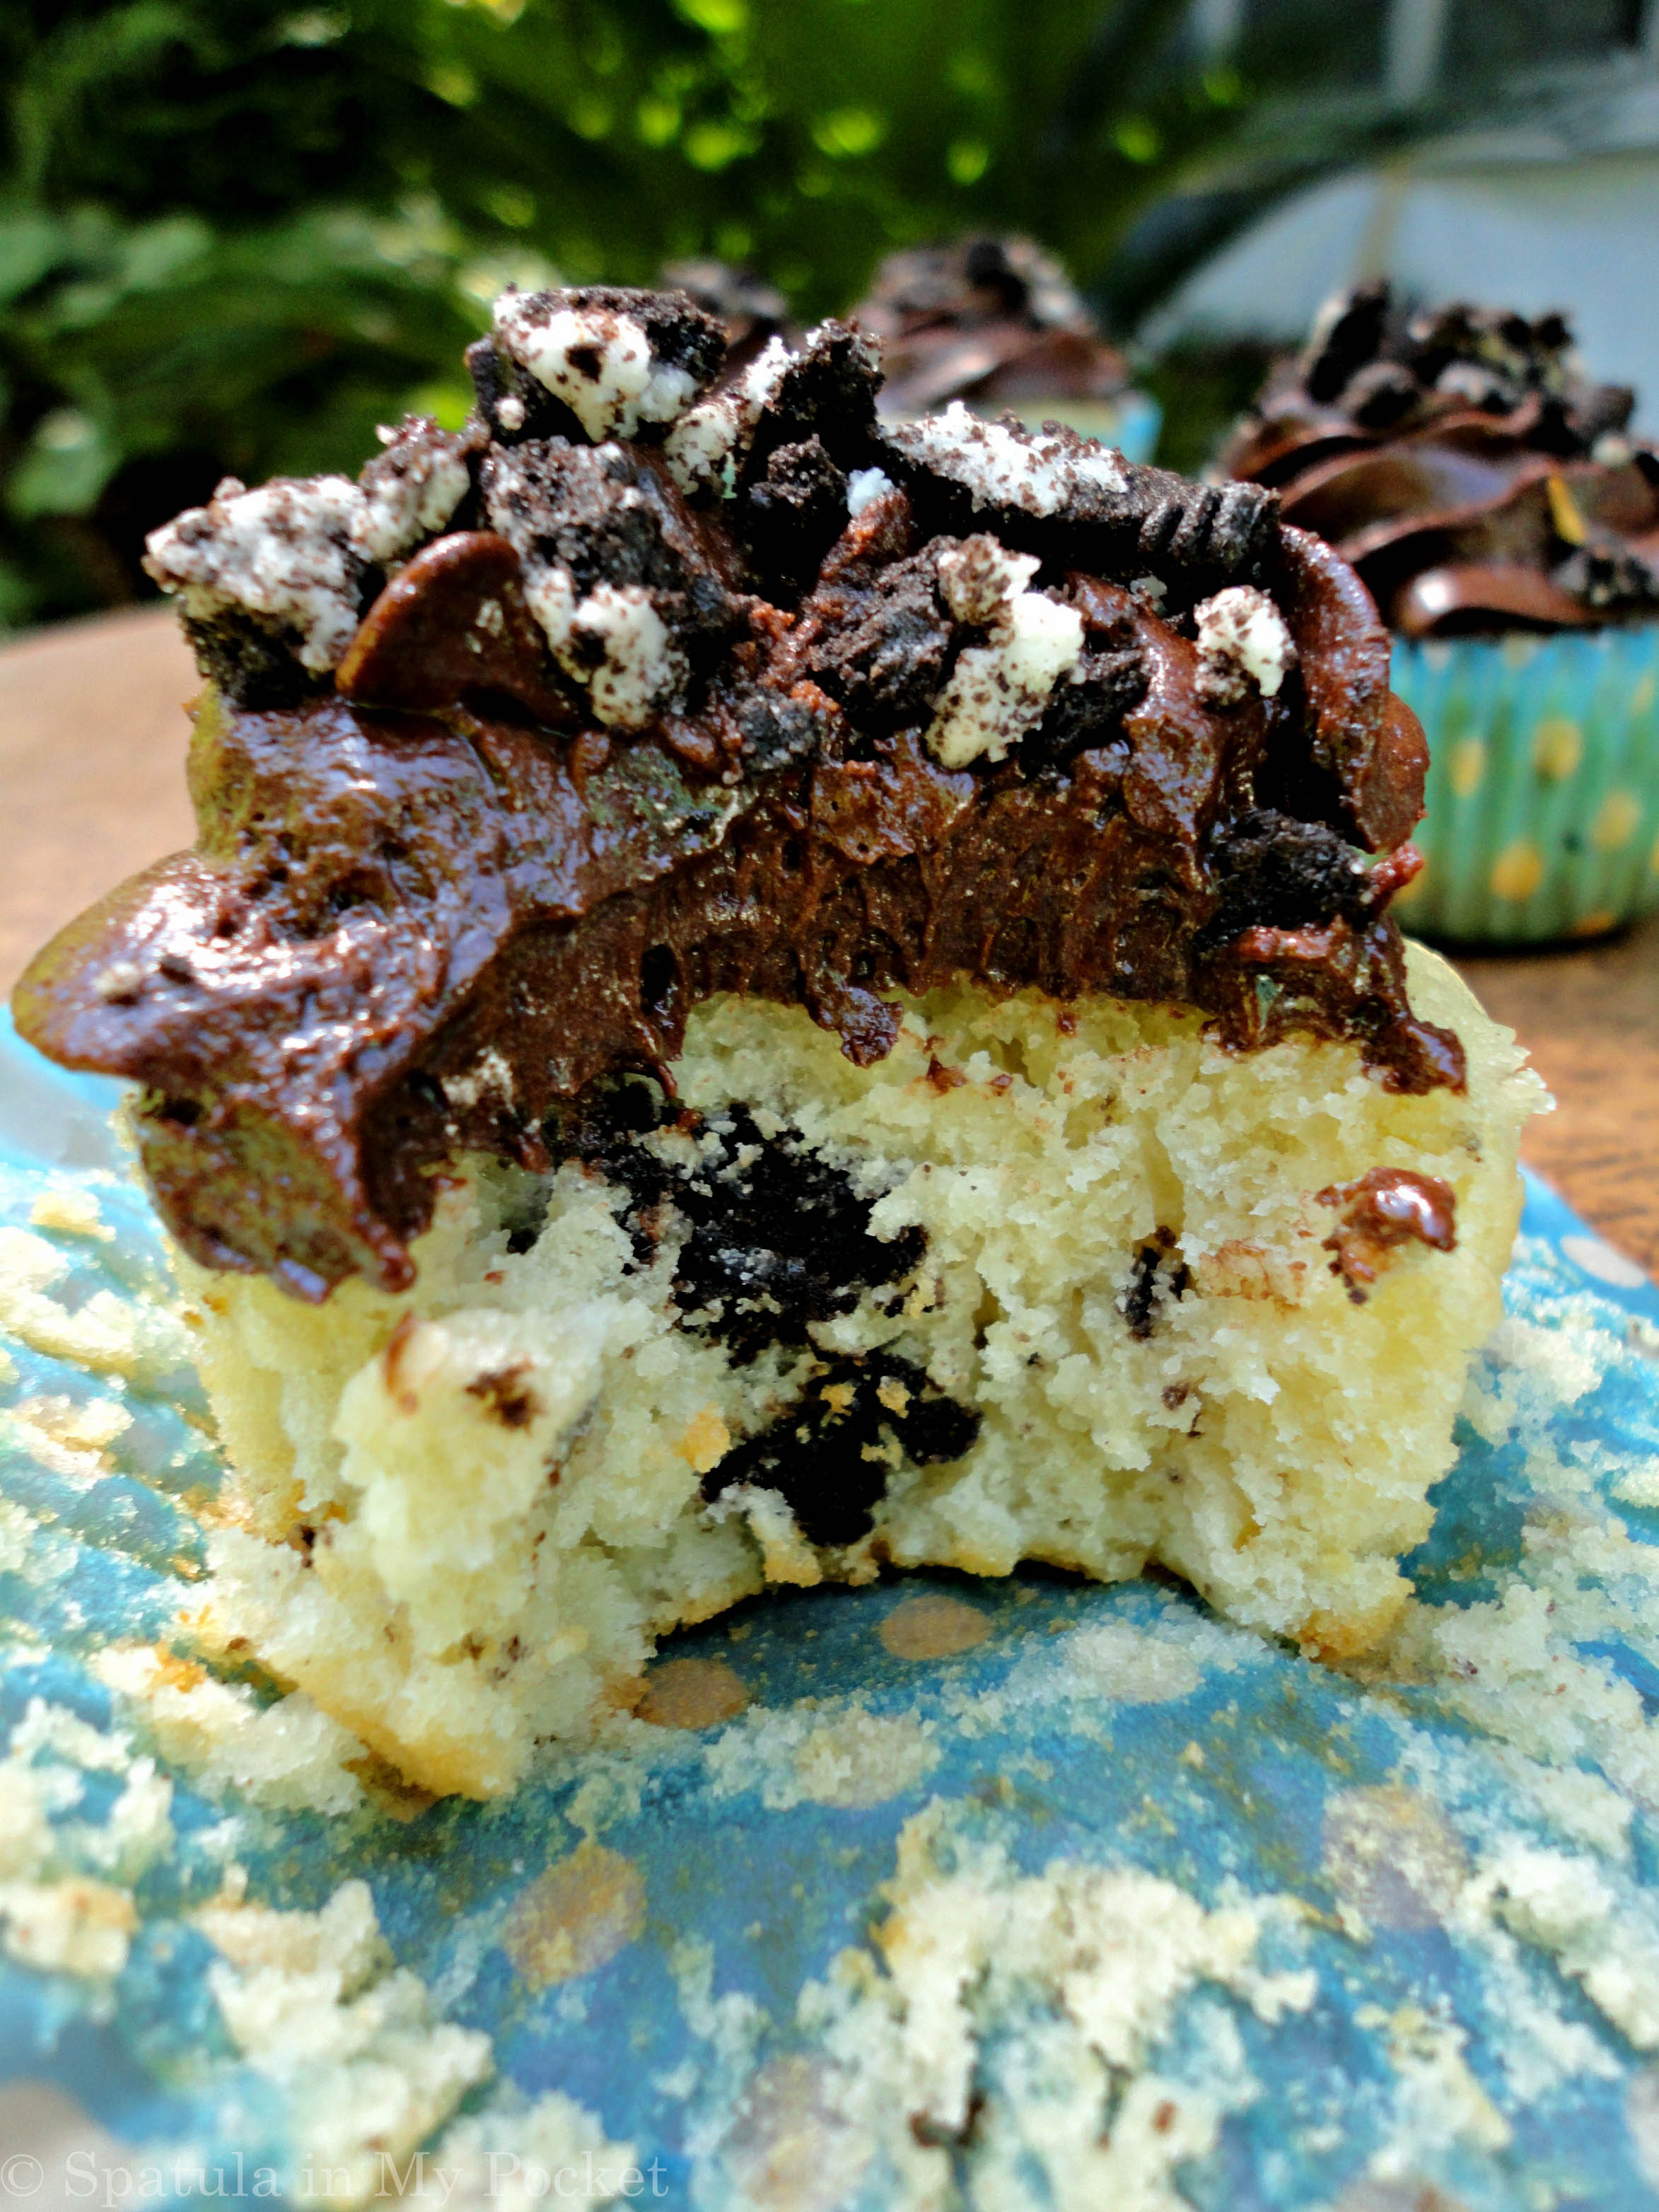
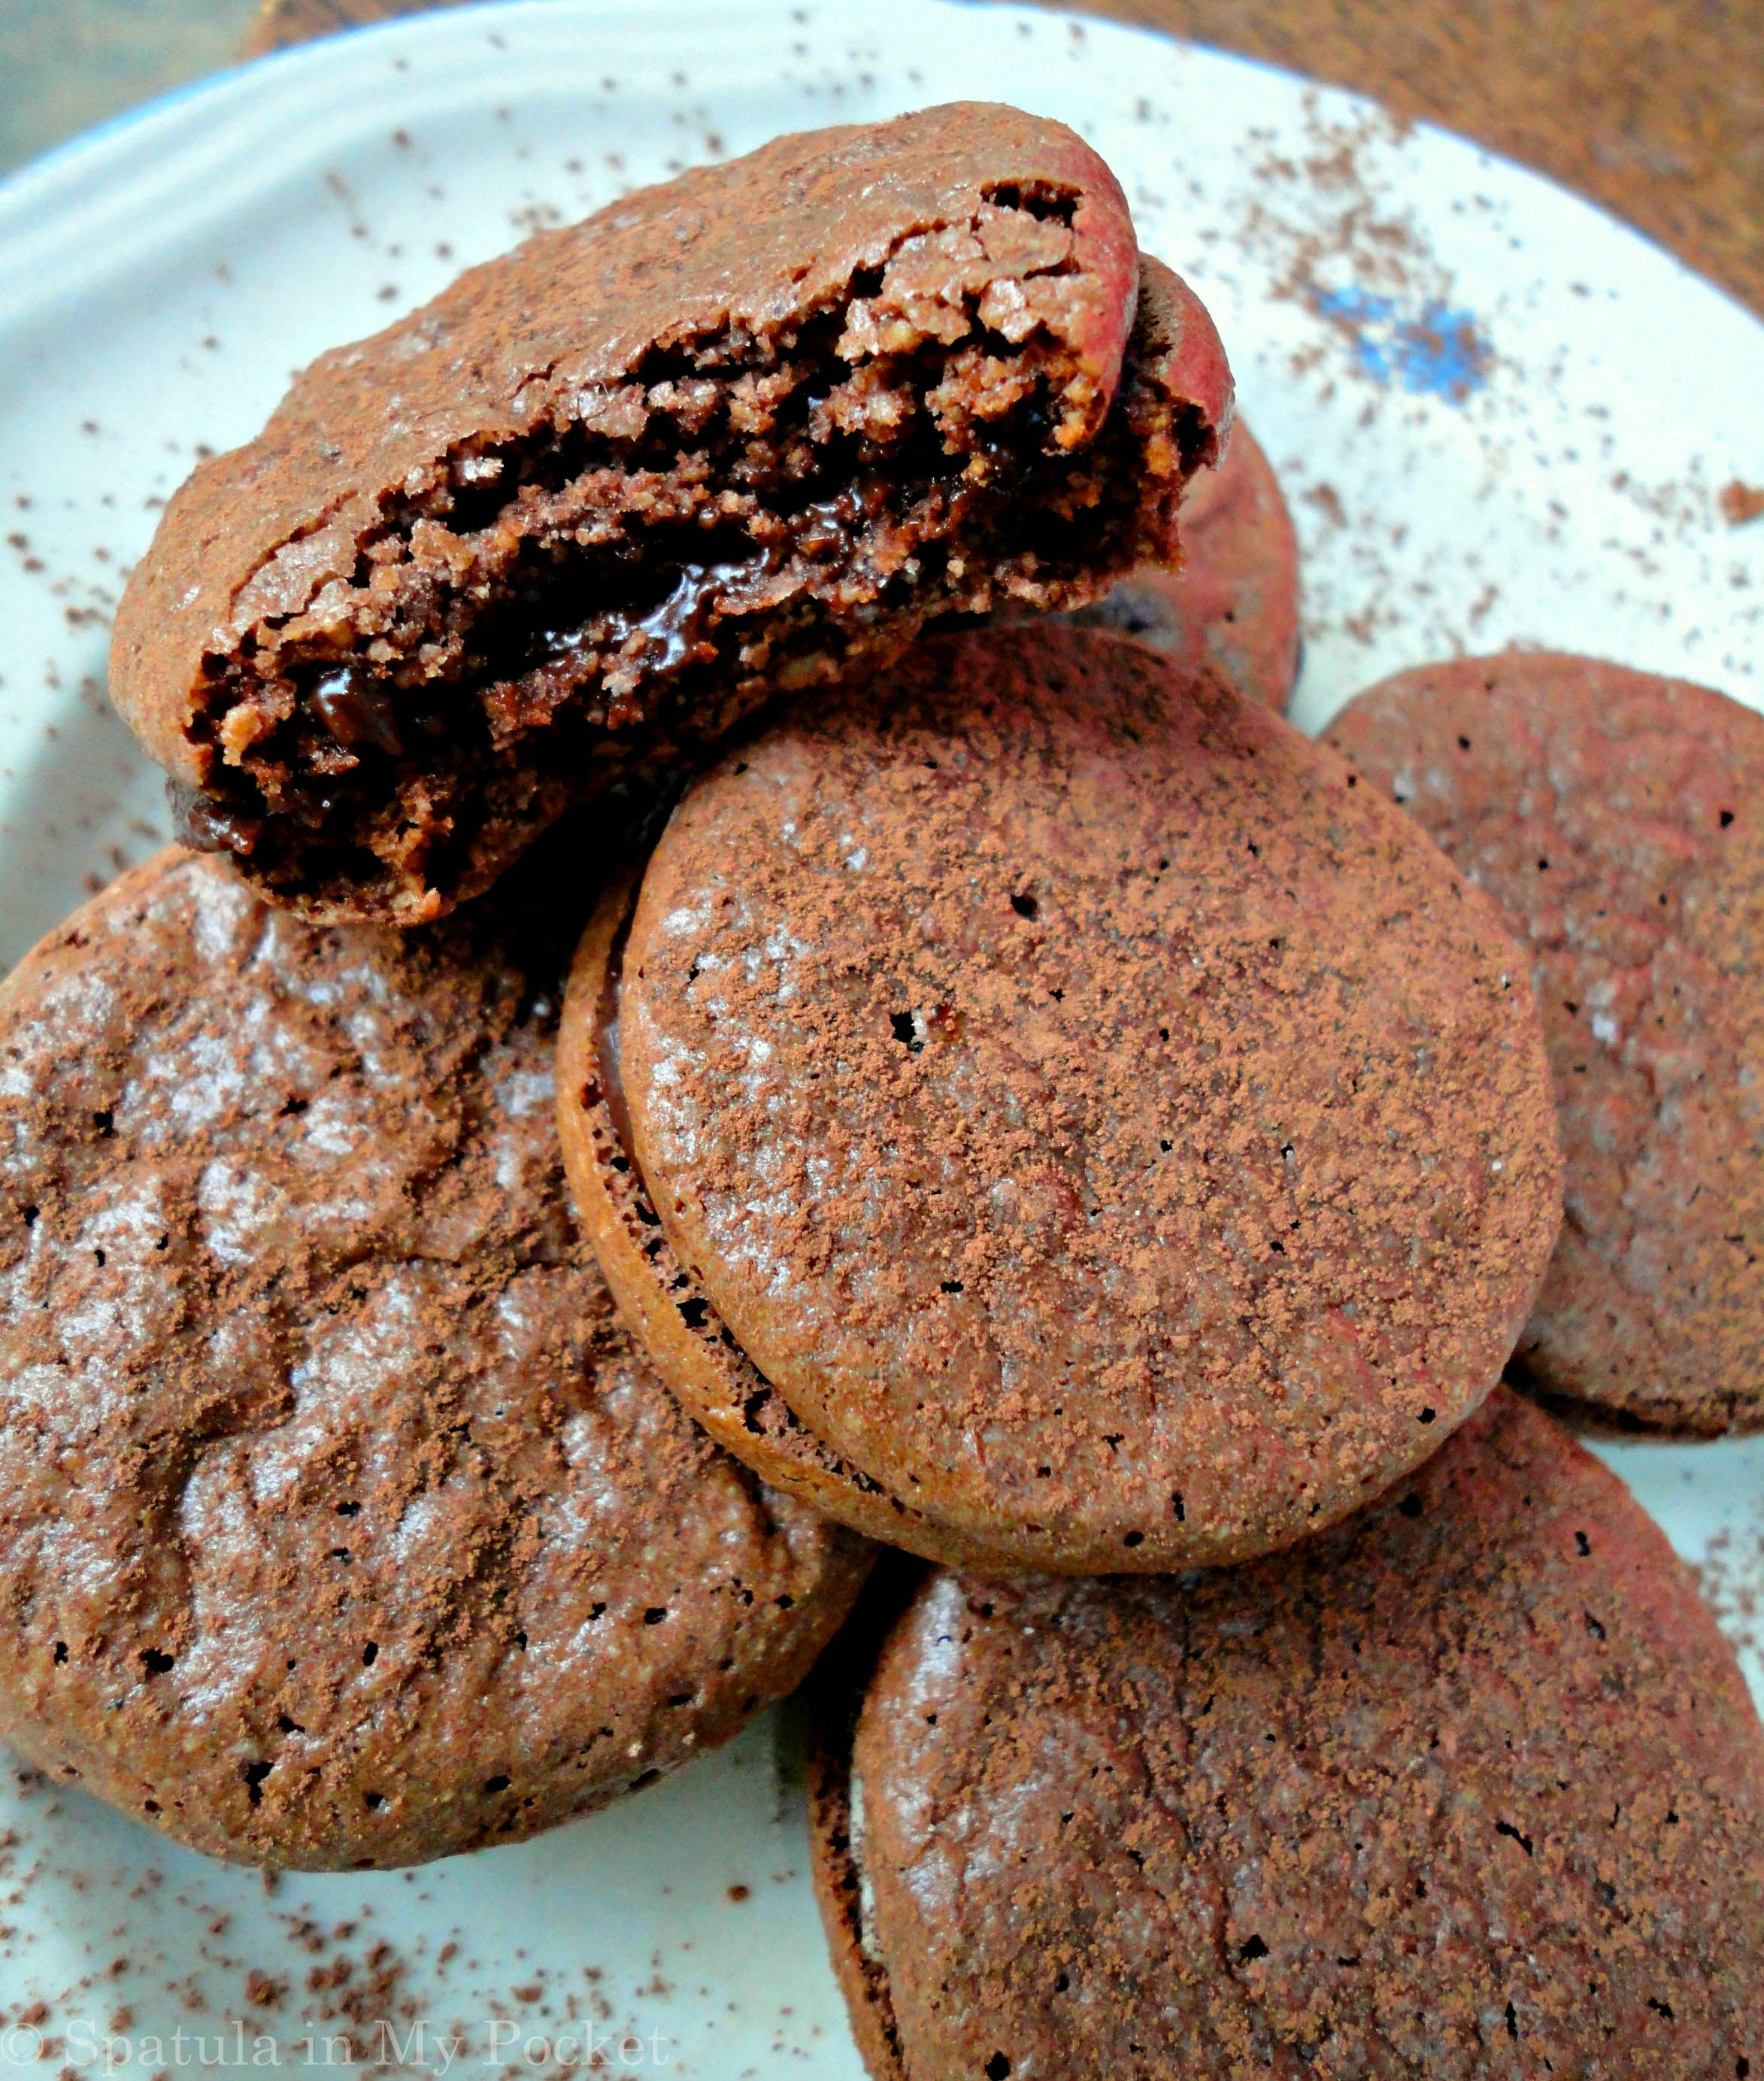
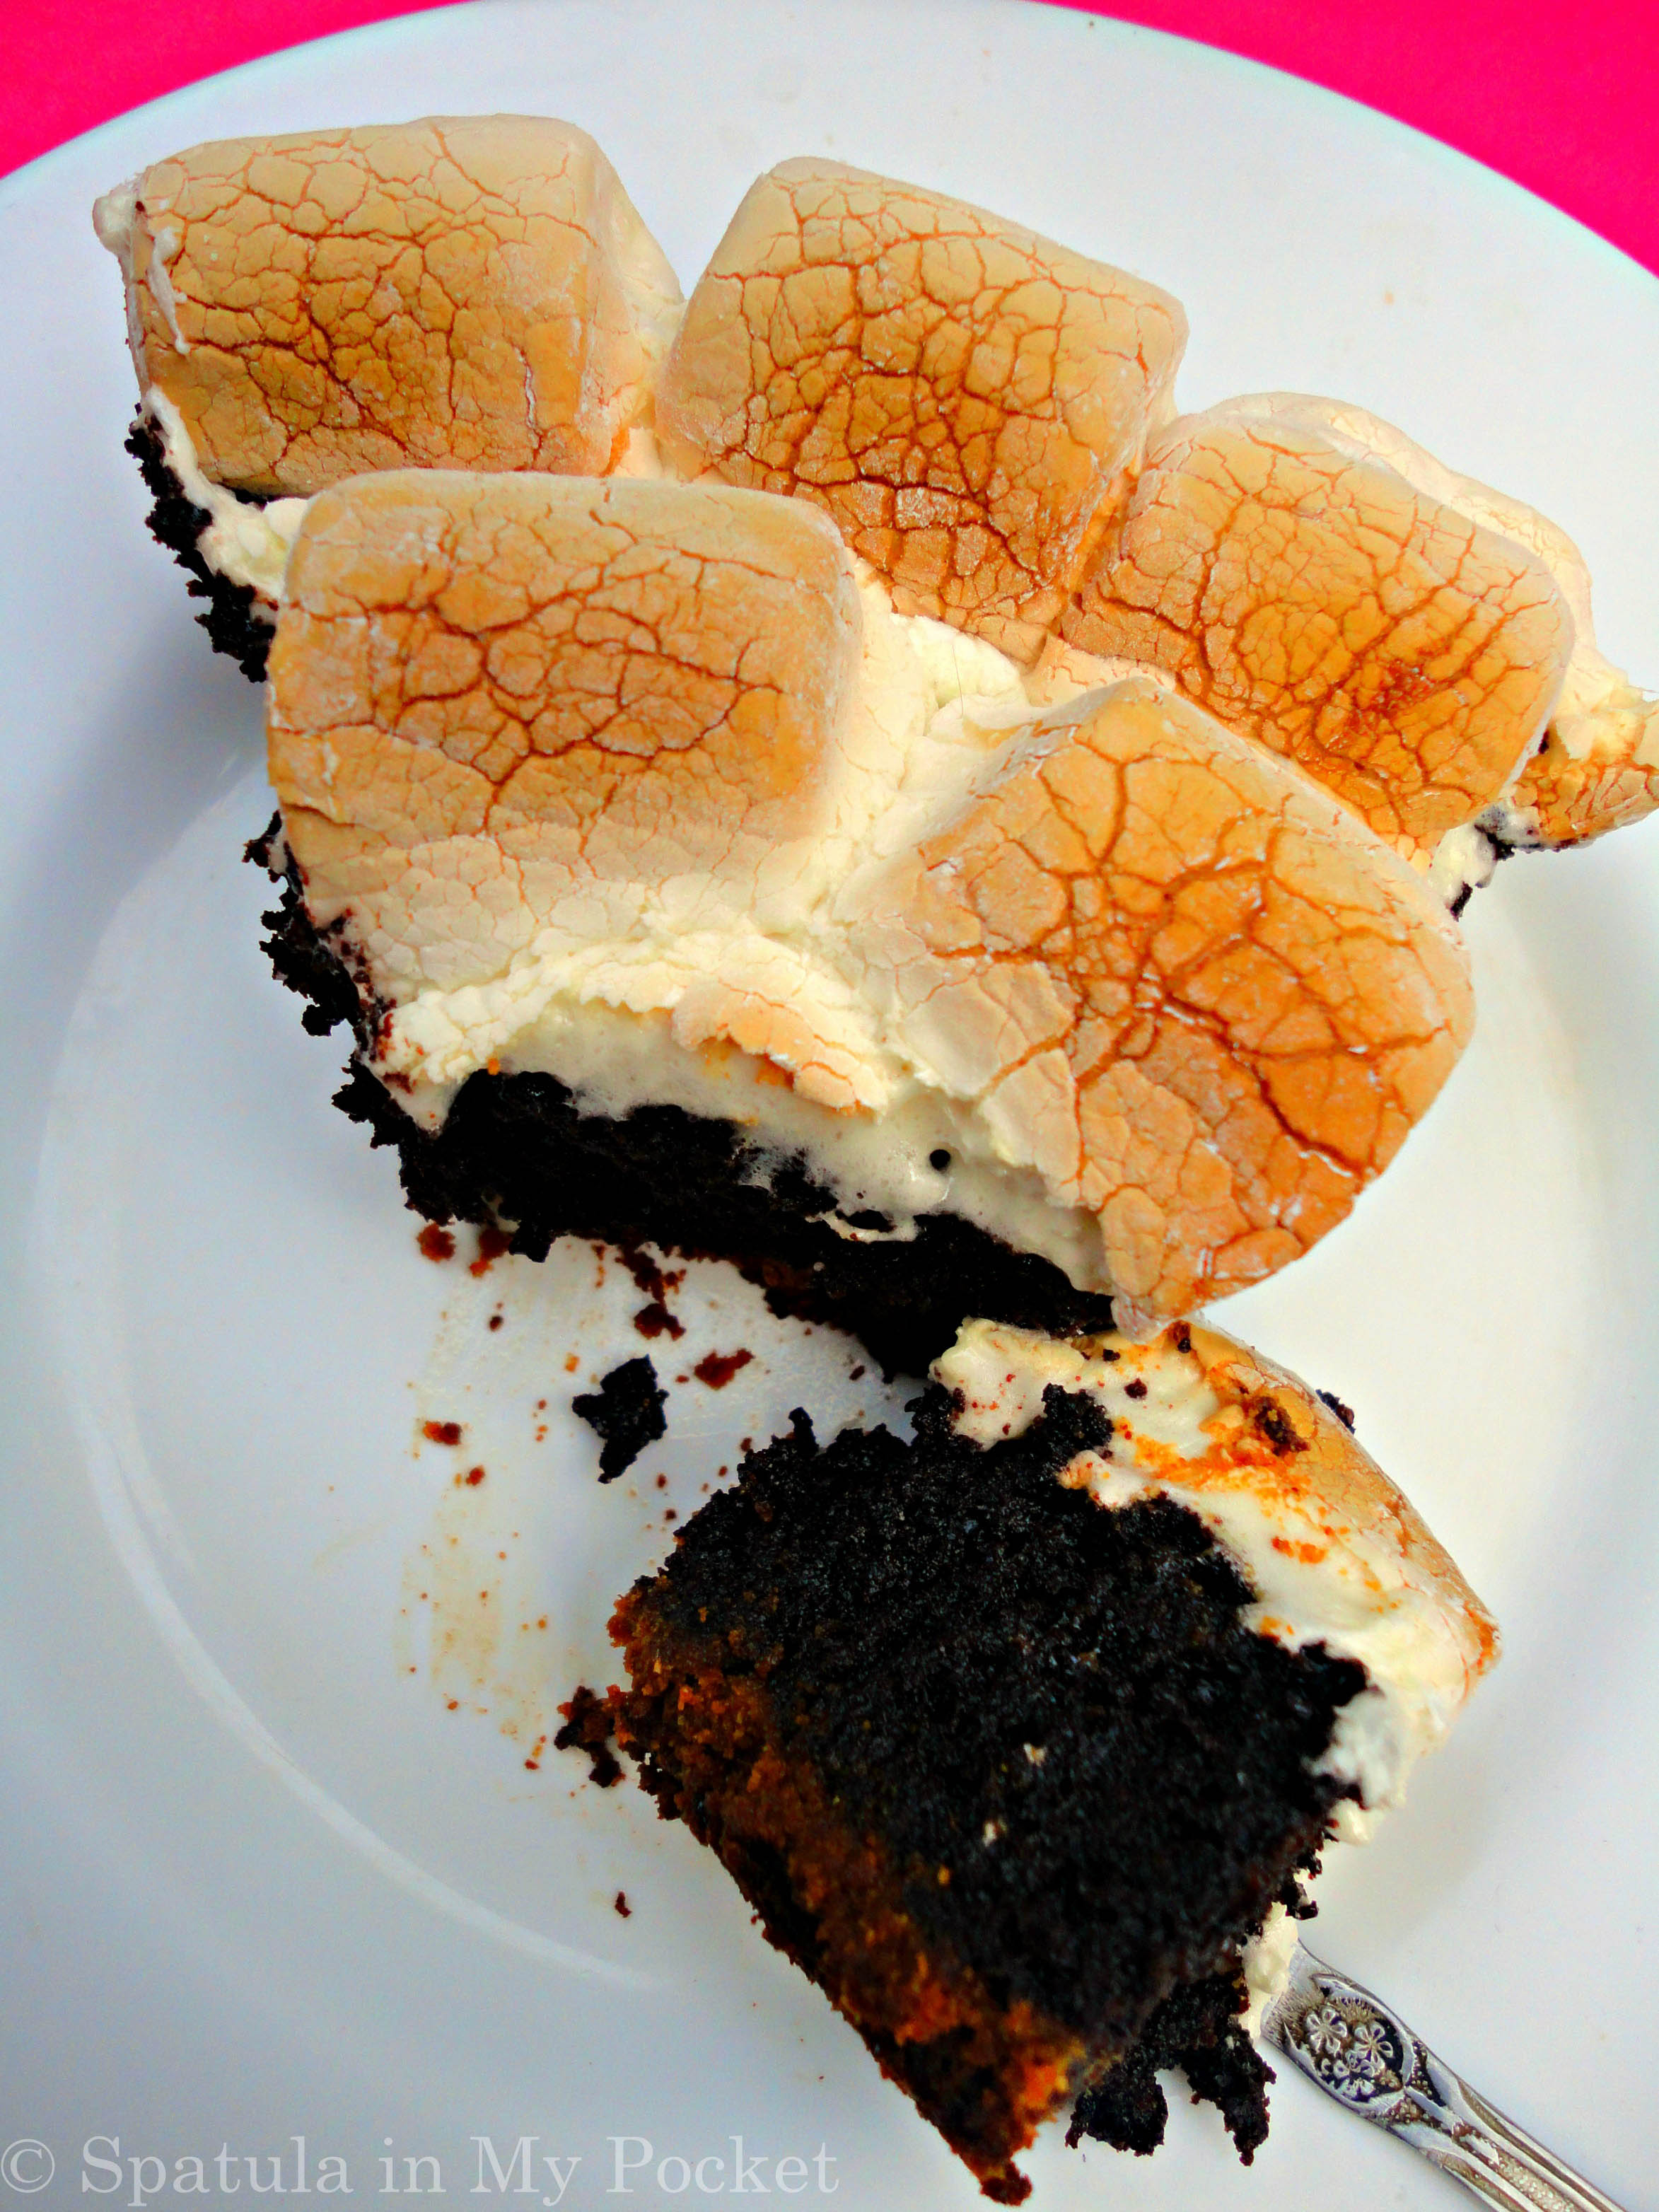
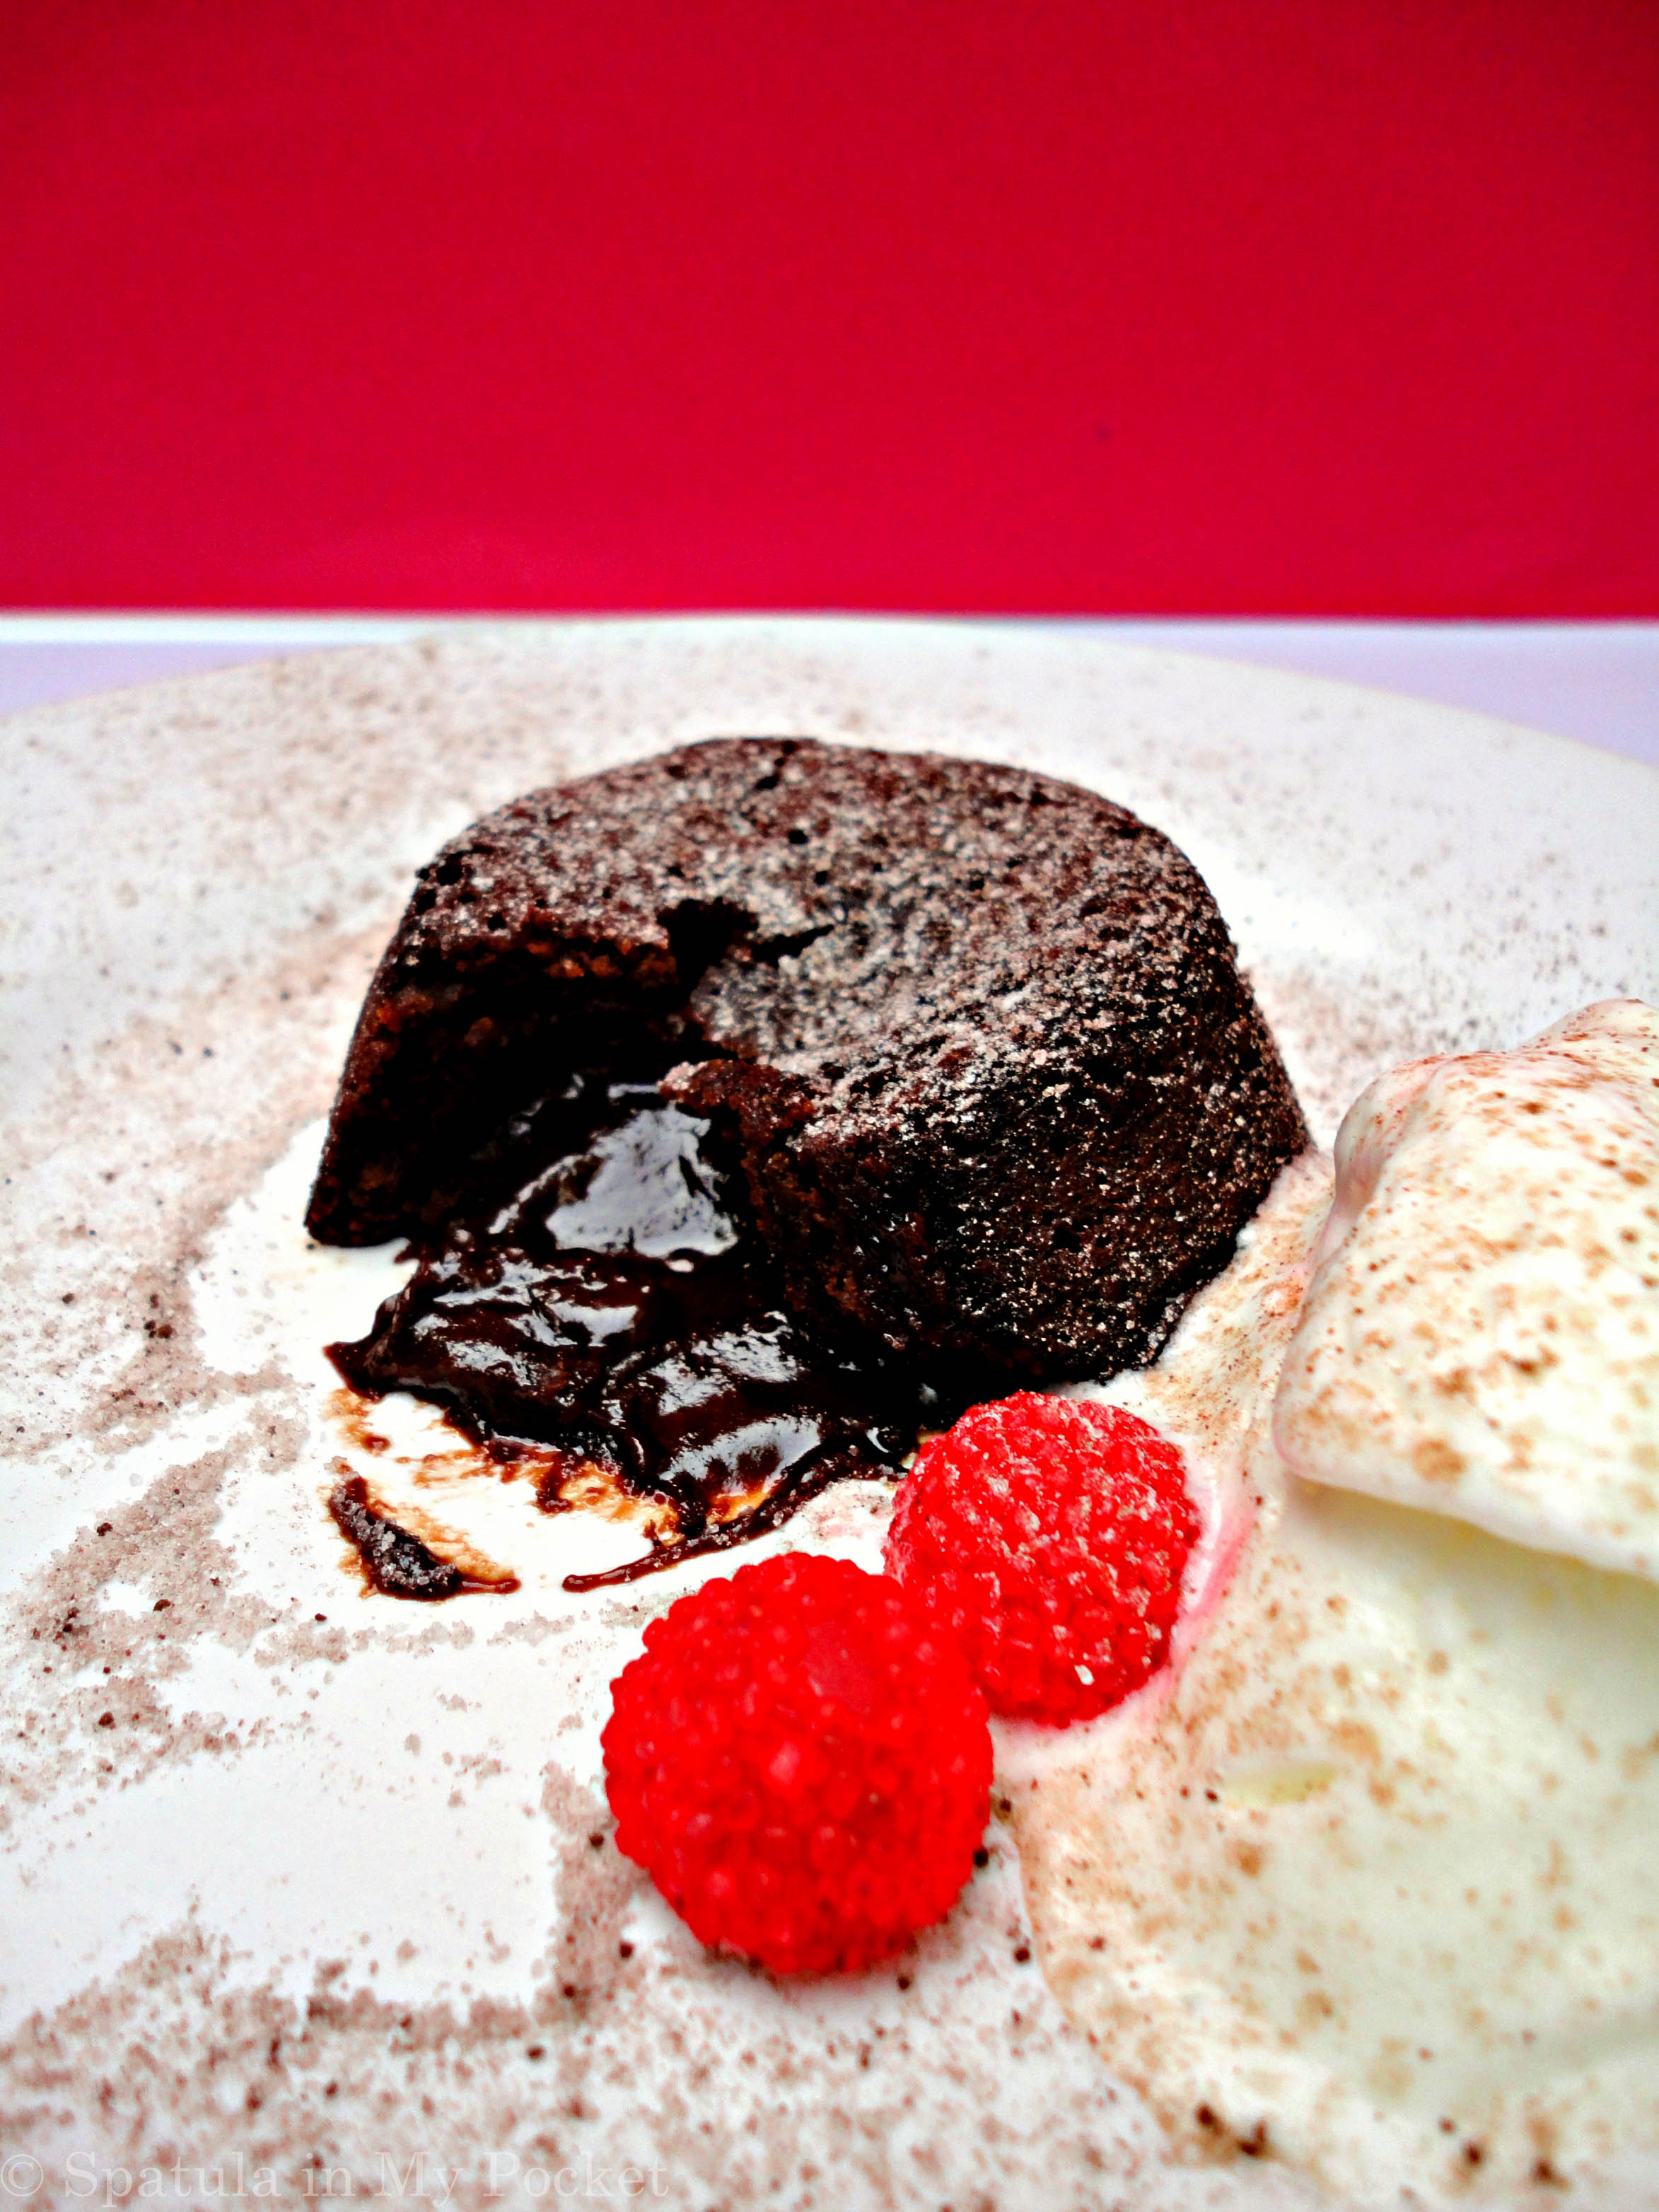
 That first bite though.


